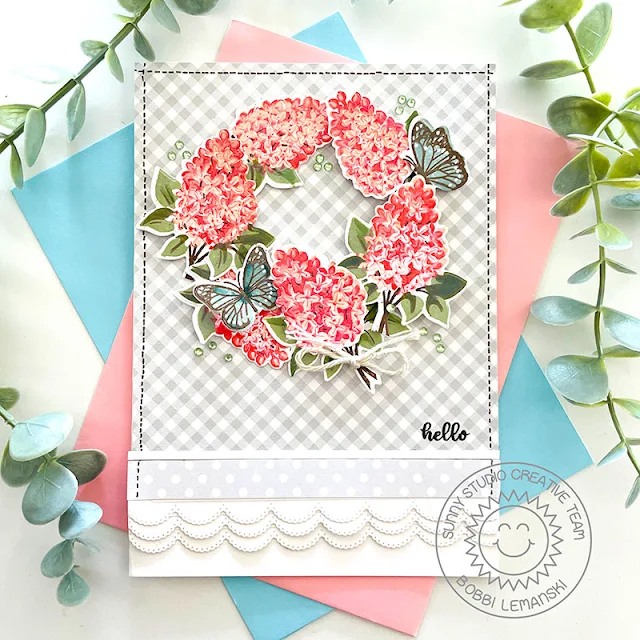
Hello friends! It’s Bobbi here with a sweet floral card featuring the new set, Lovely Lilacs. This stamp set is for those who do not like to color or want fast results quickly. With this clever layered stamping set, perfect lilacs are easy to create every time you stamp. I am also using the two cute butterflies from the new Watering Can set for this layered card. I used Neenah 80lb Solar White cardstock for the 5″ X 7″ card base, front panel, scallop borders and all the images.
To make this card, I started by adding a subtle gingham pattern check in white and gray to the background using one of the 6″ X 6″ pattern papers from my VERY favorite paper pad called, Subtle Grey Tones. Because my card is 7″ long and this paper is 6″ square, I had extra room at the bottom to add a few layers of scallops using the side edge of the Frilly Frames Eyelet Lace die. I cut three and layered them below. A 1/8″ strip of white cardstock and a 1/2″ strip of polka dot paper from the same pad added the finishing touch to the background.
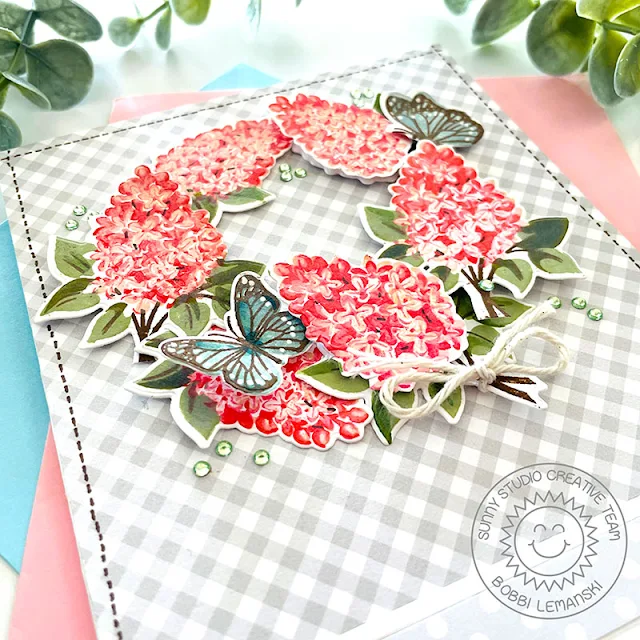
To make the floral wreath, I stamped all the layers of the lilacs (beginning with the “a” level) to make 3 of each blossom design. I used Distress Oxide inks in Tattered Rose, Saltwater Taffy, Abandoned Coral, Worn Lipstick and Festive Berries. I tried a few different coloring sequence options so not all of the flowers are perfectly the same. For the branches, I used Walnut Stain and the leaves were done in Bundled Sage and Rustic Wilderness. I cut some of the flower blossoms and added foam tabs below to make them physically stand out from their leaves/branches for dimension.
The six flowers were arranged into a wreath shape and attached. Pastel green jewels and a natural twine bow were added to the wreath design. I stamped "hello" and added the butterflies (stamped in Speckled Egg, accented with Copic BG75 and a white gel pen). Using a fine-tip brown marker and a ruler, I added faux stitching around the perimeter to finish the look.
Thanks for stopping by today. If you want to see more ideas and inspiration from me, subscribe to my blog, BobbiHartDesign.com. I’ll send you updates on new posts! You can also find me on Instagram as @BobbiHartDesign and on Facebook as BobbiHartDesign.
--------------------------------------------
Hello Friends! Catherine here, sharing a shaped card featuring Lovely Lilacs!
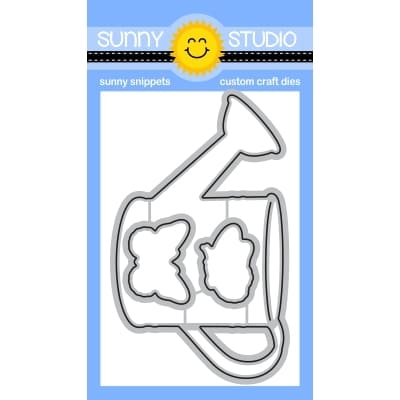
To start, I scored a piece of heavy white cardstock 5” x 6” crosswise in half. I then folded the cardstock. I placed the watering can die from Watering Can Dies slightly over the top of the fold and ran it through my die cut machine. This forms card base.
Next, I stamped the layered water can from Watering Can Stamps with yellow ink. I die cut the water can and adhered it to the front of the card base. I then stamped the lilacs and leaves from Lovely Lilacs Stamps with blue, purple ink and green ink, respectively and die cut with the corresponding dies Lovely Lilacs Dies.
Inks used:
Yellows: PinkFresh Lemon Whip, Sweet Mustard
Blues: Altenew Caribbean Sky, Pink Fresh Slumber, Altenew Persian Blue, Altnew Sapphire
Purples: PinkFresh Soft Lilac, Lavender, Candy Violet, Regal Kiss
Greens: Hero Arts Key Lime Fizz, Green Apple
I tucked and glued the lilacs and leaves inside the watering can. To cover the back of the lilacs and leaves, I traced the outer portion of the leaves and lilacs onto white cardstock and cut the shape out with my Brother machine. I then adhered the backing onto the back of the lilacs and leaves.
I finished off the card with a tag from Stitched Arch Dies stamped with a sentiment from Lovely Lilacs Stamps.
For more details and inspiration, please drop by my blog Craft-Cat! Have a wonderful day!
Sunny Studio Supplies Used:
 Subtle Grey Tones Paper Shop at: Sunny Studio |
 Frilly Frames-Eyelet Lace Shop at: Sunny Studio |
 Stitched Arch Dies Shop at: Sunny Studio |
 Lovely Lilacs Stamps Shop at: Sunny Studio |
 Lovely Lilacs Dies Shop at: Sunny Studio |
 Watering Can Stamps Shop at: Sunny Studio |
 Watering Can Dies Shop at: Sunny Studio |


No comments:
Post a Comment