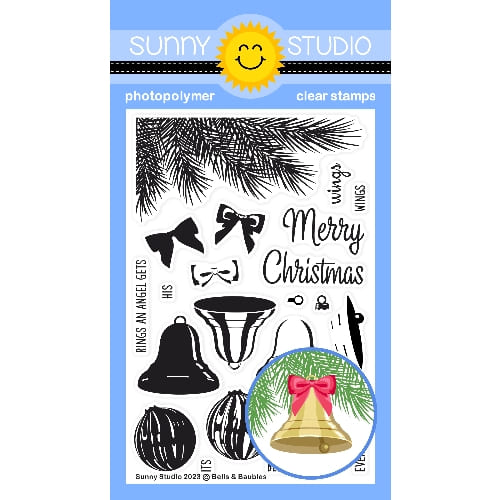
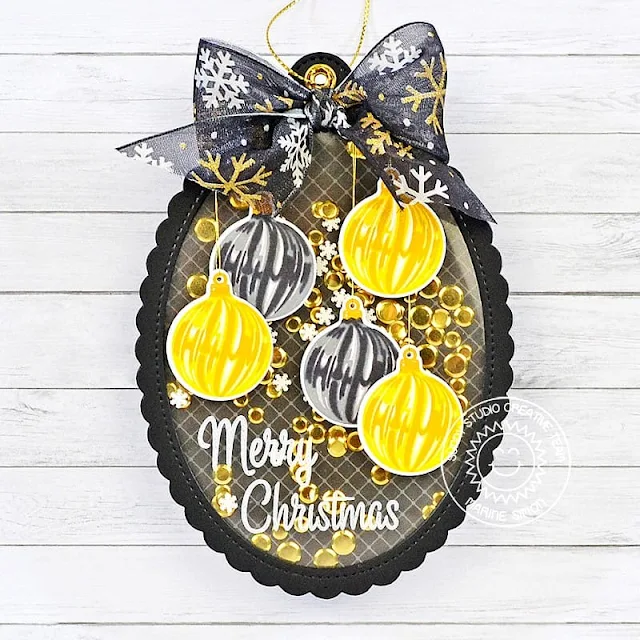
Hello crafty friends, Marine here, I'm so happy to be back on the blog with this shaker ornament showcasing Bells & Baubles. As you can see, I kind of went out of my comfort zone with this gold and black color palette, I'm more of a let-throw-all-the-colors-on-one-single-card kind of girl, but I was actually inspired by my friend and fellow crafter Bobbi Lemanski who recently shared a beautiful set of black + gold + white tags, and I thought it would be a fun challenge for me.
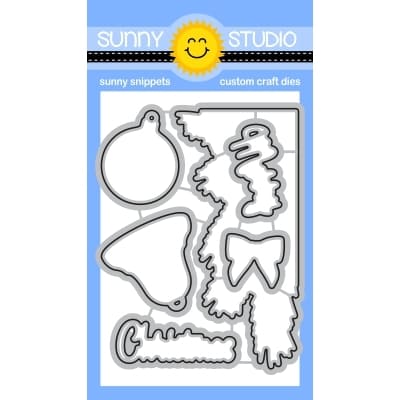
So I started off by stamping five baubles on 80lb Neenah solar white cardstock using Lawn Fawn premium dye inks. I stamped each image twice to get a nice impression, and then used the coordinating dies to cut everything. Here are the color combinations I picked:
• golden
baubles: butter + sunflower + no. 2 pencil
• black
baubles: manatee + hippo + black licorice
• toppers:
no. 2 pencil
I cut a scalloped oval frame out of black cardstock using the largest die from Scalloped Oval Mat 1 and the largest die from Stitched Oval 2. I also cut an acetate panel using the largest die from Scalloped Oval Mat 1 again, and attached that acetate panel at the back of my black scalloped frame using liquid glue. I stamped my "Merry Christmas" greeting from Bells & Baubles at the bottom of the acetate panel using white stazon ink.
I attached the baubles directly on the acetate using 1mm foam squares, and added golden threads that I secured and stuck at the top back of the frame using thin pieces of tape. I added foam strips at the back of my frame, all along the oval shape, and poured my shaker material inside the acetate window: golden sequins from my stash, and White Snowflake Confetti.
Next I created the handle for my ornament. I cut two black pieces using the smallest die from Stitched Arch, and attached both elements back to back using liquid glue. I also cut two gold mirror eyelets using a die from Sliding Window, attached one of them on the front of my handle, and the second at the back.
Using the largest die from Scalloped Oval Mat 1 again, I cut a panel out of a Classic Sunburst black paper, and attached my handle piece at the top back using liquid glue. I cut another scalloped panel out of black cardstock that I glued at the back of the other, and then stuck that panel to the foam strips to totally close my shaker ornament.
To finish my ornament, I added golden thread on the handle, tied a bow using ribbon from my stash and attached it at the top of the frame using liquid glue. And that's it! I had a really good time making this ornament, and I think it would look amazing with traditional colors like red + green + gold, or even with wintery colors like teal + blue + silver.
Thanks so much for stopping by, and see you next week!
Sunny Studio Supplies Used:
 Sliding Window Dies Shop at: Sunny Studio |
 Stitched Arch Dies Shop at: Sunny Studio |
 Classic Sunburst Paper Shop at: Sunny Studio |
 Scalloped Oval Mat 1 Dies Shop at: Sunny Studio |
 Stitched Oval 2 Dies Shop at: Sunny Studio |
 Bells & Baubles Stamps Shop at: Sunny Studio |
 Bells & Baubles Dies Shop at: Sunny Studio |


No comments:
Post a Comment