Hello Friends! Audrey here with a fun floral card for you!
To create this card, I started off by die cutting the Quilted Hearts Portrait background from white cardstock and mounted it to a light grey card base. I stamped the Watering Can with a light and medium shade of grey ink and die cut it with the coordinating Watering Can dies. To fill the watering can, I stamped the Lovely Lilacs florals in several shades of purple and green ink, and die cut them with the coordinating Lovely Lilacs dies. I arranged the flowers, popping some foam tape for added dimension.
To ground the focal point, I added a strip of woodgrain cardstock to the bottom of the panel which I ink blended with Vintage Photo distress ink to add some different tones to the wood look. I popped the watering can up with foam tape, and added a trio of butterflies which can be found in the Watering Can set.
Then, I stamped a sentiment from Watering Can to a banner die cut and adhered it to the right side of the panel, overlapping the watering can. To finish off the card, I added some white gel pen accents and some Stickles glitter to the butterfly wings.
-------------------------------------------
Hello to you! Vanessa here with
an interactive card using the Watering Can set. On
this card the fun is happening inside:
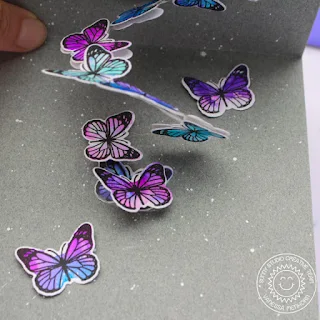
I wanted to make the beautiful butterflies the star of the show, so I stamped a whole lot of them. For this, I used Koi Watercolor Pens, colored the solid stamp with various colors, spritzed the stamp with water and stamped. The result looked messy first, but with the black outlines it turned out pretty.
These are the sets
I used:
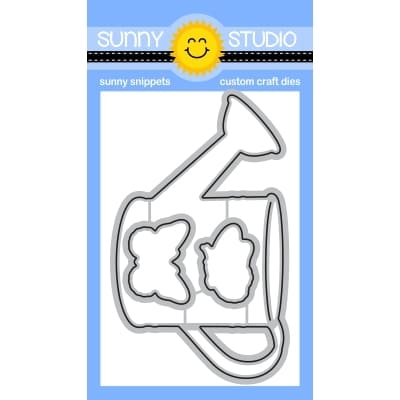
Watering Can stamps + dies
Lovely Lilacs stamps + dies
Stitched Circle Large Dies
I started with a grey card base and splattered white paint droplets to the inside and outside of it. After I had stamped all images, I die-cut the pieces with the matching dies. Now I die-cut a circle from clear cardstock and cut a spiral out of it. This spiral is the base for the flying butterflies. I adhered the center of the spiral to the bottom part of the card and the outer point to the top part of the card. Then I added the butterflies and adhered the images to the front of the card.
To make the inside a bigger surprise, I kept the front really simple. Because the lilacs and the watering can are layering stamps without outlines, it didn't fit the butterfly with the black details. So I simply used a black marker and added my own outlines to make the butterfly match better.
Have a lovely day everybody!
Sunny Studio Supplies Used:
 Stitched Circle Large Dies Shop at: Sunny Studio |
 Quilted Hearts Portrait Shop at: Sunny Studio |
 Lovely Lilacs Stamps Shop at: Sunny Studio |
 Lovely Lilacs Dies Shop at: Sunny Studio |
 Watering Can Stamps Shop at: Sunny Studio |
 Watering Can Dies Shop at: Sunny Studio |


No comments:
Post a Comment