

I started off with stamping out my images onto some white cardstock, colouring them in with Copic Markers and cutting
them out using the coordinating
dies. While I had my die cutting machine out, I also cut the Staggered
Circles Dies from a panel of white as well.
(Copic Markers Used: R00, R30, R21, R22 / RV10, RV13, RV25, RV19 / B63, BV02, BV04, BV08 / BG10, BG11, BG13, BG49 / YR00, YR02, YR12, YR18 / W00, W0, W1, W3 / YG01, YG03, YG05, YG07 / E41, E42, E43, E44 / R20 / 0)

(Copic Markers Used: R00, R30, R21, R22 / RV10, RV13, RV25, RV19 / B63, BV02, BV04, BV08 / BG10, BG11, BG13, BG49 / YR00, YR02, YR12, YR18 / W00, W0, W1, W3 / YG01, YG03, YG05, YG07 / E41, E42, E43, E44 / R20 / 0)

I then cut down a piece of patterned paper from the Flirty
Flowers Paper Pad to the size of my card base. I added foam tape to
the back of the die cut panel and adhered that into place as well.
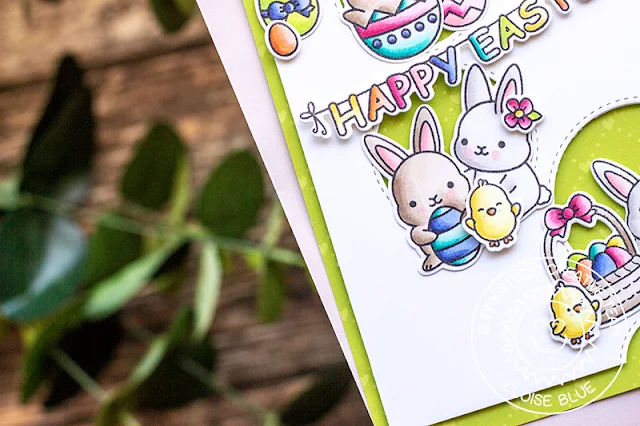

I added foam tape onto the backs of all my images and
sentiment banner and adhered them in little clusters inside the die cut
circles. I also added a couple on the left and on the bottom, even though those
circles weren’t full. I adhered the entire panel onto a card base and that
completed my card.
Thanks so much for stopping by today and I’ll see you next week!
Thanks so much for stopping by today and I’ll see you next week!
---------------------------------------------------------
Hello everyone!
Leanne here and I have a fun and colorful card to share today. This card
was very easy to make with the help of the Staggered Circle Die. I used the adorable bug images from the Backyard Bugs stamp set to fill the circles and create a playful scene down the
length of the card.


I started with a
white card stock panel that measures 4 inches wide by 6 inches tall. I
used the Staggered Circle die to cut the circles going vertically down the right
side of the panel. I created a card base that measures 4.5 inches wide by
6 inches tall. I added strip of diagonal striped pattern paper (from the Spring Sunburst Paper pad) to the left side of the card front. I blended some
Tumbled Glass Distress Oxide ink onto the area of the card front where the
circle openings would be and then adhered the die cut panel over top.


I stamped and
Copic colored the bugs and flowers from Backyard Bugs. The tree branch image is from A Bird’s Life. I used the coordinating dies to cut out the images. I then adhered all the images
with glue dots. To finish off this card, I stamped a sentiment from Backyard Bugs. I used a Misti and manipulated the stamp so it would
follow the curve of one of the circles.
Sunny Studio Supplies Used:
Sunny Studio Supplies Used:
 A Bird's Life Stamps Shop at: Sunny Studio |
 A Bird's Life Dies Shop at: Sunny Studio |
 Backyard Bugs Dies Shop at: Sunny Studio |
 Backyard Bugs Stamps Shop at: Sunny Studio |
 Spring Sunburst 6x6 Paper Shop at: Sunny Studio |
 Flirty Flowers 6x6 Paper Shop at: Sunny Studio |
 Chubby Bunny Stamps Shop at: Sunny Studio |
 Chubby Bunny Dies Shop at: Sunny Studio |
 Staggered Circles Die Shop at: Sunny Studio | |


Super Duper cute cards!!!
ReplyDeleteThank you for your sweet feedback Maureen! Hope you have a fabulous week! :)
Delete