Hi everybody! Vanessa here
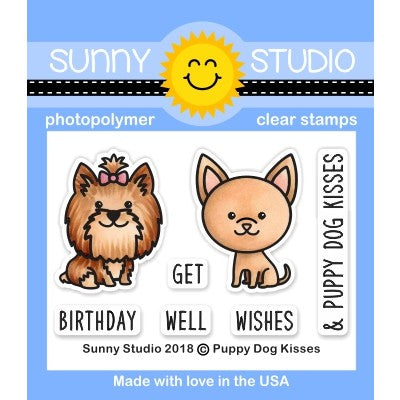
with a card using the adorable Puppy Dog
Kisses Stamps. I am still in the mood for spring, so my puppies are
standing in a bed of flowers.
First, I
inked the front of a white card base with a cloud stencil and Distress Oxide
Inks. Then I die-cut the Woodland Borders
Die from green cardstock
and adhered it. Now I die-cut the Fancy Frames Rectangle Dies from pink patterned paper from the Flirty Flowers Paper and adhered the frames.
After I had stamped the
sentiment from the Party Pups
set, I stamped the flowers and dogs onto white cardstock. I colored the
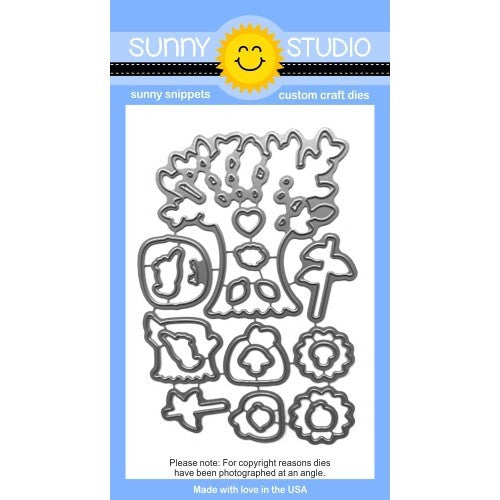
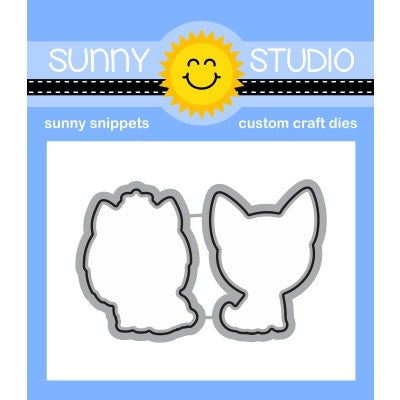
images with Copics, die-cut them with the matching dies and
adhered everything, popping up some parts with foam tape.
These cuties are adorable, don't you agree? Love their faces :) Thank you for visiting, see you next week!
These cuties are adorable, don't you agree? Love their faces :) Thank you for visiting, see you next week!
--------------------------------------------------
Hello everyone, Anja here today with an interactive card. I rarely create these kind of cards but the Sliding Window Die makes it soo easy!
First, I created
an A2 card base from aqua cardstock. I die cut a stitched rectangle from the
violet grid patterned paper (Gingham
Pastels 6x6 Paper) which is slightly smaller. Next, I used the
sliding window die to create the interactive part. It's a flap with three folds
that can be popped up – but the card can be mailed flat into an envelope. Make
sure to only put adhesive to the outside frame when adhering it to your card.
I kept the design
of my card front pretty simple and decorated it with a white heat embossed
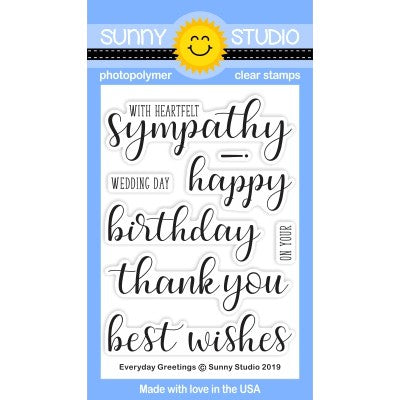
birthday sentiment (Everyday
Greetings Stamps), a cake (Make A Wish Stamps)
and three die cut hearts (Basic Mini
Shape Dies).
When you fold the
flap up, the inside will be revealed. And here is my fun surprise – the two
cute dogs from the Puppy Dog
Kisses set are ready to celebrate and they brought a pile of
gifts, too.
The gifts are from
two other stamp sets (Alpaca
Holiday Stamps and Foxy
Christmas Stamps). I stamped all images in Memento
Tuxedo Black Ink and colored them with Copic Markers. In the
background, I blended together two Distress Oxide Inks (Shaded Lilac and
Tumbled Glass) on a piece of Strathmore Bristol Smooth Cardstock.
I loved creating this interactive card – it looks really sweet on display :-) Thank you so much for stopping by! Have a wonderful day!
I loved creating this interactive card – it looks really sweet on display :-) Thank you so much for stopping by! Have a wonderful day!
Sunny Studio Supplies Used:
 Fancy Frames- Rectangles Shop at: Sunny Studio |
 Party Pups Stamps Shop at: Sunny Studio |
 Party Pups Dies Shop at: Sunny Studio |
 Happy Harvest Stamps Shop at: Sunny Studio |
 Happy Harvest Dies Shop at: Sunny Studio |
 Sliding Window Dies Shop at: Sunny Studio |
 Woodland Borders Dies Shop at: Sunny Studio |
 Mini Basic Shape Dies Shop at: Sunny Studio |
 Alpaca Holiday Stamps Shop at: Sunny Studio | |
 Alpaca Holiday Dies Shop at: Sunny Studio |
 Foxy Christmas Stamps Shop at: Sunny Studio |
 Foxy Christmas Dies Shop at: Sunny Studio |
 Gingham Pastels 6x6 Paper Shop at: Sunny Studio | |
 Flirty Flowers 6x6 Paper Shop at: Sunny Studio |
 Make A Wish Stamps Shop at: Sunny Studio |
 Make A Wish Dies Shop at: Sunny Studio |
 Puppy Dog Kisses Stamps Shop at: Sunny Studio | |
 Puppy Dog Kisses Dies Shop at: Sunny Studio |
 Everyday Greetings Stamps Shop at: Sunny Studio |


Oh, this is so cute!!
ReplyDelete