Hello friends! It's Juliana
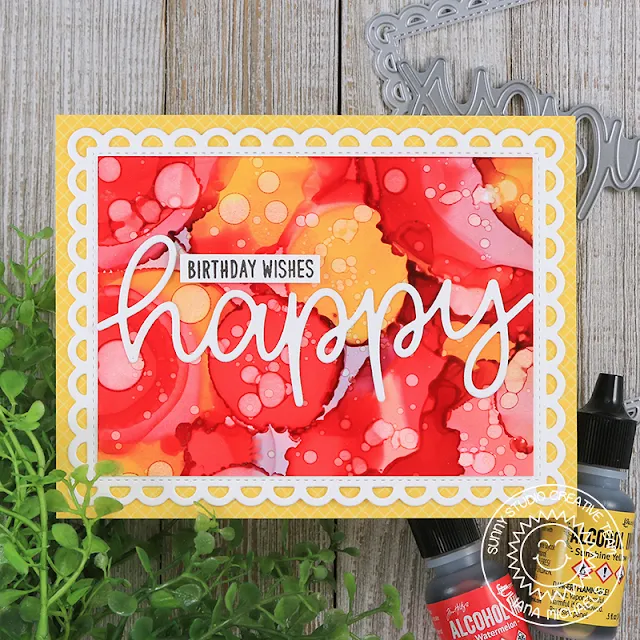
Michaels with you and today I'm sharing a birthday card featuring the Frilly
Frames Lattice Die and the Happy Word Die.
I combined them with a fun alcohol ink background to create a bright and
cheerful birthday card.
To get started I cut a piece of Yupo paper to size so that
the Frilly Frames Lattice Die would layer on top of it. I then squirted Ranger
Alcohol Ink in a mix of pink, red and yellow colors. I added small splatters of
Alcohol Blending Solution using a small paint brush to help blend the colors and
create the cells in the design.
Once the background was finished, I die cut a piece of white cardstock using the scalloped mat from the Frilly Frames Lattice Die. I then adhered this on top of the Alcohol Ink background.
Once the background was finished, I die cut a piece of white cardstock using the scalloped mat from the Frilly Frames Lattice Die. I then adhered this on top of the Alcohol Ink background.
I then adhered this entire piece on to a piece of yellow
patterned paper from the Classic
Gingham 6x6 Paper Pad. For the sentiment, I die cut a piece of white cardstock
using the Happy
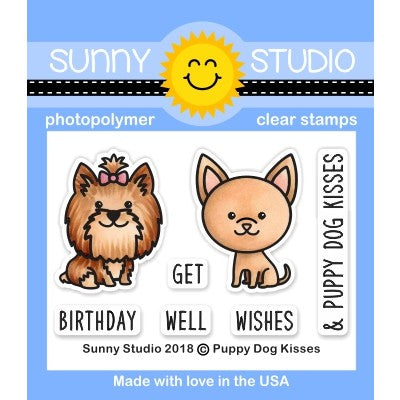
Word Die. To finish it off, I stamped “birthday wishes” from the Puppy
Dog Kisses Stamp Set onto a strip of white cardstock.
I really love how Frilly Frames Lattice Die creates the perfect frame for the custom Alcohol Ink I created. What will you frame using the Frilly Frames Dies? We can't wait to see what you create and share with us.
I really love how Frilly Frames Lattice Die creates the perfect frame for the custom Alcohol Ink I created. What will you frame using the Frilly Frames Dies? We can't wait to see what you create and share with us.
-----------------------------------------------------
Hi friends! Angelica here, and I have a card to share with you today that I made using the Frilly Frames Lattice die set. This set has two dies - a scallop rectangle die, and a lattice die to cut out the middle of the rectangle. I decided to use the lattice die a little different for this card.
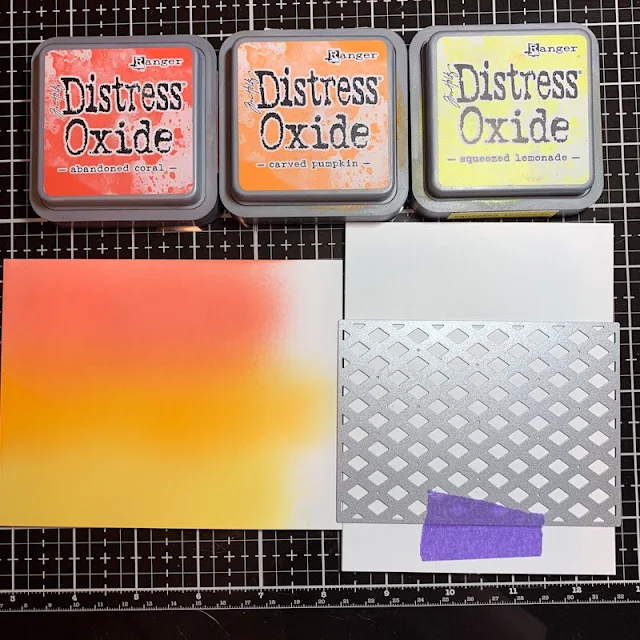
I cut two panels of card
stock to 4.2 5x 5.5. On one of the panels, I added double-sided adhesive to the
back. I taped the lattice die to the panel and ran it through my die cut
machine. On the other panel, I ink-blended Abandoned Coral, Carved Pumpkin, and
Squeezed Lemonade.
I removed the backing of the
adhesive and carefully placed the white panel on the inked panel, lattice over
the ink. I trimmed the panel down to 4 x 5.25. I ran the panel again through my
die cut machine to firmly push the papers together. Next, I used the Happy Word Die to cut out Happy 3
times from dark pink card stock. I glued and stacked them for height.
I picked out two sentiment
stamps from the Happy Thoughts stamp set (You Make / My Heart),
lined them up in my MISTI, and stamped onto coral card stock with embossing
ink. I then heat-embossed with white embossing powder. I adhered everything
together, and attached the foam-mounted panel to a white A2 card base. My final
touch was adding three die-cut hearts from the Comic Strip Everyday Dies, then adding shimmer and
Crystal Glaze to the hearts and Happy.
That's all I have for today. Thanks for stopping by!
That's all I have for today. Thanks for stopping by!
Sunny Studio Supplies Used:
 Classic Gingham 6x6 Paper Shop at: Sunny Studio |
 Comic Strip Everyday Dies Shop at: Sunny Studio |
 Happy Thoughts Stamps Shop at: Sunny Studio |
 Happy Word Die Shop at: Sunny Studio |
 Puppy Dog Kisses Stamps Shop at: Sunny Studio |
 Frilly Frames Lattice Dies Shop at: Sunny Studio |


Sweet cards, so bright and cheerful.
ReplyDelete