Hello there! Franci here with you today with
a happy card featuring the Staggered
Circles set. I decided to create a rainbow inspired card with these
fun circles and I'm so happy about how it turned out!
First
of all I created a standard size card and I cut down a coordinated panel both
out of white cardstock. I
placed the die onto my panel at an angle and passed it through my big shot
machine. Then
I colored all my circles in rainbow colors with Distress inks and I also inked
the backs of all my "circle windows" onto the front of my card to
make it even more colorful :)
I glued down all my circles
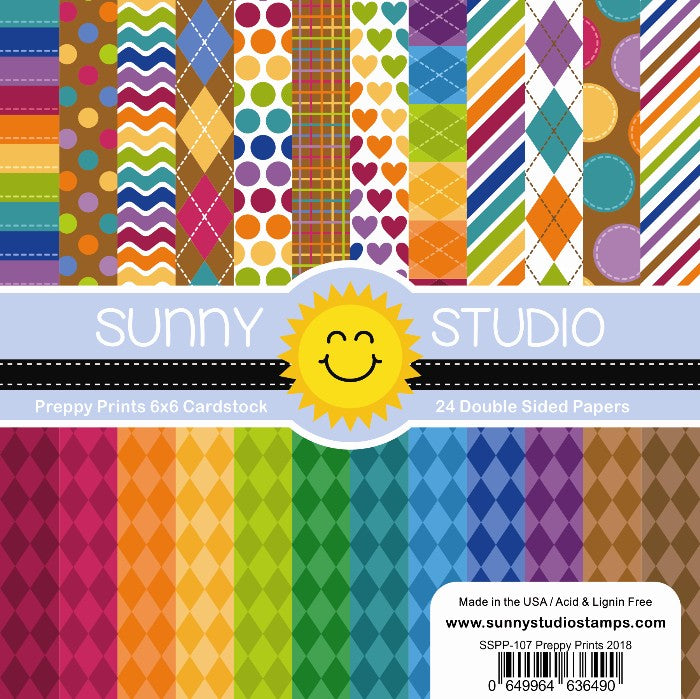
and the panel with foam adhesive then I die cut the Rainbow word and these little hearts
out of some Preppy
Prints paper and added them to my design.
Finally I stamped my sentiment from the Over the Rainbow stamp set and the card is complete! Hope you like it too and thank you so much for stopping by today, have a lovely day!
-------------------------------------------------
Finally I stamped my sentiment from the Over the Rainbow stamp set and the card is complete! Hope you like it too and thank you so much for stopping by today, have a lovely day!
-------------------------------------------------
Hi crafty friends! It's Mona here, today I am showing you a sweet card featuring Breakfast Puns Stamp Set and Staggered Circle Dies.
Next I made ink blending in the background. I used my
Distresses in the following order: Festive Berries, Picked Raspberry, Spun
Sugar and the result is a fresh "jelly" color look in the background.
The next step was heat embossing. I stamped the sentiment to the background from the Breakfast Puns and heated with white embossing powder.
The next step was heat embossing. I stamped the sentiment to the background from the Breakfast Puns and heated with white embossing powder.
The last process on my card was stamping and coloring. I
stamped many cute strawberries hearts and cute toasts with the Breakfast
Puns Stamp Set and colored them with Copic
Markers.
Copic Markers used: 0, RV52, RV02, RV04, RV06, RV55, RV66, R20, R24, R29, R59, YG01, YG03, YG93, E42, E43, E30, E33, E35, E44, E47
Copic Markers used: 0, RV52, RV02, RV04, RV06, RV55, RV66, R20, R24, R29, R59, YG01, YG03, YG93, E42, E43, E30, E33, E35, E44, E47
I styled my card, adhered the parts together and finished my
card. In the end I added a little sparkle to the white die-cuts
with Wink of Stella clear brush marker.
Thank you very much for reading through my post, I hope that you have enjoyed it and I have inspired you! If you like my creations let's be friends on Instagram. :)
Thank you very much for reading through my post, I hope that you have enjoyed it and I have inspired you! If you like my creations let's be friends on Instagram. :)
Sunny Studio Supplies:
 Breakfast Puns Stamps Shop at: Sunny Studio |
 Breakfast Puns Dies Shop at: Sunny Studio |
 Preppy Prints 6x6 Paper Shop at: Sunny Studio |
 Dapper Diamonds Embossing Shop at: Sunny Studio |
 Over The Rainbow Stamps Shop at: Sunny Studio |
 Rainbow Word Die Shop at: Sunny Studio |
 Staggered Circles Die Shop at: Sunny Studio |


No comments:
Post a Comment