Hello
there friends, Waleska here! My card today features the beautiful Tranquil Tulips
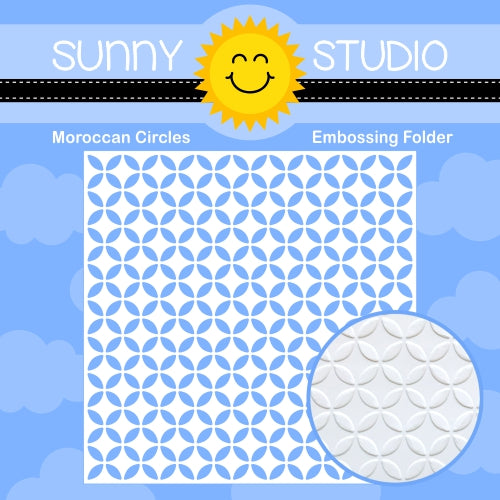
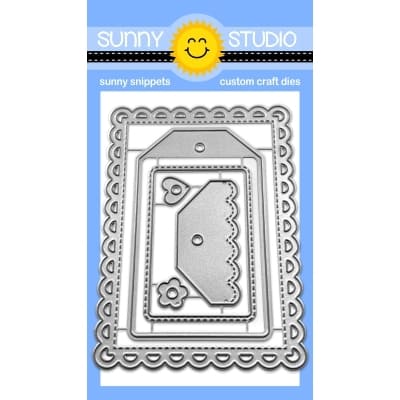
Stamps from the most recent release mixed with the Moroccan Circles Embossing folder and the Mini Mat and Tag Dies #3.
For this card I wanted the Tulips to be the focal point in my card, to do that I decided to leave the tulips very colorful and the background white so they can really stand out. I started by stamping the different layers of the tulips with the following inks: Hero Arts Ombre Pink Ink, Lawn Fawn Plastic Flamingo Ink and Lawn Fawn Lobster Ink, for the leaves I used Lawn Fawn Jalapeno Ink and Lawn Fawn Noble Fir Ink. I hand cut the tulips and arrange them in the way I wanted.
I then embossed a white panel with the Moroccan Circles Embossing folder and cut 4 of the scalloped rectangle from the Mini Mat and Tag Dies #3, I wanted to have dimension to this piece so I adhere them together. Finally I assemble my card by using the pattern paper as a base layer from the Dots and Stripes Jewel Tones, then the embossed panel and finally the small scalloped rectangle, my sentiment is from the Big Bold Greetings.
Thank you so much for
stopping by today I hope you will be inspired to create today by my post!
------------------------------------------
Hello crafty
friends! Marine here, so happy to
be back on the blog today with a bright & beautiful bouquet showcasing Tranquil Tulips!
It's no secret that I love to create little scenes with multiple images and
details, but I also really love to play with the amazing layering stamp sets we
have in the Sunny Studio catalogue.
I started off with the background. I knew that the flowers, watering can & shaker accessories would be very bright, and I didn't want all those elements to get lost on a too colorful background, so I picked a light pattern paper from the Subtle Grey Tones paper pack, and cut a 5,5 x 4,25 inches panel. Next I took a sheet of plastic from my stash a little bit bigger than my panel, added double sided tape along the four edges, placed my grey panel in the middle of it, and while keeping the panel in place with my left hand, I cut the four plastic corners off, and this way created four plastic tabs on each side of the grey panel. I folded and attached three of those tabs at the back of the grey panel, added a mix of sequins, jewels & confetti inside the plastic pocket, and then folded and attached the fourth tab to totally close the pocket. I attached my infinity shaker panel on a white card base using double sided tape, and then moved on to the images.
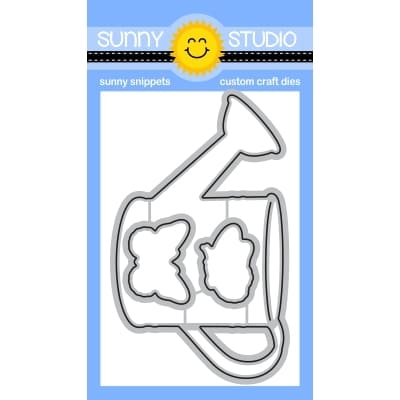
I stamped the tulips and leaves from Tranquil Tulips, as well as the watering can from Watering Can on Strathmore bristol smooth cardstock using distress oxide inks. For the tulips, I used spun sugar + kitsch flamingo + picked raspberry. For the leaves, I used shabby shutters + mowed lawn. And for the watering can, I used salvaged patina + hickory smoke. Once all the images were stamped, I used the coordinating dies to cut them all, and then I attached everything on the infinity shaker panel using foam squares.
And finally I created my greeting in two parts. I started by cutting the word "Thanks" out of gold mirror cardstock using a die from the Thank You Words die set. Next I white heat embossed the phrase "for always being there" from Words Of Gratitude on a dark grey slim banner, and then I attached both elements on the bottom left corner of my card using liquid glue and foam squares.
And that's it! I hope that you like this new shaker card! Feels like Spring, right? Thanks for stopping by, and see you next week with more flowers!
Sunny Studio Supplies Used:
 Words of Gratitude Stamps Shop at: Sunny Studio |
 Thank You Words Die Shop at: Sunny Studio |
 Dots & Stripes Jewel Tones 6x6 Paper Shop at: Sunny Studio |
 Moroccan Circles Embossing Shop at: Sunny Studio |
 Subtle Grey Tones Paper Shop at: Sunny Studio |
 Watering Can Stamps Shop at: Sunny Studio |
 Watering Can Dies Shop at: Sunny Studio |
 Mini Mat & Tag 3 Dies Shop at: Sunny Studio |
 Tranquil Tulips Stamps Shop at: Sunny Studio | |
 Tranquil Tulips Dies Shop at: Sunny Studio |


No comments:
Post a Comment