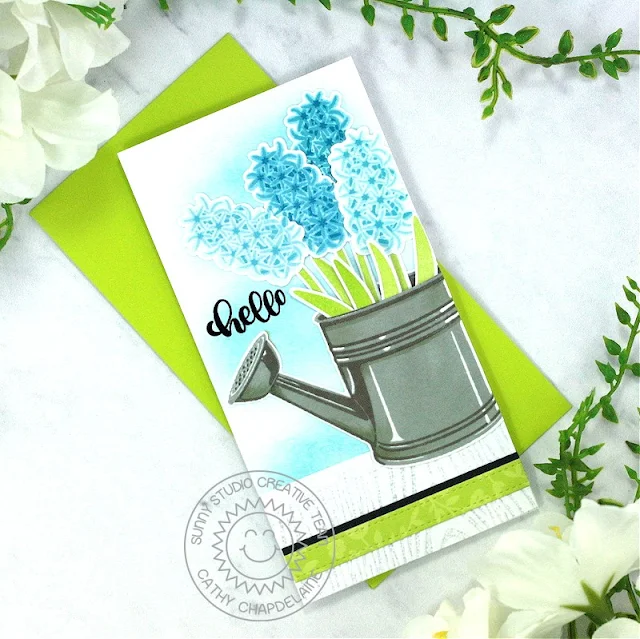
Hey friends! Cathy here today with a clean and simple mini slimline card featuring the beautiful Spring Bouquet Stamps. The hyacinth is one of my favorite Spring flowers and I love the gorgeous details of these stamped images!
To begin this card, I cut a piece of white cardstock 3 1/4" x 6 1/2" for the card front. (The card base is 6 1/4" x 6 1/2", scored on the 6 1/2" side at 3 1/4" and folded in half) I inked the panel with Tumbled Glass Distress ink avoiding the outside edges and heat embossed the sentiment in black on the left side approximately 2 1/2" from the top edge. I then adhered the panel to the card base.
Next, I inked the inside of the Woodgrain Embossing Folder with Lost Shadow Distress ink and embossed a 1 1/2" x 3 1/4” piece of white cardstock. I adhered this piece to the bottom of the card front.
To bring a little more green and black in, I die-cut a piece of Spring Fever Paper and a piece of black cardstock using the ribbon die from the Ribbon & Lace Border Dies. I cut them to 3 1/4" long, overlapped the green ribbon on the black ribbon and adhered them 3/8” from the bottom of the card front.
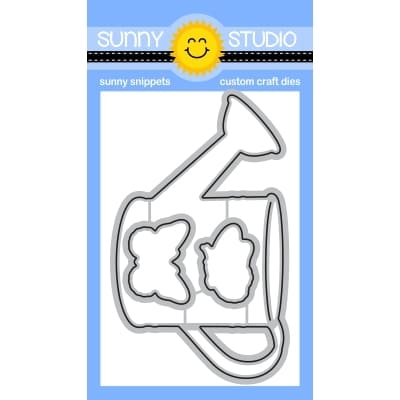
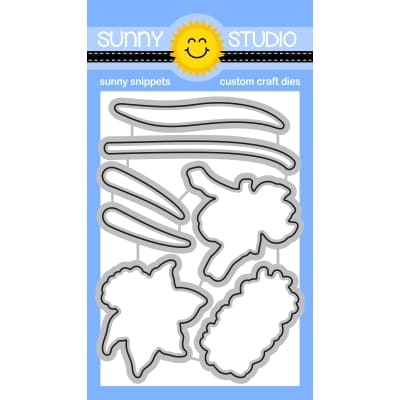
To finish, I stamped a watering can from the Watering Can Stamps on white cardstock, die-cut it using the coordinating dies and adhered it slightly overlapping the right edge. I used scissors to trim the excess from the right edge of the card. I then stamped the hyacinth, stems and leaves on white cardstock and die-cut them using the coordinating dies. I applied adhesive to the back of each piece and tucked them individually inside the watering can starting with the farthest pieces to the back and working my way towards the front of the can.
I hope you enjoyed my simplistic bouquet today and thanks for stopping by! For more inspiration, please visit my blog www.inkredibleadventures.com and you can also find me on Instagram as @cathy.chapdelaine.
--------------------------------------------------
Hi friends, Bobbi here with you. Spring is finally
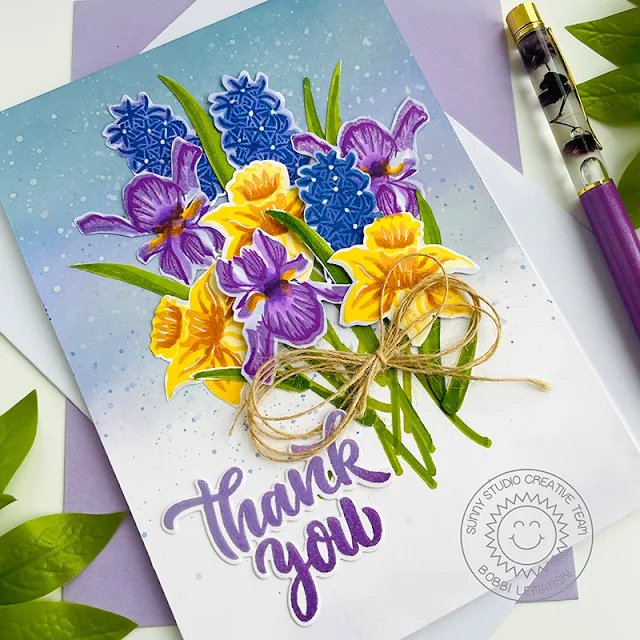
here TODAY! I’m so excited. It’s only fitting I feature the Spring Bouquet stamps and dies today on my card. This set includes
the iris, daffodil and hyacinth flower. I stamped three of each flower for my
card. I also used the "thank you" from the set, Big Bold Greetings stamps and dies set.
These layered flowers require no coloring, just inking! I used my MISTI tool to make the stamping quick and easy. For each layer, I set the stamps on my tool once, then stamped three sheets, one after another, to make the process efficient. I cut the pieces using the dies and arranged them on my front panel.
For the backdrop, I blended Distress Oxide Ink from the top down using shades of blue and lavender and a gray. I also splattered watercolor ink over the background in blues, purples and an iridescent white. This background really sparkles! I added the “thank you,” stamped in two shades of purple, to the bottom left corner. A hemp twine bow finishes the look.
Thanks for stopping by today. If you want to see more ideas and inspiration from me, subscribe to my blog, BobbiHartDesign.com. I’ll send you updates on new posts! You can also find me on Instagram as @BobbiHartDesign and on Facebook as BobbiHartDesign.
Sunny Studio Supplies Used:
 Woodgrain Embossing Shop at: Sunny Studio |
 Watering Can Stamps Shop at: Sunny Studio |
 Watering Can Dies Shop at: Sunny Studio |
 Big Bold Greetings Stamps Shop at: Sunny Studio |
 Big Bold Greetings Dies Shop at: Sunny Studio |
 Spring Bouquet Stamps Shop at: Sunny Studio |
 Spring Bouquet Dies Shop at: Sunny Studio |
 Ribbon & Lace Dies Shop at: Sunny Studio |
 Spring Fever Paper Shop at: Sunny Studio | |


No comments:
Post a Comment