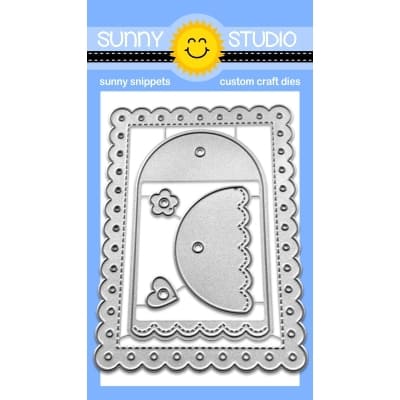
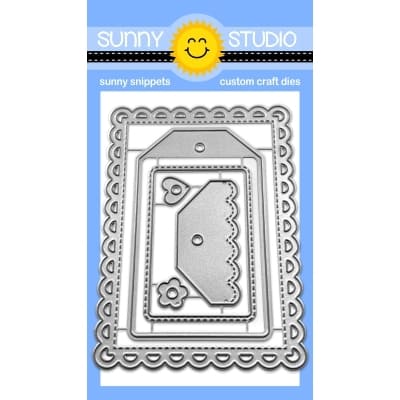
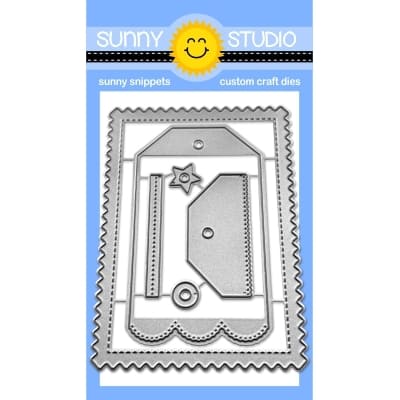
Hello everyone! Isha here with a card using various tags from the Mini Mat and Tag dies. All the tags are special in their own way and I couldn't decide on one so I decided to share all four of them so you can check out how they all look.
I used various patterns from the Joyful Holiday Paper to create the tags and combined them with some stamps or dies.
Mini Mat and Tag 3 dies - Die-cut a white tag. Die-cut the window from the pattern paper to create a shaker element onto this card. Adhere vellum from behind. Adhere the negative pattern piece to the white tag, add some sparkle glitter and cover it with the front piece with the vellum window. Stamp the images from the Classy Christmas stamp set onto vellum, heat emboss using WOW! opaque white embossing powder. Die-cut using the coordinating dies and colour using copic markers onto the back of the image. Adhere to the tag.
Mini Mat and Tag 4 dies - Die-cut the tag and create the window to create the shaker element as the above tag. Stamp the images, colour and die-cut.
Snowman - Snowman Kisses stamp and dies
Gift - Holiday Express stamp and dies; Penguin Party stamp and dies
Mini Mat and Tag 1 dies - Die-cut the tag. Cut one tag using vellum and adhere onto the pattern to soften the effect. Die-cut the twig using Winter Greenery dies, add versamark ink and sprinkle WOW! clear sparkle powder. Heat set. Adhere to the tag. Add some depth to the top green part by sponging a bit of lucky clover distress ink.
Mini Mat and Tag 2 dies - Stamp the images, colour using copic markers and die-cut. Add some Nuvo glitter drops for the sparkle to the hat and the stripe.
Penguin - Penguin Party stamp and dies
Holly and berries - Holiday Express stamp and dies
Snow - Snowman Kisses stamp
Assemble everything together.
Thank you for dropping by and have a nice day!
------------------------------------------------------
Hi folks, Kavya
here. I am back on the blog today with another fun project - See through shaker
tags! If you are looking for something elegant yet unique for your next holiday
tags - this might be the one!
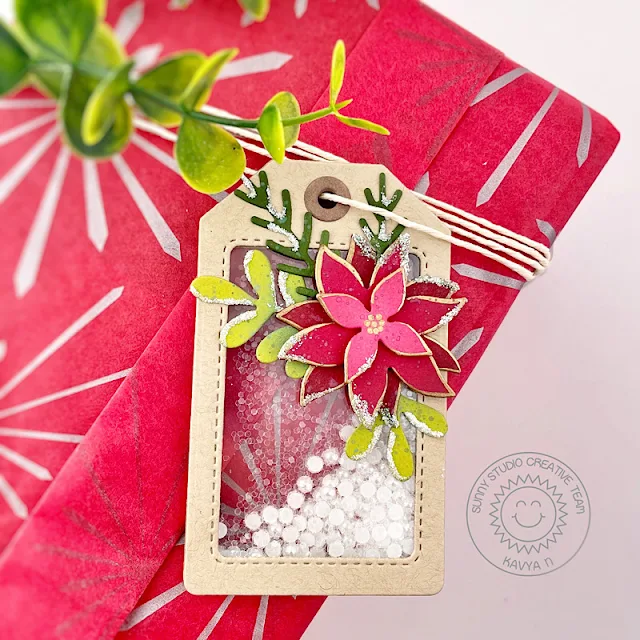
I first started off by die cutting the tag using Mini Mat & Tag 3 dies. Then, I cut the circle tag hole reinforcer using Mini Mat & Tag 4 dies. I filled my shaker using the smallest pearls similar to the ones in Ivory Lace Pearls and some white glitter. I used 1/8” foam strips to create the shaker part.
After you are done with the tag base, I created my poinsettia and winter greenery using Winter Greenery and Botanical Backdrop dies. I tried to make the floral dies more like a poinsettia by ink blending the edges and adding a thin gold border using a gold paint marker.
I finished off my card by adding some faux snow to the die cuts by adding some glossy accent to the edges and sprinkling some glitter on top. I decided to leave out the sentiment so that the shaker bits are clearly visible :)
That’s it! I hope you liked this fun project :) Happy Crafting!
Sunny Studio Supplies Used:
 Holiday Express Stamps Shop at: Sunny Studio |
 Holiday Express Dies Shop at: Sunny Studio |
 Botanical Backdrop Die Shop at: Sunny Studio |
 Classy Christmas Stamps Shop at: Sunny Studio |
 Classy Christmas Dies Shop at: Sunny Studio |
 Winter Greenery DIes Shop at: Sunny Studio |
 Penguin Party Stamps Shop at: Sunny Studio |
 Penguin Party Dies Shop at: Sunny Studio |
 Snowman Kisses Stamps Shop at: Sunny Studio | |
 Snowman Kisses Dies Shop at: Sunny Studio |
 Mini Mat & Tag 1 Dies Shop at: Sunny Studio |
 Mini Mat & Tag 2 Dies Shop at: Sunny Studio |
 Mini Mat & Tag 3 Dies Shop at: Sunny Studio | |
 Mini Mat & Tag 4 Dies Shop at: Sunny Studio |
 Joyful Holiday Paper Shop at: Sunny Studio |


No comments:
Post a Comment