Hello Crafty Friends, Marie here. It is officially the Holiday Season! I am sure by now, most of us are busy preparing for the Holidays and that includes Holiday Cardmaking! Today I am sharing a card design that I think is perfect If you don't have much time to create but still want something super festive, simple, and classy. Today's card features our Holiday Greetings stamps which creates beautiful bold Holiday sentiments in a gorgeous cursive font! I absolutely adore them! I also used the Classy Christmas stamps which features the classic super festive poinsettias that paired perfectly with the Holiday Greetings stamps.
I stamped my Seasons Greetings Sentiment using the Holiday Greeting stamps and cut out my sentiment using the Holiday Greetings coordinating dies which is such an amazing feature of this entire set! I really love how you can cut out the sentiments because it makes placing them so easy!!! I stamped my poinsettia images from the Classy Christmas stamps using Distress Ink in the color Antique Linen onto watercolor paper. I used Derwent Inktense water soluble pencils to color my images. Then I cut out my colored images using the Classy Christmas coordinating dies.
That concludes my simple Holiday card inspiration for this week! Thank you so much for joining me today on another card adventure! I hope you have an amazing week! Until next time, happy crafting and cardmaking!!!
--------------------------------------
Hello, my dears! It's Alma and I'm really getting into the Christmas spirit! I love to wrap presents beautifully and today I want to show you an XL gift tag that I made with the Santa's Stocking Dies.
First I punched out the individual sock elements in red and white three times. This gives the tag more stability when you glue it together later. I embossed the red sock part with the Lots of Dots Embossing Folder. This gives the socks a happy and fun pattern. Then I glued the individual sock elements together, also using 3D adhesive pads to make the tag look more lively.
To decorate my stocking, I decided to use the Deck the Hall Stamps images and stamped three of them, coloured and cut them out with the Deck the Halls Dies. Now we come to the most important thing! The stuffing of the stocking! I punched the candy canes from the Santa's Stocking Dies and the Winter Greenery Dies and coloured them with Copics.
Also snowflakes from the Snowflake Circle Frame Die should not be missing. To make a present, I used a die-cut window from the Window Quad Square Dies in kraft paper, painted white dots on it and tied it with red paper ribbon. A mini tag from the same set perfects the Christmas sock! Now I glued everything together and add stars and hearts from the Basic Mini Shape Dies 3.
Finally - and as a special highlight - I stamped
the Merry Christmas from the Holiday Greeting Stamps in red and punched it out with the Holiday Greeting Dies. At the end I attached the text to the waistband
of my socks, put an eyelet so that the tag can be tied with a bow - and the
gift-giving can begin!
Sunny Studio Supplies Used:
 Deck The Halls Stamps Shop at: Sunny Studio |
 Deck The Halls Dies Shop at: Sunny Studio |
 Santa's Stocking Dies Shop at: Sunny Studio |
 Lots of Dots Embossing Shop at: Sunny Studio |
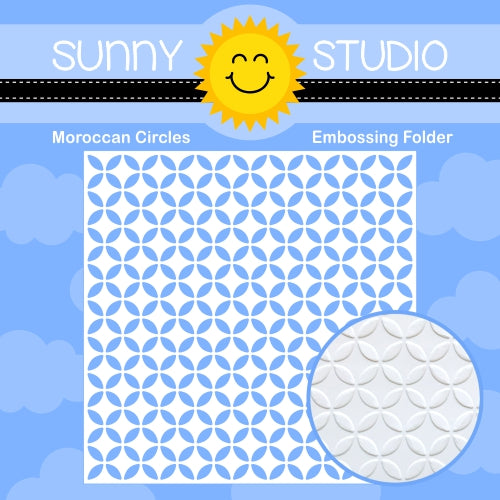
 Moroccan Circles Embossing Shop at: Sunny Studio |
 Snowflake Circle Frame Shop at: Sunny Studio |
 Window Quad Square Die Shop at: Sunny Studio |
 Classy Christmas Stamps Shop at: Sunny Studio |
 Classy Christmas Dies Shop at: Sunny Studio | |
 Mini Basic Shape Dies 3 Shop at: Sunny Studio |
 Winter Greenery DIes Shop at: Sunny Studio |
 All Is Bright Paper Shop at: Sunny Studio |
 Holiday Greetings Stamps Shop at: Sunny Studio | |
 Holiday Greetings Dies Shop at: Sunny Studio |


These are both lovely! Very pretty!
ReplyDeleteLori S in PA