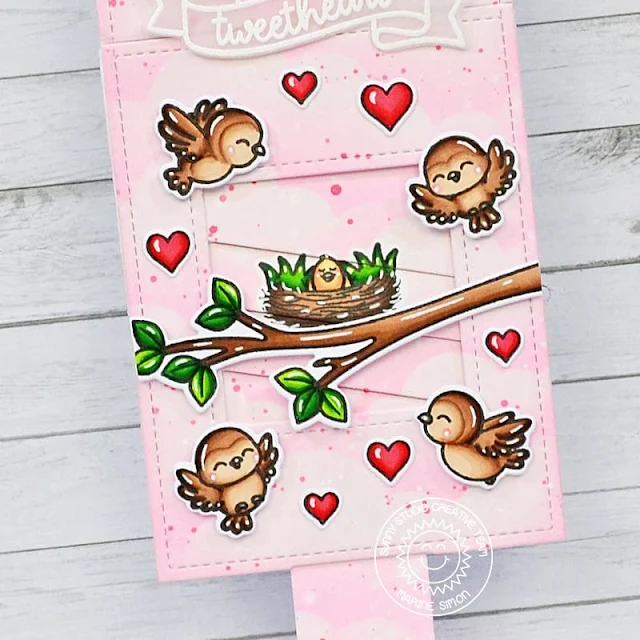
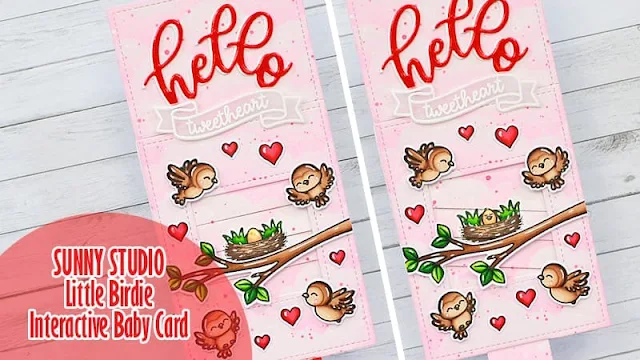
Hello crafty friends, Marine here, back with a new interactive card featuring the adorable Little Birdie stamp set. With that set, I've already created tropical birds and canaries, and today, I'm making a sparrow family welcoming a new baby bird.
I started off with the interactive part of the card, and created two little nests using some images from several sets: the nest is from Little Birdie, the egg is from Farm Fresh, the grass is from Holy Night and the teeny tiny bird is from Seasonal Trees. I did some masking and colored those images using my alcohol markers. You can check the video down below to watch the whole masking process, as well as the construction of the interactive element.
For the background, I cut a 6 x 3 inches mini slimline panel out of bristol cardstock, and I covered it first with spun sugar distress ink to get a nice and even soft pink base. And to give more interest to this plain background, I used a cloud stencil from my stash along with kitsch flamingo distress ink to create a lovely cloudy sky all over the panel. I also added some texture to this background: water splatters, white ink splatters, and worn lipstick distress ink mixed with water splatters.
Once the interactive element was done, I stamped additional images: some birds and the branch from Little Birdie and some hearts from Fabulous Flamingos using an alcohol marker friendly black ink and colored everything using my alcohol markers.
I cut those images using the
coordinating dies, and next I created my sentiment in two parts. First part: I
cut the word "Hello" using a die from the Slimline scalloped frame die set out
of red cardstock and out of white cardstock, and I stuck the white
"Hello" at the back of the red one to create an outline. Second part:
I white embossed the banner and the word "Tweetheart" from Little Birdie on
vellum, and I cut the pull tab decorative pieces.
And then I assembled everything on a 6 x 3 inches white card base. I attached the pocket using liquid glue, and the background piece above it using foam to be at the height of the pocket, next the handle at the end of the pull tab, and then the word "Hello" at the top of the panel, with the vellum banner right below. And finally the cute little sparrows and the branch using foam squares, and the hearts using liquid glue.
At the end, I added highlights
on the images using a white gel pen, and added glossy accents on the word
"Hello" for a touch of shine on the card. And that's it. A
lovely little scene with a sparrow family welcoming a teeny tiny baby sparrow
to the world. I hope you like this new sweet and cute interactive card, thanks
for stopping by and see you next week!
Watch video tutorial HERE.
-------------------------------------------
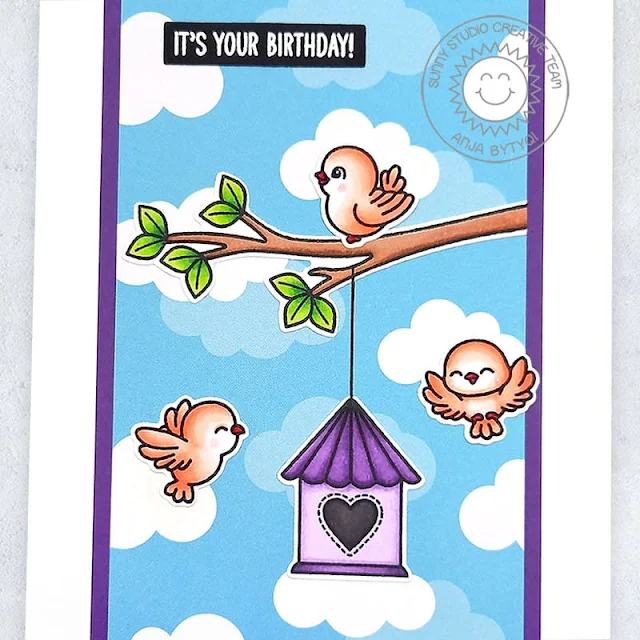
I started off with a white A2 card base and picked the cloudy design from the Summer Splash 6x6 Paper pack to be my background. I trimmed it to 3" width and matted it with dark purple cardstock.
Sunny Studio Supplies Used:
 Memento Tuxedo Black Ink Pad Shop at: Sunny Studio |
 Seasonal Trees Stamps Shop at: Sunny Studio |
 Seaonal Trees Dies Shop at: Sunny Studio |
 Summer Splash 6x6 Paper Shop at: Sunny Studio |
|
 Farm Fresh Stamps Shop at: Sunny Studio |
 Farm Fresh Dies Shop at: Sunny Studio |
 Holy Night Stamps Shop at: Sunny Studio |
 Holy Night Dies Shop at: Sunny Studio | |
 Slimline Scalloped Frame Shop at: Sunny Studio |
 Little Birdie Stamps Shop at: Sunny Studio |
 Little Birdie Dies Shop at: Sunny Studio |
 VersaMark Watermark Ink Shop at: Sunny Studio |


No comments:
Post a Comment