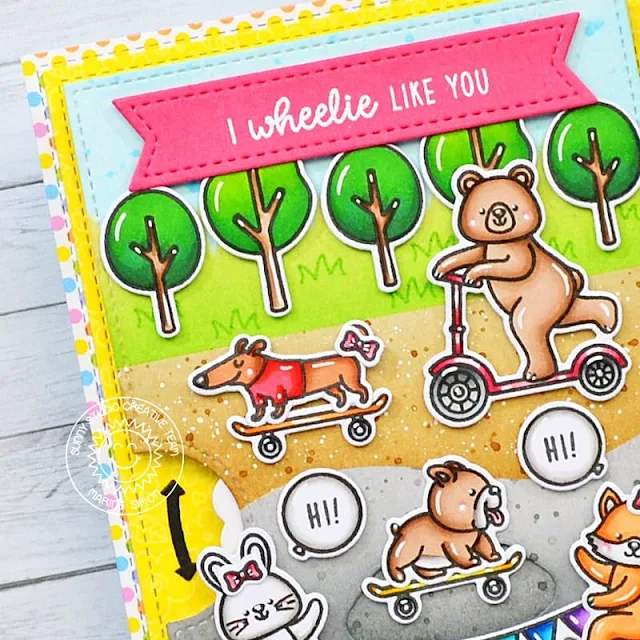
Hello crafty friends, Marine here, it's been a while since my last little scene, so I'm glad to be back today with this interactive card showcasing Critters on the Go. So let's go to the park to meet some friends and have fun riding scooters and skateboards!
I created the background first, and divided my panel in several parts. From top to bottom: the sky, a grass section, a path and then two riding ramps. I used stencils and masking tape to create those section along with distress inks:
- the sky: tumbled glass +
salty ocean
- the grass section: shabby
shutters + mowed lawn
- the path: frayed burlap +
gathered twigs
- the riding ramps: hickory
smoke + black soot
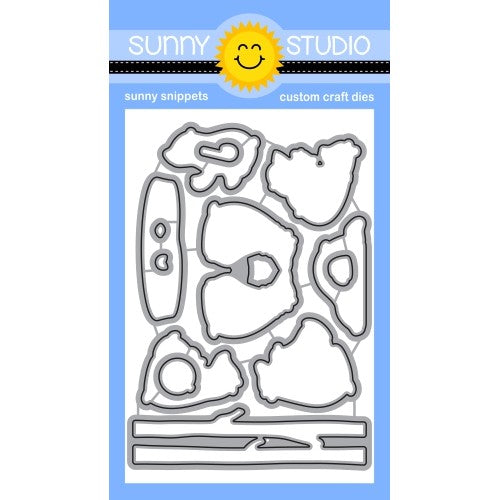
Next I created the interactive feature, so please watch the video down below to see the whole process, and then I did all the coloring. I stamped my images using an alcohol marker friendly black ink, I cut them all using the coordinating dies, and colored everything using my alcohol markers.
In addition to the images from Critters on the Go, I picked more images from different sets:
- Heart Bouquet -
small bows
- Spring Scenes -
trees & grass
- Balloon Rides -
banner
- Bear Hugs -
balloons to make speech bubbles
Once the coloring was done, I attached all my cute images on the interactive panel using foam squares. I cut a 5-1/2 x 4-1/4 inches panel out of a rainbow polka dot paper from the Spring Fling paper pack, I stuck that panel on a light blue card base and then attached my interactive panel on top of it using strong double sided tape.
For my sentiment, I cut a pink banner using a die from the Stitched Rectangle die set, I white heat embossed the phrase "I wheelie like you" using words from Critters on the Go and Fall Friends and attached the banner right above the trees.
As always, I added highlights and details on the images using a white gel pen, and finally, to tell the recipient of the card how to play with it, I cut two small black arrows. I attached one of them on the left side next to the scalloped wheel, and I cut the pointy end off the second arrow and stuck that tiny piece below the first arrow to get an arrow with two pointy ends.
And that's it! I hope that you like this adorable and fun little scene at the park, I will see you next week with a new Sunny Studio project!
----------------------------------------------------
Hello everyone, Anja here and today I'm back with a fun card featuring the Critters on the Go Stamps. I especially like the dogs on their skateboards!
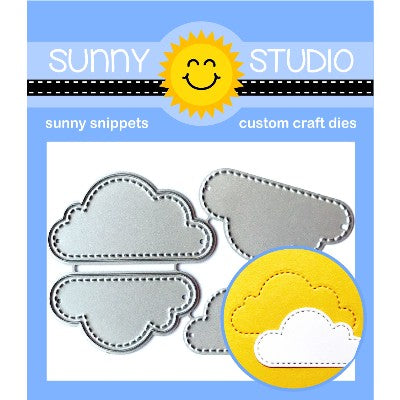
I started off with an A2 landscape card base and created a scene using the Slimline Nature Border Dies which I cut from several cardstocks. I also added stitched cloud shapes to the light blue sky with the Fluffy Clouds Dies.
Next, I stamped the images in Memento Tuxedo Black Ink and
colored them with Copic Markers. I used the coordinating dies to
cut everything out.
For my greeting, I cut the Hello Word Die from shiny holographic cardstock and stamped the sentiment from the Happy Hamsters set with turquoise pigment ink. I adhered the die cuts and images with liquid glue and finished off the card with three red hearts placed around the sentiment.
Thank you so much for stopping by! Have a wheelie great day!
Sunny Studio Supplies Used:
 Happy Hamsters Stamps Shop at: Sunny Studio |
 Stitched Rectangle Dies Shop at: Sunny Studio |
 Bear Hugs Stamps Shop at: Sunny Studio |
 Bear Hugs Dies Shop at: Sunny Studio |
 Fall Friends Stamps Shop at: Sunny Studio |
 Hello Word Die Shop at: Sunny Studio |
 Fluffy Clouds Dies Shop at: Sunny Studio |
 Spring Scenes Stamps Shop at: Sunny Studio |
 Spring Scenes Dies Shop at: Sunny Studio | |
 Spring Fling Paper Shop at: Sunny Studio |
 Slimline Nature Borders Shop at: Sunny Studio |
 Balloon Rides Stamps Shop at: Sunny Studio |
 Balloon Rides Dies Shop at: Sunny Studio | |
 Critters on the Go Stamps Shop at: Sunny Studio |
 Critters on the Go Dies Shop at: Sunny Studio |
 Heart Bouquet Stamps Shop at: Sunny Studio |
 Heart Bouquet Dies Shop at: Sunny Studio | |


These are both simply ADORABLE!! Thanks to Anja and Marine for sharing!
ReplyDeleteLori S in PA