Hi there! Franci here with
you today with a sweet card showcasing the Candy Shoppe set. Aww I love this
set so much!
Then I stamped, colored with Copics and die cut all my images from these sets: Candy Shoppe + coordinated dies and Beach Buddies + coordinated dies. I love these little bears surrounded by sweets and candies, they're so cute!
I'm so happy about how this card turned out and I hope you like it too :) Have a lovely day!
-------------------------------------------
Hey
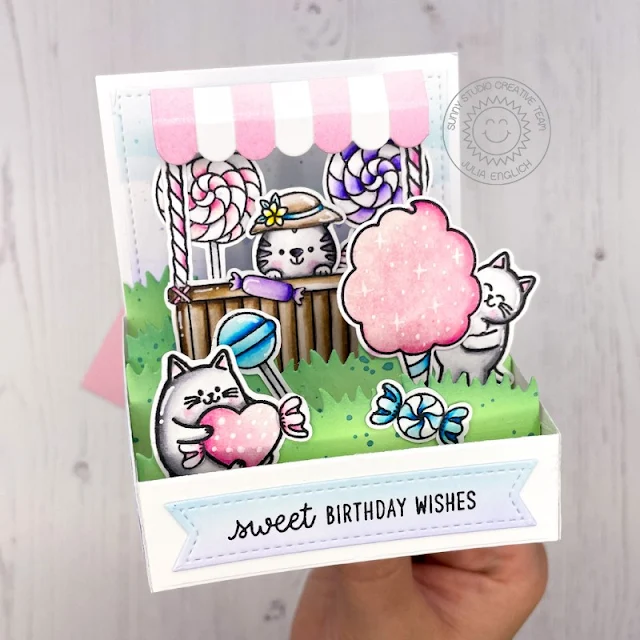
crafty friends! It’s Julia here with sweet
birthday box card!
First, I stamped out all of my adorable images from Candy Shoppe, Meow & Furever, Beach Buddies and Tiki Time onto Strathmore Bristol Smooth paper and I used Zig Clean Color Real Brush Markers to color them in.
Then, to create the box I used a die set, but you can also do it without any specialty dies! You will need one back panel measuring 3 1/2 x 4 1/2", two side panels 2 1/2" long, 2 slanting downwards to 1" in height. Those side panels are scored at 1/2" on the taller side. Finally, for the front of the box you need a strip of cardstock 4 1/2 x 1 " scored at 1/2" and 4". For the inside grassy borders, the panels measure 4 1/4 x approx. 1" and they are scored at 3/8" and 3 7/8". For the background of my box, I used the second to largest of the Stitched Rectangle dies and I just trimmed a little bit off at the bottom.
I ink blended
the stitched panel using a cloud stencil and Distress Oxide inks. I also added
the same ink colors to the sides of the box. For my sentiment strip, I used the
banner dies from the Stitched Rectangle dies,
added the same ink colors I used for the background and stamped the sentiment
from Candy Shoppe in
black.
Inks used: Tumbled Glass, Shaded Lilac, Spun Sugar, Kitsch Flamingo, Cracked Pistachio, Evergreen Bough Zig Markers used: 999, 904, 97, 94, 10; 64, 68; 52, 55; 200, 202; 803, 80;32, 31
To assemble the box, I added liquid glue to the flaps of the side pieces and adhered them to the back panel. I adhered my stitched background piece to the back and one of the grassy borders on top of that. Then, I added the front piece to the front of the left side panel and I also started adding my grassy hills with liquid glue to the inside of the left side panel. Once they had a bit of time to dry, I flipped the pieces over to the right, lined them up and added glue to all the flaps. Then I just had to close the right side panel onto the adhesive and give it some time to dry! I added the side panels and the sentiment banner to the outside of the box.
Finally, it was time to build my scene. I wanted to have a little candy stand, so I used the roof of the Sweet Treat House Add-On, the bottom of the tiki bar from Tiki Time and the twizzler sticks from Candy Shoppe to build it! I added all the accessories to the adorable little kitties and I adhered everything to the grassy borders inside the box!
Check out the video tutorial below to see how this card came together:
I had so much fun making this sweet box card and I really hope you like it! Thanks so much for stopping by today! Have an amazing week!
Sunny Studio Supplies Used:
 Beach Buddies Stamps Shop at: Sunny Studio |
 Beach Buddies Dies Shop at: Sunny Studio |
 Candy Shoppe Stamps Shop at: Sunny Studio |
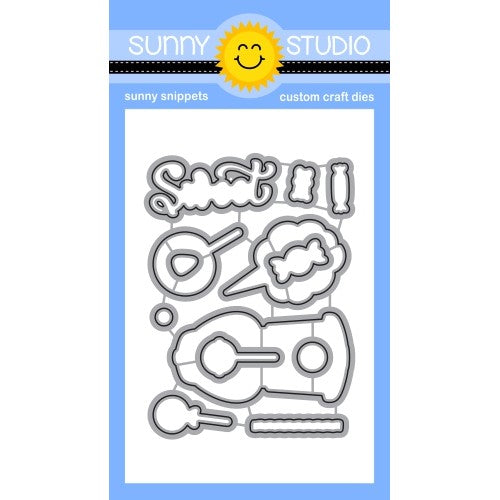
 Candy Shoppe Dies Shop at: Sunny Studio |
 Tiki Time Stamps Shop at: Sunny Studio |
 Tiki Time Dies Shop at: Sunny Studio |
 Stitched Rectangle Dies Shop at: Sunny Studio |
 Sweet Treats House Add-on Shop at: Sunny Studio |
 Meow & Furever Stamps Shop at: Sunny Studio | |
 Meow & Furever Dies Shop at: Sunny Studio |


No comments:
Post a Comment