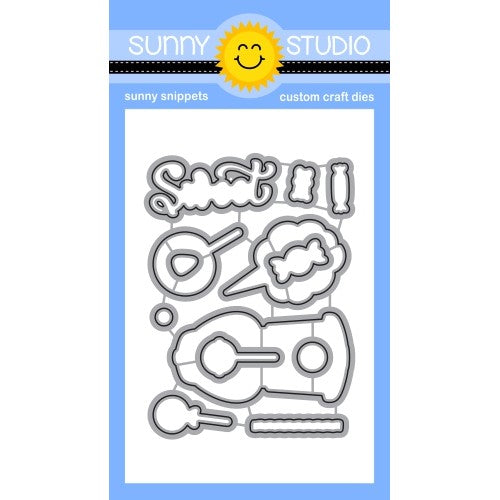
Hi folks, Kavya here. I am back on the blog with another fun card using the new Cupcake Shape Dies. For the past few weeks, I have been finding coloring very therapeutic. So, I jumped at the opportunity to color this gorgeous die from the new release! This set comes with pretty much everything (from sprinkles to cherries!) to make a delicious cupcake and all of these elements can be combined in endless ways to create a unique cupcake each time!
I first started off by die cutting the cupcake and the cherry out of white cardstock. I colored all of these elements using Prismacolors and alcohol makers. My sister is a huge fan of The Scran Line and she suggested that I use some of his cupcakes as inspiration. I went with traditional colors but if you want to try out some weird and fun color combos, I suggest you check out his IG … you won’t be disappointed! Later, I die cut the sprinkles using pink cardstock and then colored on top to make them a bit more realistic!
I wanted to turn this into a card so I die cut the cupcake outline out of white cardstock twice attached the two using a brad fastener/split pins. Now, I can rotate the cupcake to reveal a message inside! Finally, I adhered the cupcake on top and combined various sentiments from Inside Greetings Birthday and Candy Shoppe stamp sets to stamp a message for a special friend.
I hope you liked this fun yet healthy (I mean it's zero calories right?) cupcake! Be sure to check back tomorrow for more inspiration!
--------------------------------------------
Hello everyone! Isha here, sharing a shaped card with you. I
love creating shaped cards and this new Cupcake Shaped Die is the perfect size.
You can adhere it to a standard US card size or create a shaped card perfect to
go in the US size envelope.
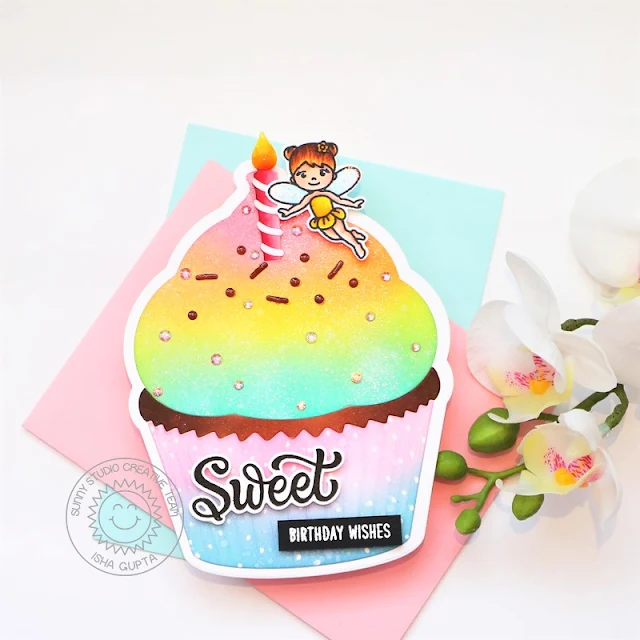
To start, I die-cut two white cupcake base panels to create the card base. Score one of the pieces from top to make the shape card and adhere this to the back of the front panel . The score line will help the card to stand.
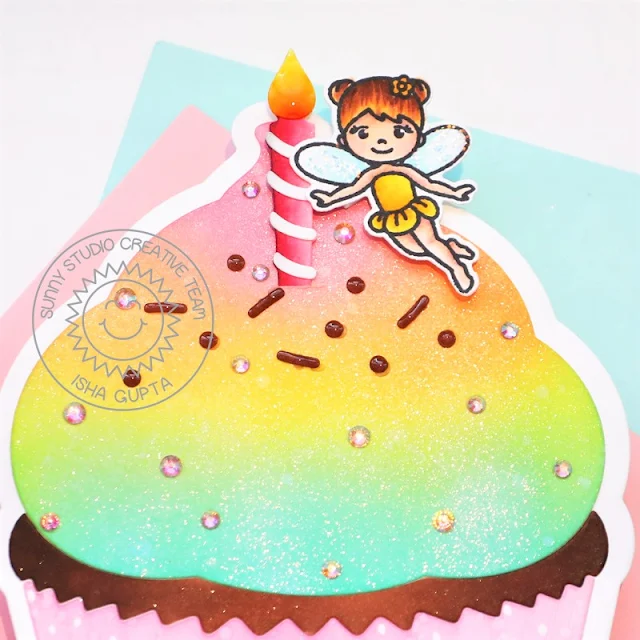
Die-cut all the parts of the cupcake. I decided to make rainbow
color frosting as I recently made a rainbow layered cake for my daughters
birthday :) Spray this with Imagine sparkle spray. I made the cake part
chocolate by coloring it with brown copic markers. I then sponged some inks to
create the wrapper and added some white dots to keep the whimsical theme going
:)
I then colored the candle using Copic markers. Adhere the flame
and add some glossy accents. Color the sprinkles in chocolate, add glossy
accent and adhere to the frosting.
Stamp the fairy from the Garden Fairy Stamp set, color, die-cut using the coordinating dies. Adhere to the cupcake as if the fairy is putting the candle onto the cake. Stamp the sentiment from the Candy Shoppe stamp set, die-cut the word Sweet using the coordinating dies. Adhere to the card. To finish, I added some Iridescent Jewels to the frosting.
Try creating shaped cards with any supplies you might have and
tag Sunny studio on social media. We would love to see your
creations. Thanks for dropping by.
Sunny Studio Supplies Used:
 Candy Shoppe Stamps Shop at: Sunny Studio |
 Candy Shoppe Dies Shop at: Sunny Studio |
 Cupcake Shape Dies Shop at: Sunny Studio |
 Garden Fairy Stamps Shop at: Sunny Studio |
 Garden Fairy Dies Shop at: Sunny Studio |
 Inside Greetings Birthday Shop at: Sunny Studio |


These are amazing!
ReplyDeleteThank you Angelica. I completely agree. :)
DeleteThanks so much for your order today. My hubby packaged your order, but I just wanted to say it's so appreciated and I can't wait to see what you create. Hope you're doing awesome.