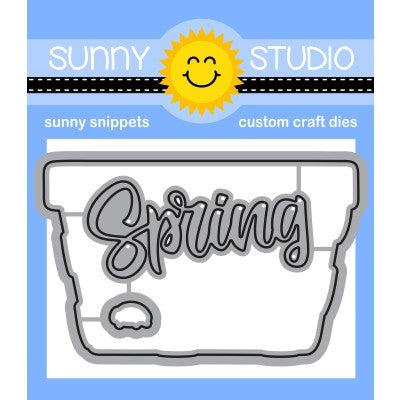
Hello everyone! Isha with you featuring the Layered Basket stamp and dies today. This is
such a beautiful layering stamp, which makes it so easy to get the perfect
texture. Ever since I saw this stamp, I wanted a hanging basket filled with
some tropical yummy things :) kind of reminder from holidays.
To start, I die-cut a white panel using the Fancy Frames Rectangle dies. I used the inside part of the frame and adhered 3D foam to the back side, leaving a small gap at the top to tie the floss. Stamp the basket using the Layered Basket stamp with various shades of gray inks. Die-cut using the coordinating dies.
Now we will stamp
all the images onto watercolor paper. The leaves from the Pink Peonies stamp set
onto color and die-cut using coordinating dies.
Berries from the Classy Christmas stamp set,
I turned them into blueberries, die-cut using the coordinating dies.
Finally the rest of the images are from the Tropical Paradise stamp set,
color and die-cut using the coordinating dies.
Stamp the sentiment from the Garden Fairy stamp set onto the basket. Sponge yellow and orange inks to the negative part of the frame to create the sky. Adhere to the card base. Adhere the frame. Make two holes in the basket, add floss through them. Tie to the top of the frame and tie knots. Adhere the basket by adding 3D foam towards the center to create dimension and then add all the images as per the card pics.
Thank you for
dropping by. Have a nice day!
Hi folks, Kavya
here. I am back with another cute critter card! This time, I am showcasing the
newly release Layered Basket stamp! This stamp is perfect with any of the previously
released florals or you can combine it with the new Eggs to Dye For stamp set! I combined it with the later to create an adorable
card for a special friend!
I first started off by using a pale blue cardstock as my base and ink blended the top half of the cardstock using various shades of blue for the sky. Then, I used the Nature Slimline Border die and a rectangular frame die to die cut the grass and the border out of green cardstock. I ink blended the edges as usual to make it more realistic. For the basket, I used various shades of grey ink to stamp the different layers. Pro tip - if you don’t have many shades, just stamp repeatedly using the same ink!
Later, I ended up die cutting multiple eggs from the Eggs to Dye For set out of white cardstock. I colored them in different pastel shades using alcohol markers and then later stamped the pattern on top using coordinating dye inks in a darker shade. Finally, I colored some chicks from the Chickie Baby stamp set and heat embossed a sentiment from the same stamp set!
I hope you liked this fun card! Be sure to check back tomorrow for more amazing inspiration from the design team!
Sunny Studio Supplies Used:
 Tropical Paradise Dies Shop at: Sunny Studio |
 Tropical Paradise Stamps Shop at: Sunny Studio |
 Fancy Frames- Rectangles Shop at: Sunny Studio |
 Chickie Baby Stamps Shop at: Sunny Studio |
 Chickie Baby Dies Shop at: Sunny Studio |
 Pink Peonies Stamps Shop at: Sunny Studio |
 Pink Peonies Dies Shop at: Sunny Studio |
 Slimline Nature Borders Shop at: Sunny Studio |
 Classy Christmas Stamps Shop at: Sunny Studio | |
 Classy Christmas Dies Shop at: Sunny Studio |
 Eggs To Dye For Stamps Shop at: Sunny Studio |
 Eggs To Dye For Dies Shop at: Sunny Studio |
 Garden Fairy Stamps Shop at: Sunny Studio | |
 Layered Basket Stamps Shop at: Sunny Studio |
 Layered Basket Dies Shop at: Sunny Studio |


The vacation in a basket is so cute!!
ReplyDelete