Hello crafty friends, Marine here, I'm super happy to be back with this extra busy slimline card that combines two of my favorite things: a stenciled background and alcohol marker coloring. I've had this idea of pairing the pandas from Panda Party with the panda umbrellas from Spring Showers for quite some time, and I'm thrilled to finally be able to share it with you!
I started off by stamping all my images on 80lb Neenah solar white cardstock using an alcohol marker friendly black ink, I cut them all using the matching dies, and colored everything using my Spectrum Noir Illustrator markers and my Graph'it brush markers. Obviously I used my black and light gray markers a lot to color my cute pandas and umbrellas, as well as greens, yellows and aquas for the leaves and flowers.
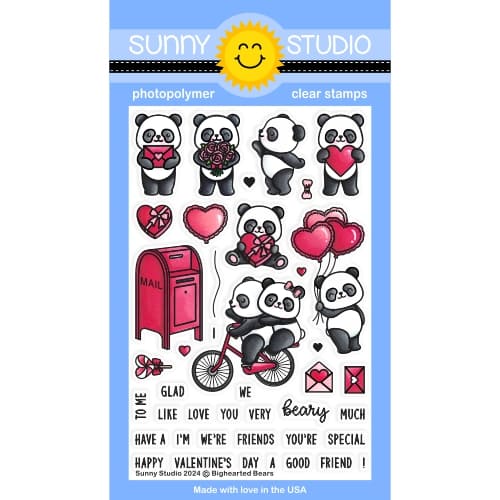
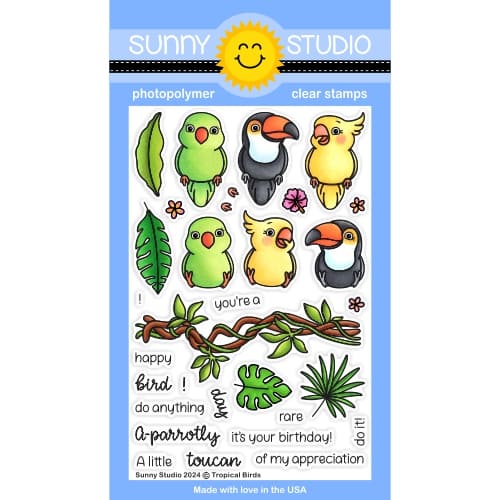
Here is a detailed list of the products I used: • Panda Party + Bighearted Bears - pandas • Seasonal Trees - log • Spring Showers - umbrellas • Fabulous Flamingos - leaves • Tiki Time - toucans • Bunnyville - butterflies • Tropical Birds - leaves, ivy, flowers • Silly Sloths - flowers, leaves.
To fit all my images in one single scene, I cut an 8.5 x 3.5 inches Strathmore bristol smooth panel, and colored it using stencils from my stash. On the lower part, I created a grass border using a slimline hillside stencil along with mowed lawn and rustic wilderness oxide inks. I then mixed some rustic wilderness oxide ink with water and used a small brush to make splatters on my grass border.
Next I covered the whole upper part with salvaged patina oxide ink, and used a bamboo stencil along with peacock feathers oxide ink to create a bamboo forest. I also applied a little bit of peacock feathers oxide ink on the edges of my panel, and added texture, starting with water droplets that I dried using a paper towel. Next I mixed some peacock feathers oxide ink with water, added splatters on my bamboo background using my small brush, and then did the same with copic opaque white ink. And finally, I used a rainy background stencil along with sparkling clear paste to make rain.
Once my panel was dry, I attached all my images on the panel using 1mm and 2mm foam squares, and then worked on my greeting. I started off by white heat embossing the banner from Little Birdie on vellum, next I embossed "You're pandastic" from Panda Party inside the banner, cut that banner using the matching die, and attached it to my panel using clear foam squares. And as always I finished my card by adding highlights and details to the images using a white gel pen.
And that's it! I had so much fun making this card, it turned out so stinking cute, don't you think? Thanks so much for stopping by, and see you next time!
Sunny Studio Supplies Used:
 Tiki Time Stamps Shop at: Sunny Studio |
 Tiki Time Dies Shop at: Sunny Studio |
 Fabulous Flamingos Stamps Shop at: Sunny Studio |
 Fabulous Flamingos Dies Shop at: Sunny Studio |
 Seasonal Trees Stamps Shop at: Sunny Studio |
 Seaonal Trees Dies Shop at: Sunny Studio |
 Silly Sloths Stamps Shop at: Sunny Studio |
 Silly Sloths Dies Shop at: Sunny Studio |
 Spring Showers Stamps Shop at: Sunny Studio | |
 Spring Showers Dies Shop at: Sunny Studio |
 Bunnyville Stamps Shop at: Sunny Studio |
 Bunnyville Dies Shop at: Sunny Studio |
 Little Birdie Stamps Shop at: Sunny Studio | |
 Little Birdie Dies Shop at: Sunny Studio |
 Panda Party Stamps Shop at: Sunny Studio |
 Panda Party Dies Shop at: Sunny Studio |
 Bighearted Bears Stamps Shop at: Sunny Studio | |
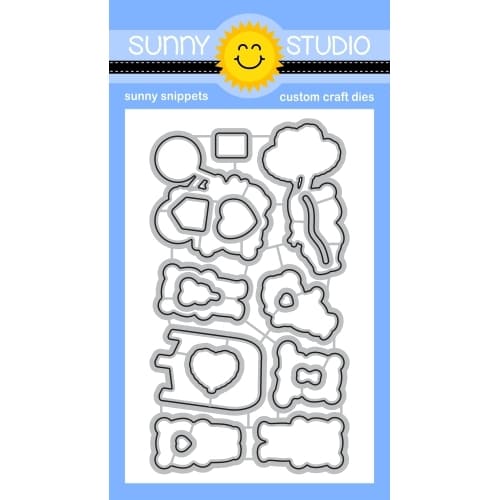
 Bighearted Bears Dies Shop at: Sunny Studio |
 Tropical Birds Stamps Shop at: Sunny Studio |
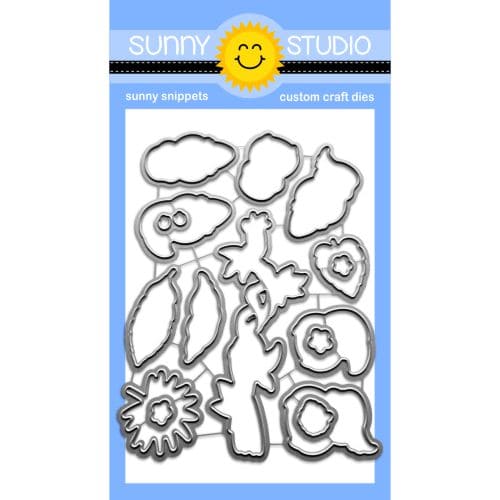
 Tropical Birds Dies Shop at: Sunny Studio |


No comments:
Post a Comment