Wednesday, July 3, 2024

Sliding Window Die Focused Card with Tina

Hello crafters, I am Tina and for today’s card we are making a fun interactive balloon scene! Using the Sliding Window dies makes it really easy to create this sweet project! 

Sunny Studio Stamps: Sliding Window Die Focused Card by Tina Henkens (featuring Balloon Rides)

This type of card works well with larger images and after browsing through my stash I found this adorable balloon with it’s cute bunny passenger (Balloon Rides).

I cut two panels of white card stock with a stitched rectangle die (4 x 5,25 inches) and one smaller piece measuring 3,25 x 4,75 inches. I lined up these 3 panels onto a large sticky mat and used a cloud stencil from my stash with Distress Oxides Tumbled Glass and Wilted Violet.

While these pieces were drying I stamped the balloon, the cute bunny, the sun and some clouds from Balloon Rides and colored them with my Copic markers. I went for cool colors that would match my cloud backdrop. The sentiment is from the same set and was stamped onto a small white strip with Versafine Onyx Black ink.

Sunny Studio Stamps: Sliding Window Die Focused Card by Tina Henkens (featuring Balloon Rides)

Then it was time to work on the interactive mechanism, I took one of the large cloud panels and placed the Sliding Window dies in the middle, I also used the notch die from this set at the top. After reenforcing the scorelines with a bonefolder, I added a thin strip of double- sided tape on the bottom tab of the slider so I could adhere my smaller panel to it.

Next, I stamped a little arrow in the ‘notch area’ of this smaller panel so the recipient knows how to ‘open’ the card mechanism! I adhered the second large cloud panel to a white card base and decided where I needed to glue the clouds on this ‘inside’ piece. I mounted both large cloud panels together with foam tape along the edges, that way the sliding mechanism has enough room to glide.

I cut another balloon shape from white card stock and glued it to the back of the colored one before adhering it to the bottom part of the folding panel. This will give more stability and a clean look.

Lastly, I placed the sun and clouds on to the scene and added the sentiment strip to the front piece. A few Crystal Clear Jewels were scattered around the balloon and clouds. I had a lot of fun creating this interactive card and I hope to see your creations soon!

Thank you for visiting the blog and happy crafting!

Sunny Studio Supplies Used:

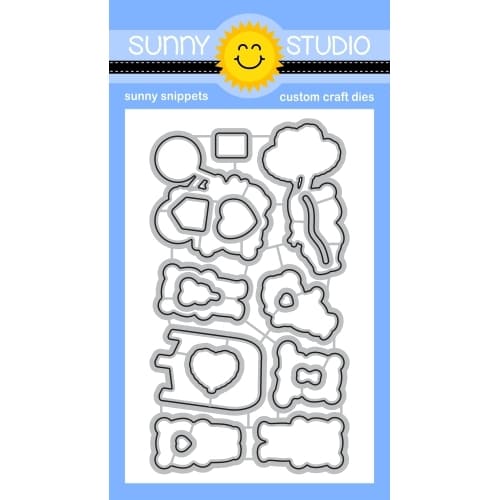
Sliding Window Dies
Sliding Window Dies
Shop at:
Sunny Studio
Balloon Rides Stamps
Shop at:
Sunny Studio

Tuesday, July 2, 2024

Limitless Labels Die Focused Card with Isha

Hello everyone! Isha back here with a rainbow theme card featuring the Limitless Labels 1 dies. This card was fun to create and I am happy with the result :)

Sunny Studio Stamps: Limitless Labels Die Focused Card by Isha Gupta (featuring Cherry Blossoms, Spring Greenery Dies)

I didn't snip the dies and used them to cut all the frames. Once the frames were die-cut, I sponged distress inks (wilted violet, picked raspberry, tumbled glass, salvaged patina, mustard seed, ripe persimmon) in rainbow order. Splatter some white paint. 

Sunny Studio Stamps: Limitless Labels Die Focused Card by Isha Gupta (featuring Cherry Blossoms, Spring Greenery Dies)

Next, I stamped the images from the Cherry Blossoms stamp set using watermark ink onto vellum, sprinkle white opaque embossing powder by WOW! and heat set. Die-cut the images using the coordinating dies. Die-cut the leaves using the Spring Greenery dies from white cardstock. Adhere the images to the layered labels. Adhere the labels to a white card using 3d foam.

Stamp the sentiment from the Punny Fruit Greetings onto black card, sprinkle white embossing powder and heat set. Cut a stripe of it and adhere to the card.

Have a nice day and thank you for dropping by!

Sunny Studio Supplies Used:

Cherry Blossoms Stamps
Shop at:
Sunny Studio
Cherry Blossoms Dies
Shop at:
Sunny Studio
Spring Greenery Dies
Shop at:
Sunny Studio
Punny Fruit Greetings
Shop at:
Sunny Studio
Limitless Labels 1 Dies
Shop at:
Sunny Studio

Monday, July 1, 2024

Mermaid Kisses Card with Leanne

Hello crafty friends! Leanne here and today I'm sharing a card featuring a sweet little scene I've created with the Mermaid Kisses stamp set

Sunny Studio Stamps: Mermaid Kisses Card by Leanne West (featuring Frilly Frame Dies, Stitched Semi-Circle Dies)

This card is A2 size. I started by creating the inky scallop edged panel. The outer die from the Frilly Frames Hexagon creates a scalloped panel with faux stitches. I did a little ink smooshing to color the panel. I used a mix of Salvaged Patina, Cracked Pistachio, and Peacock Feathers Distress Oxide inks. I also generously splattered the panel with metallic watercolor. I then used a Stitched Semi-Circle die to cut out the window.

Sunny Studio Stamps: Mermaid Kisses Card by Leanne West (featuring Frilly Frame Dies, Stitched Semi-Circle Dies)

In the window area, I created an underwater scene with the images from Mermaid Kisses. I Copic colored them with the following colors: BG10, BG11, BG13, YR12, YR16, YR24, B60, B63, B66, G00, G02, G03, E02, E11, E21. After adhered the Copic colored images in place, I stamped the sentiment and tiny bubbles to fill in the scene. 

Sunny Studio Supplies Used:

Frilly Frames Hexagon Dies
Shop at:
Sunny Studio
Stitched Semi-Circle Dies
Shop at:
Sunny Studio
Mermaid Kisses Stamps
Shop at:
Sunny Studio
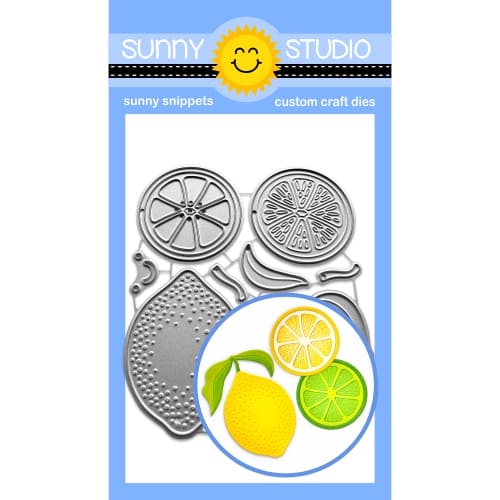
Mermaid Kisses Dies
Mermaid Kisses Dies
Shop at:
Sunny Studio