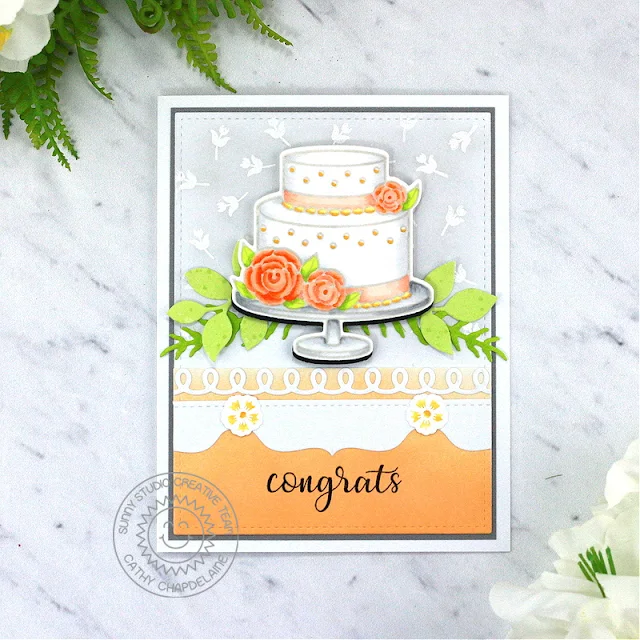
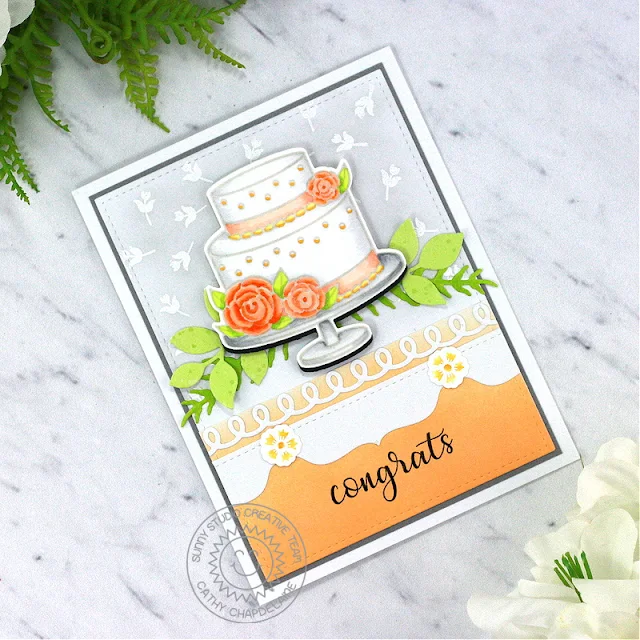
Hey friends! Cathy here today sharing a card featuring this gorgeous cake from the Special Day Stamps! I love a peachy orange/lime green color scheme as the weather gets warmer and I think this would make for a perfect summer wedding congrats card.
Next, I die-cut a second piece of white cardstock with the same Stitched Rectangle Die, cut it straight across at 2” and inked it in a gradient from light to dark using Dried Marigold Distress ink. I heat embossed the “congrats” sentiment from the Everything’s Rosy Stamps with black embossing powder 1/2" from the bottom of the cardstock.
For a little extra fanciness, I die-cut an Icing Border Die from white cardstock, adhered it at the top of the Dried Marigold piece and trimmed the excess from the right and left edges. I also die-cut 3 tabs from the Notebook Tabs Dies from white cardstock, adhered one centered on the Dried Marigold piece below the Icing Border and adhered the other 2 tabs to each side, trimming the excess from the edges. To cover where the tabs meet, I stamped a flower from the Fabulous Flamingos Stamps twice on white cardstock using Versamark ink and heat embossed them with white embossing powder. I then used a water brush and painted the inside of the flowers using yellow and orange inks. I die-cut the flowers using the coordinating dies and adhered them where the tabs meet. I adhered the Dried Marigold piece to the bottom of the Stitched Rectangle die-cut, matted the piece on silver cardstock and adhered it to an A2 card base.
Next, I inked 2 pieces of white cardstock (one with Twisted Citron Distress ink and one with Mowed Lawn Distress ink) and die-cut leaves using the Spring Greenery Dies. I adhered these above the Dried Marigold piece. To keep a light and airy feel to the card, I stamped the cake from the Special Day Stamps in light gray ink on Neenah Classic Crest 80lb solar white cardstock, colored it with Copics and die-cut it using the coordinating dies. To make the cake stand out a bit more and balance the black sentiment, I die-cut a piece of black cardstock with the coordinating cake die, cut the top portion of the cake off leaving just the cake stand portion and adhered the colored cake slightly overlapping the black die-cut. I then adhered the cake over the leaves with foam tape.
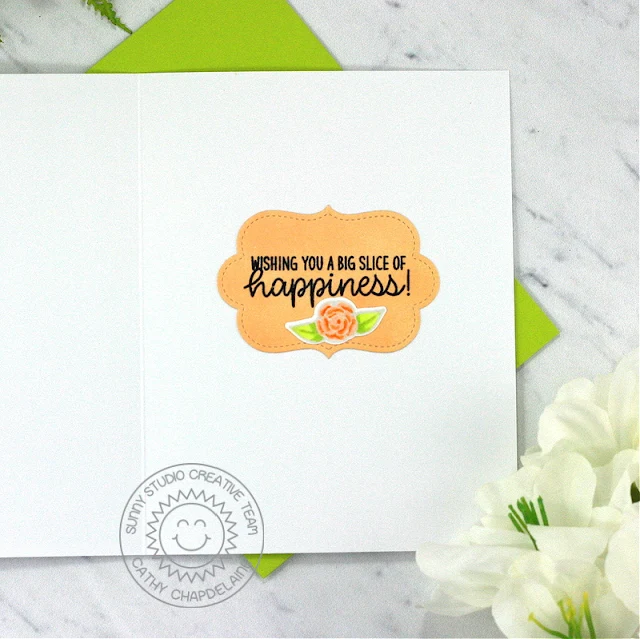
On the inside of the card, I heat embossed the sentiment from the Special Day Stamps with black embossing powder on white cardstock and die-cut it using a label die from the Sliding Window Dies. I then inked the die-cut with Dried Marigold Distress ink. I stamped a rose from the Special Day Stamps in light gray ink, colored it with Copics and die-cut it using the coordinating dies.
I hope you enjoyed and thanks for stopping by! For more inspiration, please visit my blog www.inkredibleadventures.com and you can also find me on Instagram as @cathy.chapdelaine.
Sunny Studio Supplies Used:
 Stitched Rectangle Dies Shop at: Sunny Studio |
 Icing Border DIes Shop at: Sunny Studio |
 Sliding Window Dies Shop at: Sunny Studio |
 Everything's Rosy Stamps Shop at: Sunny Studio |
 Fabulous Flamingos Stamps Shop at: Sunny Studio |
 Spring Greenery Dies Shop at: Sunny Studio |
 Notebook Tabs Dies Shop at: Sunny Studio |
 Special Day Stamps Shop at: Sunny Studio |
 Special Day Dies Shop at: Sunny Studio | |


Such a pretty and elegant card! I love the colors you chose, and thank you for the tip on adding the black to highlight the cake plate.
ReplyDelete