Hello
Friends, Waleska here. With this card I wanted to thank each of you that read my blog posts
and are very kind to me on social media when I share my Sunny Studio Stamps
cards. My card today features the Ribbon and Lace Border
dies and
the Garden Fairy Stamps.
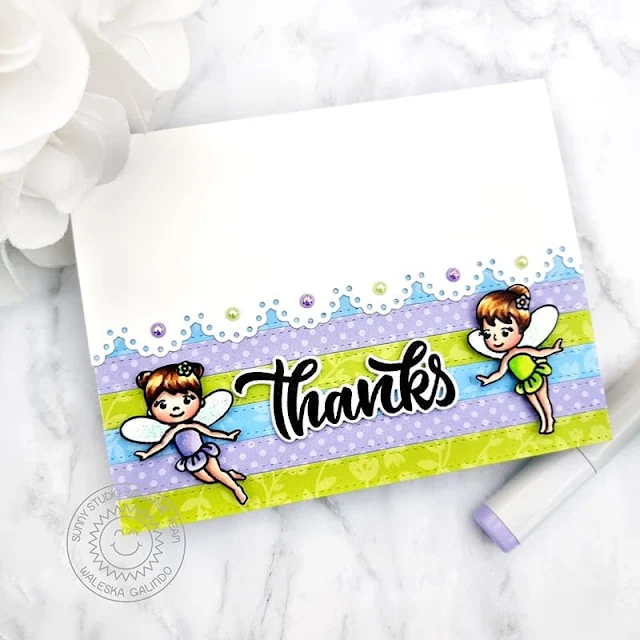
To create this card I started with the color palette I wanted something soft and spring and the Spring Fever paper has some beautiful prints and colors. I then cut some stripes with the Ribbon and Lace Border dies. I cut an A2 size card base and used one of the scalloped borders to create a beautiful border on the front, I then used the different color stripes to create a design on the front of this panel.
I stamped two of the cute fairies from the Garden Fairy Stamps and colored them with copic markers matching the colors of the paper I already used. I also stamped the word Thanks from the Big Bold Greetings stamps with Versafine Ink. I adhere the fairies and word on the front of the panel and to finish my card I added some gems to the scalloped border. Again thank you so much for stopping by today! Remember to stay safe and crafty!
---------------------------------------
Hello crafty
friends, Marine here with
you today, back with this Cinderella inspired card. I've had this idea in mind
for weeks, so I'm super happy to finally share this card with you. As very
often I wanted to feature a bunch of images on my card, so once again I went
for a slimline design, but used two Ribbon & Lace Borders to add an extra something else to the very bottom of my
card.
So, I started off by cutting an 8,5 x 3,5 inches Strathmore bristol smooth panel, and I used the straight die from Ribbon & Lace Borders to cut an inch out of the bottom of this panel. Next I colored my panel using stencils and oxide inks: mowed lawn + rustic wilderness for the hills, and wilted violet + blueprint sketch + black soot for the night sky.
I stamped my images on Transotype perfect coloring paper using an alcohol marker friendly black ink, cut them all using the coordinating dies, and used my alcohol markers to color everything. Here are the stamps I picked:
the castle,
the coach, and a princess from Enchanted
two mice &
the pumpkins from Harvest Mice
the tiny hat from Christmas Critters
the flowers from Chubby Bunny + from Chickie Baby
the trees from Spring Scenes
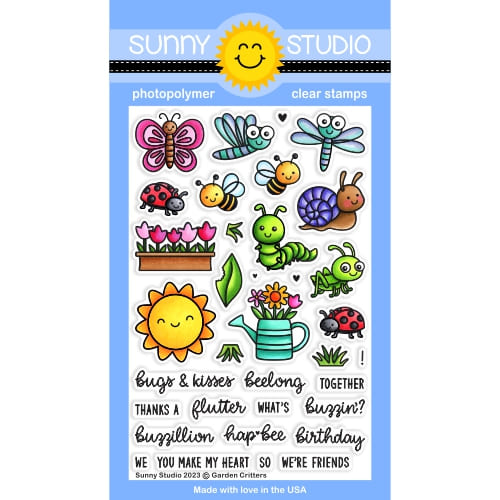
the grass from Garden Critters
Once all the images were colored, I attached them all on my panel using foam squares, and next I worked on the final details. I used another die from Ribbon & Lace borders to cut a scalloped border out of some purple glitter cardstock. I embossed my "Hoping your day is magical" greeting from Garden Fairy in silver on a piece of pink dotted paper from Spring Fever, and I attached those different pieces on a purple card base. And as always I finished my card by adding highlights and details on the images using a white gel pen.
And that's it! I really love how it turned out, with all the pumpkins, the coach, and the mice... I hope you like it too! As always, feel welcome to check the process video for more details! Thank you so much for stopping by, and see you next time!
Sunny Studio Supplies Used:
 Christmas Critters Stamps Shop at: Sunny Studio |
 Christmas Critters DIes Shop at: Sunny Studio |
 Chubby Bunny Stamps Shop at: Sunny Studio |
 Chubby Bunny Dies Shop at: Sunny Studio |
 Chickie Baby Stamps Shop at: Sunny Studio |
 Chickie Baby Dies Shop at: Sunny Studio |
 Enchanted Stamps Shop at: Sunny Studio |
 Enchanted Dies Shop at: Sunny Studio |
 Spring Scenes Stamps Shop at: Sunny Studio |
 Spring Scenes Dies Shop at: Sunny Studio |
 Harvest Mice Stamps Shop at: Sunny Studio |
 Harvest Mice Dies Shop at: Sunny Studio |
 Garden Fairy Stamps Shop at: Sunny Studio |
 Garden Fairy Dies Shop at: Sunny Studio |
 Big Bold Greetings Stamps Shop at: Sunny Studio |
 Garden Critters Stamps Shop at: Sunny Studio |
 Garden Critters Dies Shop at: Sunny Studio |
 Ribbon & Lace Dies Shop at: Sunny Studio |
 Spring Fever Paper Shop at: Sunny Studio |


No comments:
Post a Comment