Hello to you! Vanessa here with a mini slimline card using the gorgeous Spring Bouquet set.
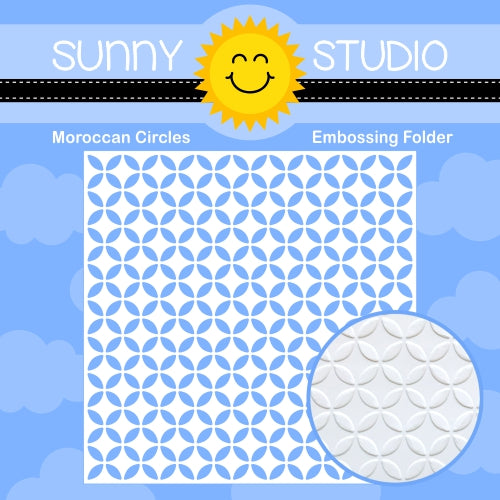
I trimmed a panel of light blue cardstock slightly smaller than my white card base and embossed it with the Moroccan Circles Embossing Folder before adhering it to the card. Then I stamped the flowers, die-cut the pieces with the matching dies and adhered them with foam tape.
Now I die-cut the banner from Fancy Frames Rectangle Dies from white cardstock, stamped the hello, trimmed the strip and adhered it.
I hope you like today's spring card! Have a wonderful weekend, see you next week!
------------------------------------------
Hello crafty friends, it’s Tina with
a colorful selection of flowers for you today! Each year, after putting away the Christmas decorations our house feels a bit
empty, so I bring in some cheerful Spring flowers. The new Spring
Bouquet stamp and die
set is perfect to create your own happy floral arrangements! I
combined it with the Layering
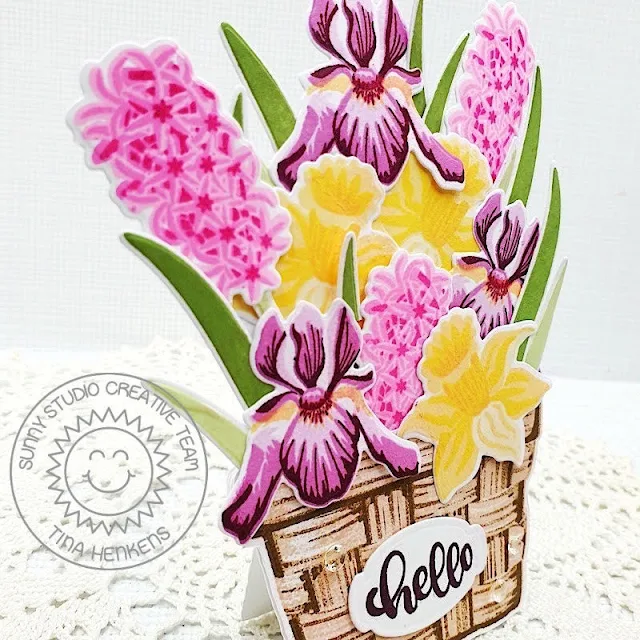
Basket and made a fun shaped card.
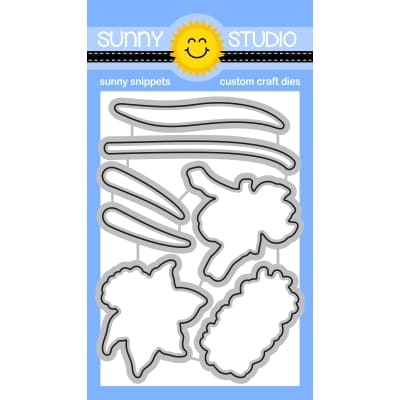
First, I stamped all my flowers three times using different inks from my stash for the individual layers. This is where having ink swatches comes in handy! I used two green tones for the stems and leaves. Next, I die cut all these images with the coordinating dies.
The basket was stamped in shades of brown. After die cutting the inked basket, I cut 5 extra basket shapes from white cardstock. For the sentiment I went with the beautiful scripty ‘Hello’ from the Spring Bouquet set and used a small die from my stash that framed the word really well. All my stamped elements were now ready, and I could start assembling the shaped card.
To create the base, I took one of
the white baskets and scored it at about a ¼ inch from the top. I added a strip
of strong score tape to that top part and glued the piece to a second white
piece. That gave me the ‘standing basket’ shape you see in the above picture. I
had three more white basket shapes left, I cut the middle part out of all of
them, creating three sided frames. These were all stacked onto the base, creating
room for the stems of the flowers. Finally, I added the ‘stamped basket’ as a
top layer.
Then it was time to create the
bouquet! Glue dots are your best friend during this stage, since they allow you
to easily shift the flowers around while you are doing the arrangement. I glued
a few flowers to the stems to get the height I needed. Leaves were added
randomly.
To gives extra support to the bouquet, I added white die cuts to the back. Lastly, I adhered the sentiment label to the basket and sprinkled a few Chrystal Clear jewels.
This shaped card was so much fun to make, and I hope you give this idea a try! Thank you for joining me and happy crafting!
Sunny Studio Supplies Used:
 Fancy Frames- Rectangles Shop at: Sunny Studio |
 Moroccan Circles Embossing Shop at: Sunny Studio |
 Layered Basket Stamps Shop at: Sunny Studio |
 Layered Basket Dies Shop at: Sunny Studio |
 Spring Bouquet Stamps Shop at: Sunny Studio |
 Spring Bouquet Dies Shop at: Sunny Studio |


No comments:
Post a Comment