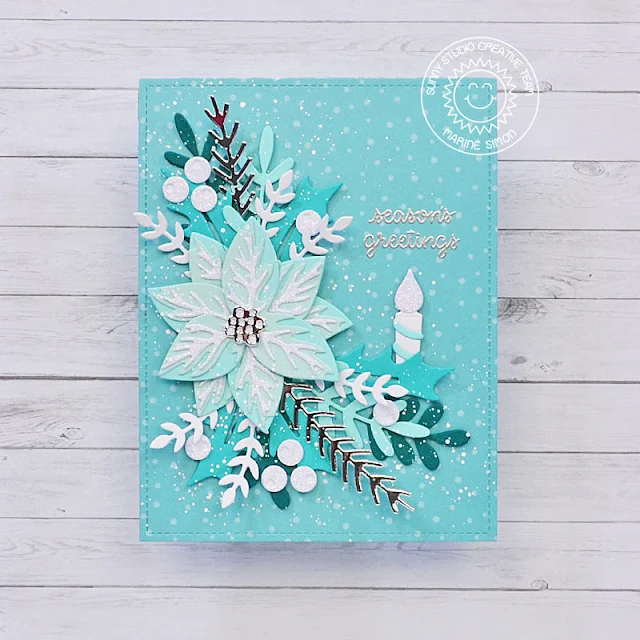
Hello crafty friends, Marine here with a very pretty poinsettia arrangement showcasing the Pristine Poinsettia die set and the Winter Greenery die set.
I cut a 5,5 x 4,25" panel out of a blue pattern paper from the All Is Bright 6x6 paper pack, as well as all the greenery and berry elements, and went with a turquoise color palette, with silver mirror and white glitter accents. But I think that this design would look gorgeous with a pink poinsettia + violet shades for the greenery + some silver glitter accents, or maybe something more traditional with a red poinsettia + green shades for the greenery + gold glitter accents. The possibilities are endless!
The first thing I did was to assemble the poinsettia and to do this, I referred to the guide on the Pristine Poinsettia page to help me build it the right way.
And once my poinsettia was done, I placed my panel in my Misti tool with everything (poinsettia + greenery) on top of it, just to get a general idea of the design, and I placed my sentiment stamps from Holiday Express on the right side. I removed the poinsettia and die cut pieces, and silver heat embossed my sentiment.
Next I stuck my panel on a blue card base, and I stuck all my elements, starting with the poinsettia using glue dots. And next the other pieces including the candle from the Cupcake Shape Dies using liquid glue and as well as foam squares to bring dimension.
Once everything was attached, I felt like it needed a final touch but I didn't want to add highlights using my white gel pen like I usually do, so I just mixed a few drops of Copic opaque white ink with water and splattered a few drops on top of the poinsettia and greenery to bring some kind of a frosty/snowy look.
And that's it! Click on the image above to watch my video tutorial! I hope that this card will inspire you to create your own floral arrangement, maybe a wreath would look great as well! Like I said: the possibilities are endless! Thanks for stopping by, and see you next week.
--------------------------------------------
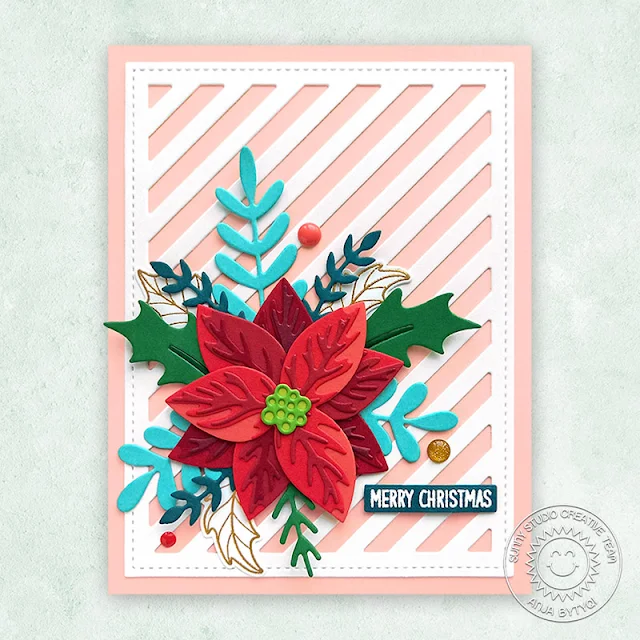
Hi everyone, Anja here and today's holiday card features the beautiful Pristine Poinsettia and Winter Greenery Dies that go perfectly together.
First, I created an A2 top-folding card base from light peachy pink cardstock. For the striped background, I combined the stitched rectangle mat (Frilly Frames Retro Petals Dies) with the diagonal stripes (Frilly Frames Stripes Dies) and cut it from white cardstock. I adhered it directly to the card base.
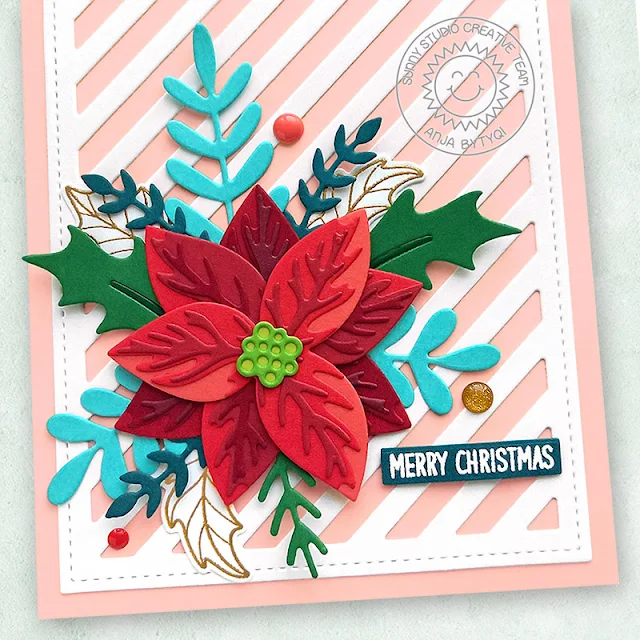
Next, I die cut the individual poinsettia layers three times from several tones of red cardstock. I assembled the sets and stacked them on top of each other. By rotating them a bit each time, I created a perfect multi-dimensional poinsettia. Finally, I die cut the center pieces from two shades of green cardstock and adhered them as well.
The greenery was die cut from aqua, dark teal and green cardstock. To build a pretty bouquet, I tucked the die cuts behind the poinsettia. I also added three gold heat embossed leaves from the Classy Christmas set. The Bear Hugs sentiment was stamped in VersaMark Ink onto a small cardstock strip and I heat embossed it in white. I popped it up with foam tape and adhered three enamel dots to finish off my card.
Thank you so much for stopping by! Wishing you a wonderful day!
Sunny Studio Supplies Used:
 Bear Hugs Stamps Shop at: Sunny Studio |
 Holiday Express Stamps Shop at: Sunny Studio |
 Frilly Frames Stripes Die Shop at: Sunny Studio |
 Frilly Frames Retro Petals Dies Shop at: Sunny Studio |
 Classy Christmas Stamps Shop at: Sunny Studio |
 Classy Christmas Dies Shop at: Sunny Studio |
 Pristine Poinsettia Dies Shop at: Sunny Studio |
 Winter Greenery DIes Shop at: Sunny Studio |
 All Is Bright Paper Shop at: Sunny Studio | |


No comments:
Post a Comment