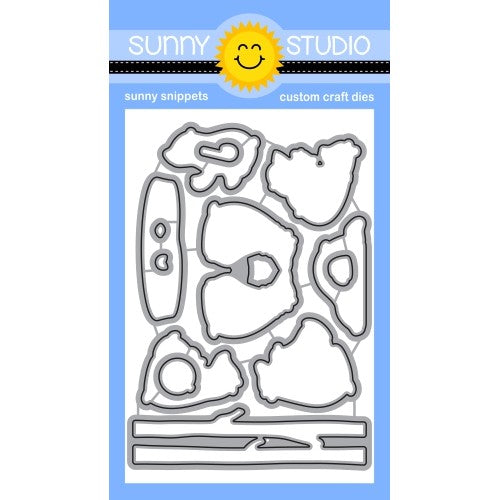
Hello everyone, Anja here with you today. Haven't created a fun one layer card for ages, so I combined the new Heart Bouquet Stamps with the Bear Hugs set.
First, I started off with a top folding A2 card base made from white heavyweight cardstock. I stamped the polar bear in Memento Tuxedo Black Ink onto a white cardstock panel and also created a mask for him. Next, I stamped the heart ballons and ice block. I created some masks for these images as well to cover them while I work on my background.
I masked off the bottom third, to blend the Distress Oxide Inks Dusty Concord, Milled Lavender, Spun Sugar and Tattered Rose together for the sky. I splattered on some ink with a small paint brush. After it was dry, I covered the background and applied Salvaged Patina ink for the water. I also stamped some waves which are included in the My Otter Half set.
It's always a magical moment when you peel off the masks. Now, I colored the images with Copic Markers. I stamped the sentiment in VersaMark Ink and heat embossed it in white. Finally, I cut out my scene with a stitched rectangle die and adhered it to the card base.
Thank you so much for stopping by! Have a lovely day!
-------------------------------------------
Hello crafty friends, Marine here, I'm thrilled
to be back with this new edge to edge mini slimline shaker card featuring the
lovely Heart Bouquet. I've created a hot air balloon using Balloon Rides, and also picked the
bunny from that stamp set to create a cute bunny couple.
To begin, I stamped the images using an alcohol marker friendly black ink, I cut them all using the coordinating dies and then I colored everything using my alcohol markers. I stamped the balloon bouquet three times to get a big balloon bouquet, and I went with traditional valentine colors: red, pink and white.
Next I created the background. I cut a 5-3/4 x 2-3/4 inches bristol panel that I covered with spun sugar distress ink. I used a cloud stencil along with worn lipstick distress ink to create a pretty pink cloudy sky. And I also added some texture to that cloudy sky: water droplets + a mix of worn lipstick and water + a mix of copic opaque white ink and water.
I took a plastic packaging from my stash and cut the four edges off to get two plastic sheets. I kept one of those, and added double sided tape on the four edges. I placed my cloudy panel right in the center of that plastic sheet and cut the four corners off. I attached the bottom tab at the back of the panel and did the same thing with the long sides. Through the last open side, I poured some heart droplets and tiny heart confetti inside the pocket. And then I attached the last tab at the back of the panel to finally close it.
I cut the word "Soar" out of red cardstock and out of white cardstock using the Chloe Alphabet die set. I stuck the white letters at the back of the red ones to create an outline. I also white heat embossed the phrase "You make my heart" from Balloon Rides on a light pink cardstock. And I cut a 6 x 3 inches white card base.
I attached the shaker panel on the card base, and then stuck the letters at the bottom and the small banner at the top using liquid glue. I added white dots and details on the images, attached them on the pocket using glue dots, and finally I applied a coat of glossy accents on each letter.
And that's it, we have a super cute, super shiny and super romantic shaker card that I think would also look fantastic with blue shades or even rainbow colors. Feel welcome to watch the process video (click on the image above) to see how easy it is to create an edge to edge shaker card. It was my last card for 2021, so I wish you a happy new year, and I will see you in January!
Sunny Studio Supplies Used:
 Chloe Alphabet Dies Shop at: Sunny Studio |
 Bear Hugs Stamps Shop at: Sunny Studio |
 Bear Hugs Dies Shop at: Sunny Studio |
 Balloon Rides Stamps Shop at: Sunny Studio |
 Balloon Rides Dies Shop at: Sunny Studio |
 My Otter Half Stamps Shop at: Sunny Studio |
 My Otter Half Dies Shop at: Sunny Studio |
 Heart Bouquet Stamps Shop at: Sunny Studio |
 Heart Bouquet Dies Shop at: Sunny Studio | |


No comments:
Post a Comment