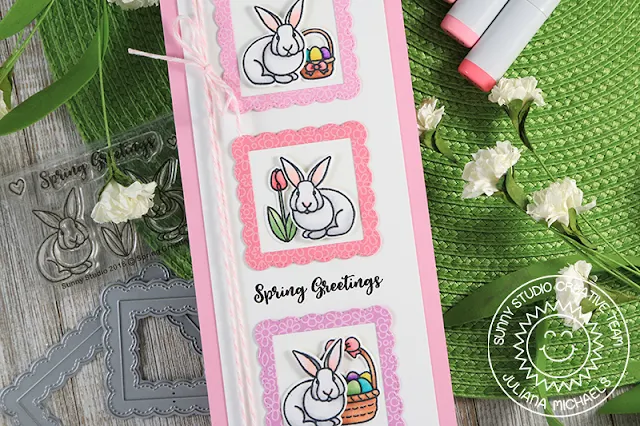
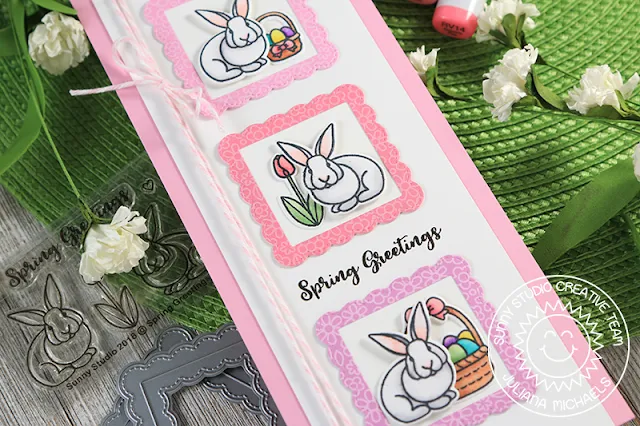
I began by stamping and coloring three bunnies from the Spring Greetings stamp set. I then added the tulip from the same set and a couple of Easter baskets from the Chubby Bunny stamp set.
After all of the coloring was complete, I took the smallest die from the Fancy Frames Square die and cut three squares from 3 three different colors of the 6x6 Flirty Flowers paper pad. I then backed each of these frames with a piece of white cardstock. Next, I adhered the stamped images to create a small scene on each frame and used double sided foam tape to give the bunnies a little bit of dimension.
For the card front, I trimmed a piece of pink cardstock to 3.5 x 8 inches and then layered a 3 x 8 inch piece of white cardstock on top. After positioning the bunny frames down the center of the card front, I stamped the sentiment from the Spring Greetings stamp set with black ink. I then finished off the card with a piece of pink and white baker's twine.
Thanks so much for joining me today. I hope you enjoyed this nontraditional sized card using the Spring Greetings stamp set.
--------------------------------------------------
Hello Friends!
Angelica here sharing a sweet Spring Greetings card, featuring the Spring Greetings stamp set and coordinating dies. I also used a few products from the new release. Let me show you
how I made this card.
I stamped the
tulips and hearts from the Spring Greetings stamp set, and daisies from the Chubby Bunnies stamp set onto white card stock. I colored the images with Copic
Markers, then trimmed the panel down.
Out of pink card stock, I die-cut a circle frame using the middle-sized Fancy Frames Circle Die, and a scalloped mat with Frilly Frames Lattice. I die-cut a circle out of the middle of my colored panel to make a window, and glued on the pink frame. With a large dauber, I blended Tumbled Glass Distress Oxide ink onto white card stock. I stamped the sentiment with Versafine Clair Nocturne ink onto the same panel, then attached the window.
Out of pink card stock, I die-cut a circle frame using the middle-sized Fancy Frames Circle Die, and a scalloped mat with Frilly Frames Lattice. I die-cut a circle out of the middle of my colored panel to make a window, and glued on the pink frame. With a large dauber, I blended Tumbled Glass Distress Oxide ink onto white card stock. I stamped the sentiment with Versafine Clair Nocturne ink onto the same panel, then attached the window.
I added the panel
to the scalloped mat with double sided adhesive, then attached it to an A2 size
card base. I used thin foam adhesive squares to add the bunnies and tulips.
That's all that I have for today. Thanks so much for stopping by!
That's all that I have for today. Thanks so much for stopping by!
Sunny Studio Supplies Used:
 Fancy Frames-Circle Dies Shop at: Sunny Studio |
 Fancy Frames-Square Dies Shop at: Sunny Studio |
 Flirty Flowers 6x6 Paper Shop at: Sunny Studio |
 Chubby Bunny Stamps Shop at: Sunny Studio |
 Chubby Bunny Dies Shop at: Sunny Studio |
 Spring Greetings Stamps Shop at: Sunny Studio |
 Spring Greetings Dies Shop at: Sunny Studio |
 Frilly Frames Lattice Dies Shop at: Sunny Studio |


LOVE the flower background card!!!!!!!!!
ReplyDeleteVery pretty!
ReplyDeleteReally Cute cards!!
ReplyDelete