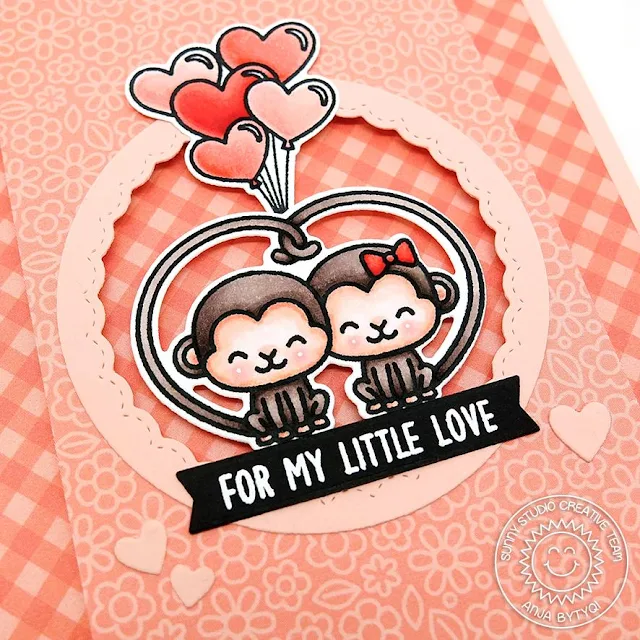
I started with an A2 card
base cut from blush pink cardstock. Next, I picked some patterned papers in
nice coral tones. One is from the Gingham
Pastels 6x6 Paper pack and the other from the Flirty
Flowers 6x6 Paper pack. I really like how you can mix
and match them. I cut the gingham paper slightly smaller than A2 and directly
adhered it to the card base.
I wanted the monkeys to sit in a circle window and created it by mounting the floral paper on a piece of fun foam and die cutting a circle. I also die cut one of the Fancy Frames Circle Dies from cardstock and put it on top of the circle opening as an decorative accent.
I wanted the monkeys to sit in a circle window and created it by mounting the floral paper on a piece of fun foam and die cutting a circle. I also die cut one of the Fancy Frames Circle Dies from cardstock and put it on top of the circle opening as an decorative accent.
Now, I stamped the monkey
couple as well as the heart balloons from another image in Memento
Tuxedo Black Ink and colored them with Copic Markers
(colors listed below). I used the coordinating dies to
cut the images out and glued the balloon strings behind the tails of the
monkeys.
(Copic colors used: monkeys - E0000, E000, E00, E11, R20 – E70, E71, E74, E77, E79; balloons/bow - R000, R20, R21, R22, R24, R27)
(Copic colors used: monkeys - E0000, E000, E00, E11, R20 – E70, E71, E74, E77, E79; balloons/bow - R000, R20, R21, R22, R24, R27)
Thank you so much for stopping by! Enjoy your day!
-------------------------------------------------------
Hi everyone! Vanessa here today with a fun shadow box card using Love Monkey. I love interactive, pop-up, sliding cards and it is a lot easier to create them than you might think. Here is what I came up with.
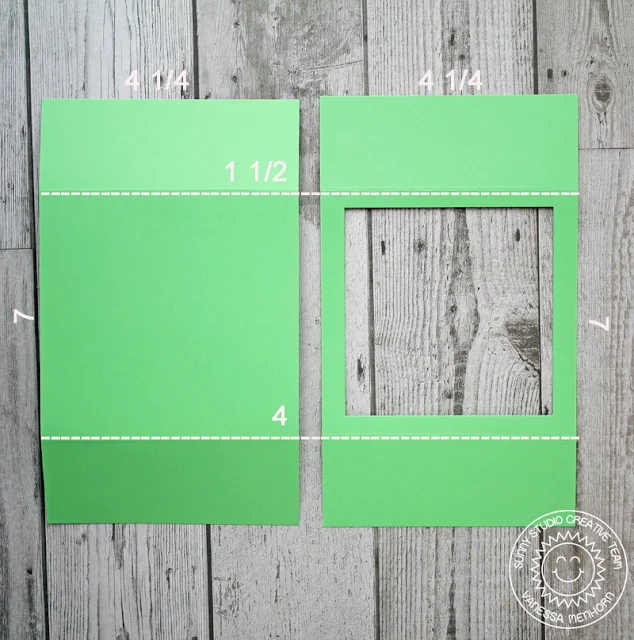
First, I created the box base. For this, I trimmed two pieces of cardstock the size 7 x 4 1/4, scored them at 1 1/2 and 4 and die-cut a square from the front piece.
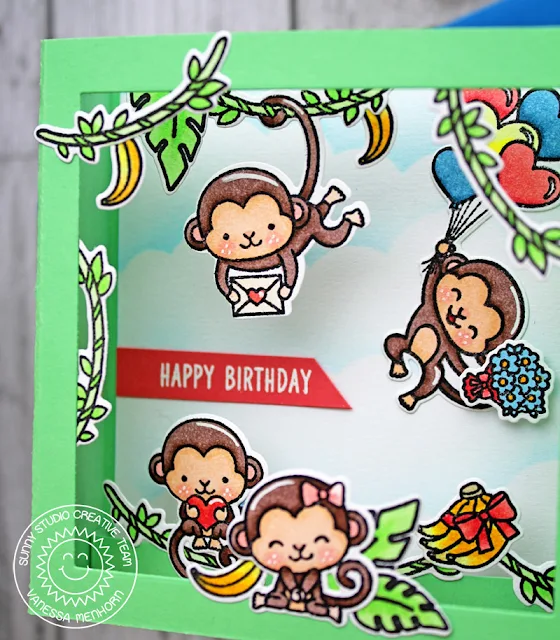
After I had assembled the box, I trimmed a square from white cardstock for the background, inked it with an ink blending tool and a cloud stencil and adhered it. Now I stamped the images onto white cardstock, colored them with Copics, die-cut them with the matching dies and adhered them to the box.
For a second layer, I just added a strip of the green cardstock to the top and the bottom of the box and was able to adhere some images there for more depth.
Finally, I
stamped the sentiment, using the Polar Playmates stamp set, onto a strip of red cardstock, heat-embossed it with
white embossing powder, trimmed it and adhered it to the background.
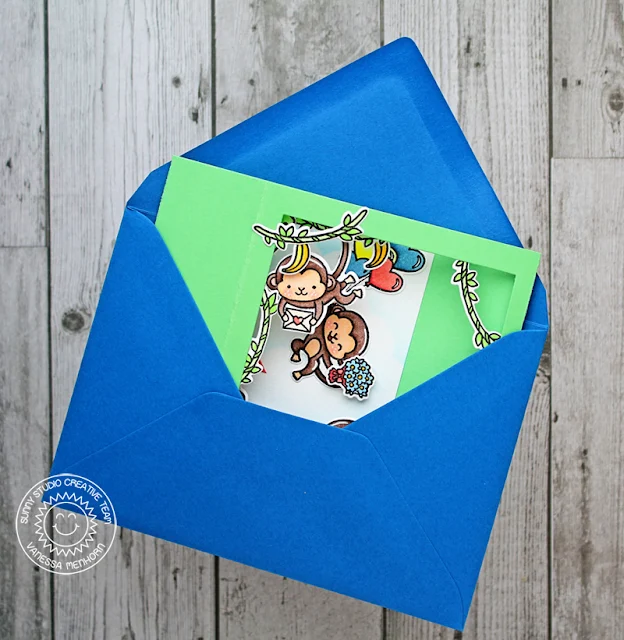
As you can see, it is no
problem to put this card into an envelope to send it to someone special!
Sorry for the photo-heavy post :) Thanks for visiting!
Sorry for the photo-heavy post :) Thanks for visiting!
Sunny Studio Supplies Used:
 Polar Playmates Stamps Shop at: Sunny Studio |
 Fancy Frames-Circle Dies Shop at: Sunny Studio |
 Gingham Pastels 6x6 Paper Shop at: Sunny Studio |
 Flirty Flowers 6x6 Paper Shop at: Sunny Studio |
 Love Monkey Stamps Shop at: Sunny Studio |
 Love Monkey Dies Shop at: Sunny Studio |


So so cute! Love it!
ReplyDeleteHow cute (both of them!)
ReplyDeleteSuch a cute stamp set and the cards are both so much fun. Thanks for the shadow box instructions too.
ReplyDelete