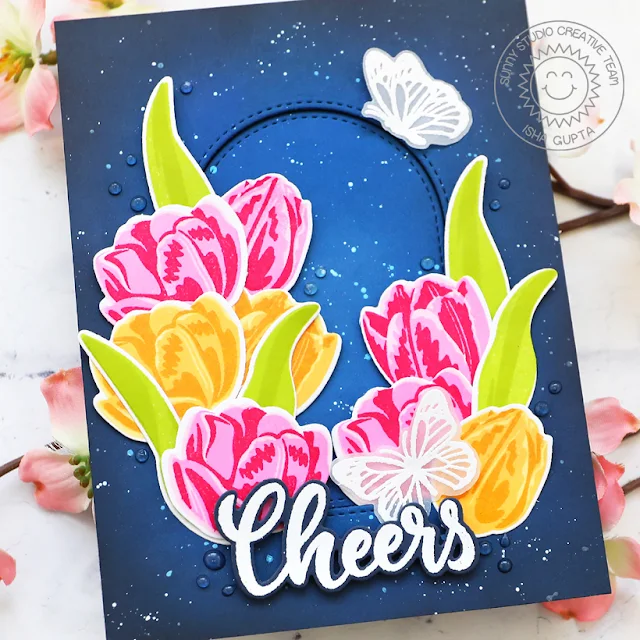
Hello everyone! Isha here with a floral card featuring the Tranquil Tulips stamps and dies. I love the layering stamp as it creates dimension without spending much time coloring.
I started by sponging various blue and black soot distress inks to create the ombré background. Die-cut the window using the Stitched Arch dies. Adhere the center arc to a blue card base. Now adhere the negative part using 3d foam to the card base. Flick white paint.
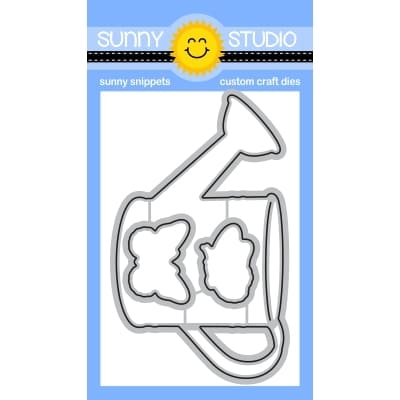
Stamp the images using pinks and yellows for the tulips and greens for the leaves, die-cut using the coordinating dies. Adhere to the card. Stamp the word "CHEERS" from the Big Bold Greetings stamp, using versamark ink onto a dark blue card, sprinkle WOW! opaque white embossing powder and heat set. Die-cut using the coordinating dies. Stamp and emboss the butterflies onto vellum from the Watering Can stamp, die-cut using the dies.
Assemble all
the images to the card. To finish I added some nuvo jewel drops in grey mist.
Thank you for
dropping by and have a nice day.
________________________________________
Hi crafty friends! It's Lien here back with a fun field of tulips!
To mass produce layered stamped images like this, I die cut a bunch of blank pieces first with the coordinating dies. I also saved a piece of paper with all the negative spaces of the flowers in it. On the back of that, I put a bit of purple tape so the sticky side would peak through to the front. I put that piece of cardstock in my Misti and puzzled in the blank die cuts. I line up the first layer of the stamps and stamp it on all of my blanks first in different colors. I used purples, pinks, oranges and yellows.
For my background I used Distress Spray Stains on watercolor cardstock for a quick watercolor look. You can also do this by adding a lot of water to your ink smooshing.
I propped all of the tulips up on foam tape at the bottom of the card and finished it by die cutting a sentiment using the Hayley alphabet die sets, I used both the uppercase alphabet and the lowercase alphabet. Before die cutting the letters, I actually put a piece of foam tape on the back of my colored cardstock. It's easy to die cut through thin foam tape and make your own puffy stickers.
Sunny Studio Supplies Used:
 Stitched Arch Dies Shop at: Sunny Studio |
 Watering Can Stamps Shop at: Sunny Studio |
 Watering Can Dies Shop at: Sunny Studio |
 Big Bold Greetings Stamps Shop at: Sunny Studio |
 Big Bold Greetings Dies Shop at: Sunny Studio |
 Tranquil Tulips Stamps Shop at: Sunny Studio |
 Tranquil Tulips Dies Shop at: Sunny Studio |
 Hayley Lowercase Alphabet Dies Shop at: Sunny Studio |
 Hayley Uppercase Alphabet Dies Shop at: Sunny Studio |


No comments:
Post a Comment