Hello crafty friends, Tina here and yes, I made my first Easter card of 2023! When I saw the super adorable Clucky Chickens stamp and die set, I knew it would be perfect for the occasion.
I started by stamping and die cutting almost every image from this set using a sheet of Neenah Solar White cardstock. I also selected a few Easter eggs from Chickie Baby. The nest comes from the Little Birdie set. Next, I die cut the Picket Fence Border from the same white paper. All the images were colored with Copic markers.
For my card panel, I used a rectangle die and a piece of Neenah Solar White paper. Next, I cut a diamond shape from the middle of this panel. I inked the outer portion of the rectangle with Distress Oxides Spun Sugar and Kitsch Flamingo using a grid stencil from my stash. The diamond shape was colored with the same Oxides. I stamped an Easter greeting (Clucky Chickens and Fall Friends) onto a small banner with my trusty Versafine Onyx Black ink.
Now let’s assemble the card,
starting by adhering the outer portion of the rectangle to a card base. Next, I
build my scene onto the diamond shape, working my way through the different
layers of the design.
Before I start a new card, I always place my stamps onto the panel to decide where each image will go. And then I take a picture of this design. This also helps me to choose the colors for each element of my scene.
I added the diamond shape to the base with foam tape for dimension. And lastly, the sentiment banner was mounted to the card. To embellish the card I sprinkled a few Chrystal Clear Jewels around the sentiment.
As always, I plan to send lots of Easter cards, so I am happy I got started working on my stash! I hope you will make some sweet cards with this adorable set too! Thank you for visiting the blog and happy crafting!
---------------------------------------------------
Hello to you! Vanessa here with a birthday card using the adorable Clucky Chickens set.
I trimmed a panel of white cardstock slightly smaller than my card base and adhered it. Now I stamped the images onto a piece of cardstock, paper-pieced the hen house with patterned paper, colored everything with Copics, die-cut the elements with the matching dies and adhered them with foam tape.
I mixed these sets:
Clucky Chickens stamps + dies
Panda Party stamps + dies
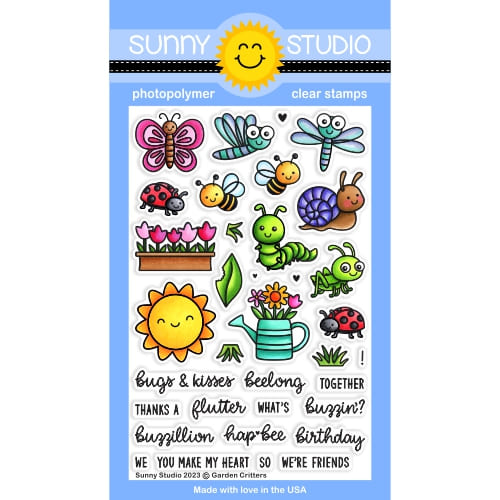
Garden Critters stamps + dies
Big Bold Greetings stamps + dies
Spring Fever Paper Pad
Then I stamped the sentiment, die-cut it and adhered it. Finally, I added highlights with a white gel pen.
Such a fun party to join, don't you agree? Enjoy your weekend!
Sunny Studio Supplies Used:
 Picket Fence Border Dies Shop at: Sunny Studio |
 Fall Friends Stamps Shop at: Sunny Studio |
 Chickie Baby Stamps Shop at: Sunny Studio |
 Chickie Baby Dies Shop at: Sunny Studio |
 Little Birdie Stamps Shop at: Sunny Studio |
 Little Birdie Dies Shop at: Sunny Studio |
 Big Bold Greetings Stamps Shop at: Sunny Studio |
 Big Bold Greetings Dies Shop at: Sunny Studio |
 Clucky Chickens Stamps Shop at: Sunny Studio | |
 Clucky Chickens Dies Shop at: Sunny Studio |
 Garden Critters Stamps Shop at: Sunny Studio |
 Garden Critters Dies Shop at: Sunny Studio |
 Panda Party Stamps Shop at: Sunny Studio | |
 Panda Party Dies Shop at: Sunny Studio |
 Spring Fever Paper Shop at: Sunny Studio |


These are superb!! Love them both. TFS -
ReplyDeleteLori S in PA