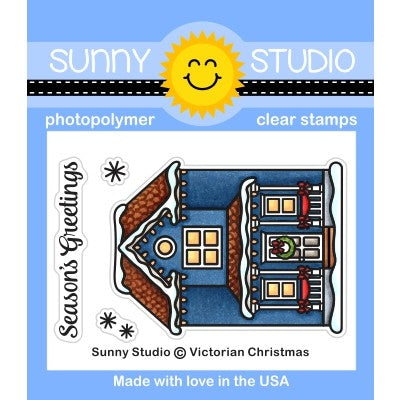
Hello friends! It's Rachel here with a single-layer card featuring the new Victorian Christmas Stamp Set. I combined this set with the Christmas Home Stamp Set to create a fun winter scene.
To start, I first stamped my images using a masking technique onto a 4.5" X 5.75" piece of Neenah Solar White 110lb Card Stock. I used some Gina K. Designs Magic Masking Sheets to mask my images as I worked so that I could ink blend my background.
For my background, I
blended some Tattered Rose, Spun Sugar, Milled Lavender, and Mermaid Lagoon
Distress Oxide Inks. I used a #4 round brush to splatter some water on this
piece and then quickly blotted it dry with a clean paper towel. I then
splattered it again with some diluted opaque white and purple paint for a snowy
effect.
Copic Color Combos Used: Window Trim and Door : BG72, BG75; Reds: R14, R46, R89; Greens: YG01, YG06, YG17; Warm Grays: W00, W0, W2, W4; Roof: W5, W7; Browns: E41, E42, E43; Snow: B0000, B000, B00, B02; Cool Grays: C00, C1
Once finished with that step, I then
removed my masking sheets and set my panel aside to dry. Once dry, I trimmed my
panel down to 4.25" x 5.5" and then colored my images with Copic
Markers.
I hope you enjoyed my card today! Wishing you all a lovely day and happy weekend!
------------------------------------------------------
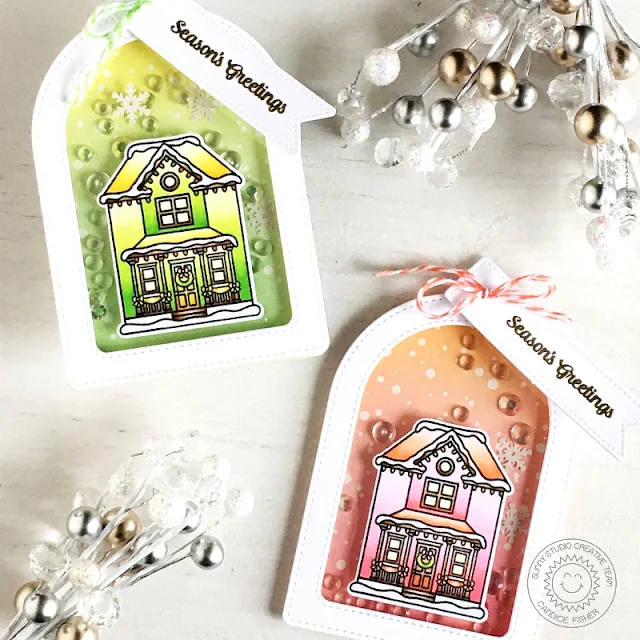
Hello! Candice here with you today! I love this Victorian Christmas house for
making beautiful Christmas tags!
I used these Sunny Studio products for my shaker tags:
- Victorian Christmas stamps & coordinating dies
- Frosty Flurries stamp
- Stitched Arch dies
- Fancy Frames Rectangle dies (banner)
For the tag base, I first die
cut the two medium stitched arch dies taped
together to create my frames. I then took the larger of the two and die cut the
back from Bristol Smooth cardstock.
I heat embossed the snowfall in
white and then inked one with Worn Lipstick and Dried Marigold and the other
with Cracked Pistachio and Squeezed Lemonade. To create the shaker, I first put
the acetate behind the window and then added double layer of foam tape on the
back of the frame. I placed my sequins in the center and attached the frame to
the background.
Next, I stamped the the Victorian houses, colored them with Copic markers and then used the coordinating dies to cut them out and adhered them to the acetate with strong adhesive. To finish the tags, I cut 2 stitched banners, heat embossed the sentiment with gold and used colored twine to tie them to the tag tops!
I hope you are inspired to
make fun Holiday tags for your gifts this year! Thank you for visiting today!
Sunny Studio Supplies Used:
 Christmas Home Stamps Shop at: Sunny Studio |
 Christmas Home Dies Shop at: Sunny Studio |
 Frosty Flurries Stamps Shop at: Sunny Studio |
 Fancy Frames- Rectangles Shop at: Sunny Studio |
 Stitched Arch Dies Shop at: Sunny Studio |
 Victorian Christmas Stamps Shop at: Sunny Studio |
 Victorian Christmas Dies Shop at: Sunny Studio |


No comments:
Post a Comment