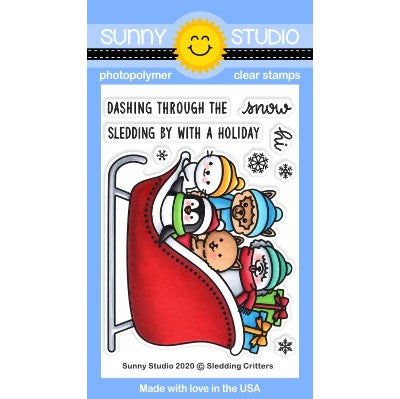
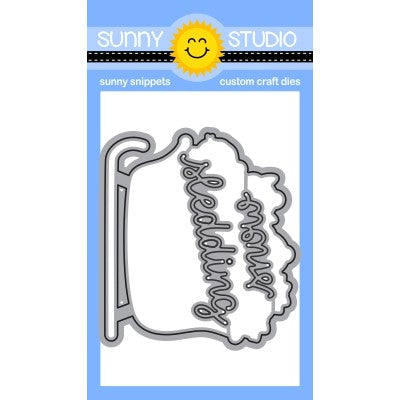
Hello everyone! Leanne here with flurries of fun! I have created a holiday shaker card featuring the adorable image from Sledding Critters. The large sled image is strong enough to stand on it's own and is perfect for a shaker card.
I've made a square card which measures 5" x 5". I masked off the edges of the card front and added color to the background with Tumbled Glass Oxide Ink. I applied the ink heavier towards the top and very light towards the bottom. I Copic colored the image and then adhered it directly to the background so it is inside the shaker. I created my shaker in the tradition way by using a double layer of adhesive foam tape with an acetate window panel. I filled the shaker with some glittery fake snow.
(Copics used - R32, R35, R39, G40, YG11, YG18, BG01, BG02, BG05, N2, N4, N6, C1, C3, E41, E43, Y32, Y35, Y38)
Once the shaker part was secured, I decorated the outside. I added the Fancy Frames Square Dies. I created a sentiment strip to adhere to the shaker window centered over the sled. This sentiment is from the Sledding Critters set. As a last bit of embellishment, I added some die cut snowflakes. These snowflakes come from the Snowflake Circle Frame die set.
-------------------------------------------------------
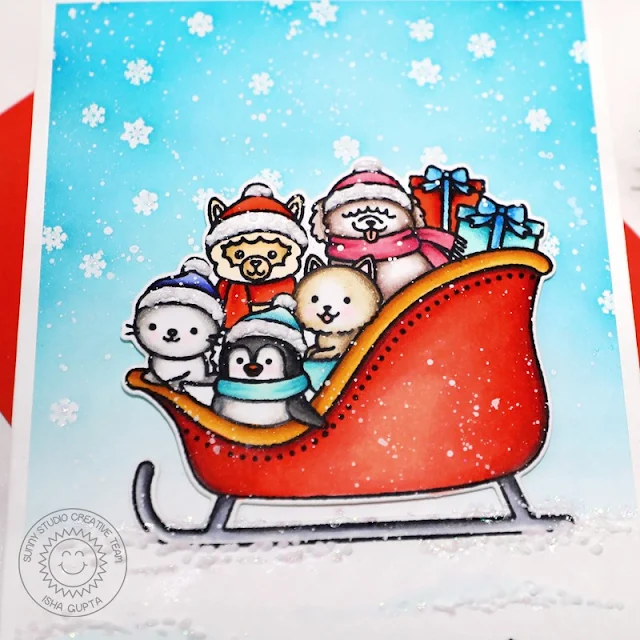
Hello everyone! Isha here with an adorable card featuring the Sledding Critters stamp set and dies for you. I did some partial die-cutting technique to create the scene.
To start the sky background, I took a white card. stamped some snowflakes from the Sledding Critters stamp set using versamark ink and heat embossed using WOW! opaque white embossing powder. I then sponged distress inks salty ocean and blueprint sketch to create the ombre sky.
I stamped the sledge using memento black ink. I then colored the image using copic markers. I then put the coordinating die on top of the image, adhere it using some washi tape. Now instead of die-cutting the full image, I left the bottom part of the sledge un-cut. To do this, I use my big shot and put the B plate slightly above the lower part of the sledge. This leaves the sledge attached to the bottom of the piece.
I then stamped the sentiment from the Inside Greetings - Holiday stamp set to the lower part of the panel.
Adhere the sky panel to a white card. Adhere the sledge panel to
the background by adhering the base using glue but the critters using 3D foam.
Flick white paint. Apply some white puff paint to the caps and snow part, heat
set. To finish, I added some Nuvo crystal drops White Blizzard for some
glitter.
Thank you for stopping by. Have a nice day!
Sunny Studio Supplies Used:
 Fancy Frames-Square Dies Shop at: Sunny Studio |
 Snowflake Circle Frame Shop at: Sunny Studio |
 Inside Greetings-Holidays Shop at: Sunny Studio |
 Scaredy Cat Dies Shop at: Sunny Studio |
 Sledding Critters Dies Shop at: Sunny Studio |


No comments:
Post a Comment