Hello friends!
It's Juliana with you to share a fun interactive card I created using the Silly
Sloths Stamps and Sliding
Window Die! Interactive cards are always so much fun and the addition of
the adorable Silly
Sloth Stamps makes this card even more entertaining!
To begin, I
began by stamping and coloring a bunch of the images from the Silly
Sloth Stamps using Copic Markers. I then die cut them using the Silly Sloth
Dies. Next, I took a practice Sliding
Window I have assembled from cardstock and laid out the images to create my
scene. I have found having this already assembled Sliding Window very helpful.
I can use it to help me lay out my stamped and die cut images and get an idea
of what papers I might want to use before I cut into them.
Once I had an
idea of how I wanted to position the images, I picked out some patterned
papers. I began by following the instructions (you
can find printable instructions here) on how to cut the Sliding Window and
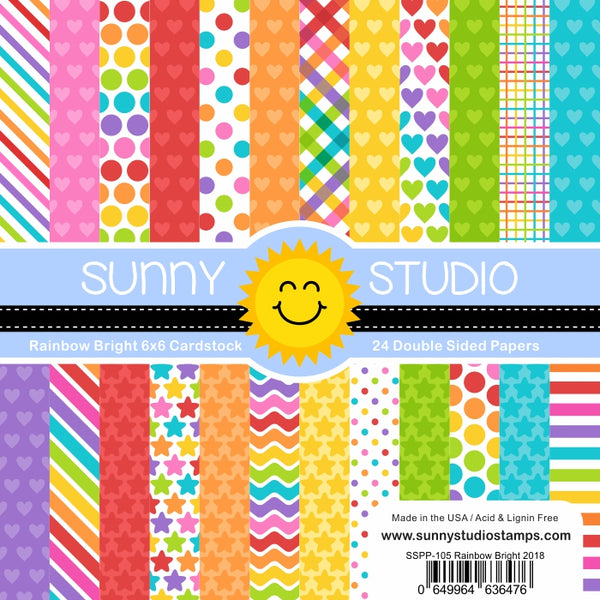
used the striped paper from the Rainbow
Bright 6x6 Paper. As you might notice from the images, I didn't follow the
instructions super well as I accidentally cut the opening on the wrong end of
the paper. Since I didn't have another piece of this paper and I was set on
using this one, I decided to just go with it and cut another opening at the top
where it should be. I then backed the bottom opening with a piece of polka dot
paper from the Rainbow
Bright 6x6 Paper.
For the front
of the sliding window, I decided to go with a solid piece to keep my scene
together. I cut a piece of green foliage paper from the Summer
Splash 6x6 Paper to the size of that opening and adhered only the bottom
part to the bottom layer. I then set about adhering the Silly
Sloth images to create the scene.
On the inside of the card, I stamped the sentiment using the Silly
Sloth Stamps and then added some extra images to keep the fun going on the
inside! I will recommend stamping your sentiment.
One last thing
to share is the pull tab. If you go back and look at the main photo, you will
see a little sloth at the top! I adhered him to the open area so you can use
him to pull on and slide the card open!
I hope you enjoyed this Silly Sloth Sliding Window card I created and shared with you today! Thanks so much for stopping by!!
---------------------------------------------------
I hope you enjoyed this Silly Sloth Sliding Window card I created and shared with you today! Thanks so much for stopping by!!
---------------------------------------------------
Hi friends, Angelica here with a card featuring the Silly Sloths stamp set. These sloths are super easy to color, and come with a great selection of accessory stamps in the set.
I picked a handful of Copic Markers to color the images. After
coloring, I used a gel pen to add highlights. I die cut them with the coordinating
dies.
I used pattern
paper from Summer Splash
Paper Pack for my card front. I trimmed the blue clouds and green
leaves papers to 4.25" x 5.5". I die-cut circle windows from the
cloud paper with the Staggered
Circles Dies, added foam adhesive to the back, and attached it to
the green paper. I used foam adhesive to attach the sloths in the windows.
I added a stamped sentiment I trimmed down to a strip with thin foam squares. My last step was attaching the card front to an A2 size card base with double-sided adhesive.
I hope I have given you ideas for this adorable stamp set. That's all I have for today. See you next week!
I added a stamped sentiment I trimmed down to a strip with thin foam squares. My last step was attaching the card front to an A2 size card base with double-sided adhesive.
I hope I have given you ideas for this adorable stamp set. That's all I have for today. See you next week!
Sunny Studio Supplies Used:
 Rainbow Bright 6x6 Paper Shop at: Sunny Studio |
 Sliding Window Dies Shop at: Sunny Studio |
 Staggered Circles Die Shop at: Sunny Studio |
 Silly Sloths Stamps Shop at: Sunny Studio |
 Silly Sloths Dies Shop at: Sunny Studio |
 Summer Splash 6x6 Paper Shop at: Sunny Studio |


No comments:
Post a Comment