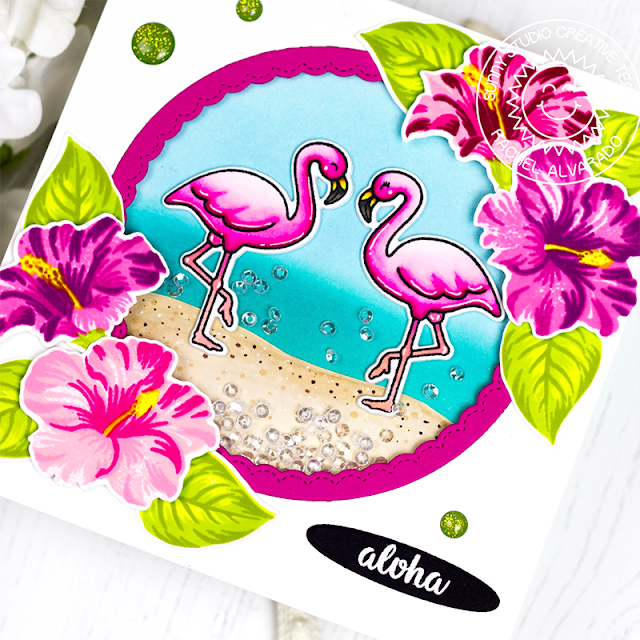
Hello, everyone! It's Rachel here and I have a fun tropical shaker square card to
share with you today featuring the new Hawaiian Hibiscus layering stamps. I just love all of the
gorgeous detail that you get from this set! I combined this set with some
flamingos from the Tropical Paradise Stamp Set.
To
create my flowers, I simply used 4 different colors to stamp each one.
- Light Pink: MFT Tickled Pink,
Cotton Candy, Ripe Raspberry, and Razzle Berry
- Dark Pink: MFT Cotton Candy,
Ripe Raspberry, Razzle Berry, and Hero Arts Raspberry Jam
- Purple: Altenew Rose Quartz,
Puffy Heart, Purple Wine, and Cosmic Berry
- Greens: Altenew Parrot, Bamboo, and Olive
For my flamingos, I stamped them with Memento Tuexedo Black Ink onto a sheet of Neenah Solar White 110lb Card Stock and colored with Copic Markers. I like to use a lot of different shades to blend my coloring but only a few of the ones listed would be sufficient. (Pinks: RV0000, RV00, RV02, RV04, RV06, and RV09. Legs: R12, RV55. Yellow beak: Y13, Y17, and E35. Black part of beak: W5, W7.) I then used the coordinating Tropical Paradise Dies to cut them out.
Next, I assembled the base
of my card with these components. I quickly blended some Tumbled Glass and
Peacock Feathers on a piece of scrap paper for the background of my card. I
then colored some sand using some Copic Markers (E41, E42). I used the Fancy Frames Circle Dies to die cut a beautiful scalloped circle
frame from pink card stock. I trimmed my card base to 5"x5" prior to
die cutting a circular hole/window in the center.
I added all of my Hibiscus flowers with some 3D Foam Adhesive
Squares for some added dimension and the leaves with liquid adhesive. Lastly, I
heat embossed my sentiment with Fine Detail White Embossing Powder onto a strip
of black card stock and then diecut it with the small oval die from the Sunny Border Dies and filled my card
with some Studio Katia Majestic Mini Sequins.
I hope you enjoyed my card! Thanks so much for dropping by today and have a wonderful weekend!
I hope you enjoyed my card! Thanks so much for dropping by today and have a wonderful weekend!
-------------------------------------------------------
Hi everyone! Lexa here today to share a see through card using Hawaiian Hibiscus Stamp and the coordinating dies. It's inspired from Jennifer McGuire's cards. The hibiscus flowers from Sunny Studio is sure the prettiest layered stamp, they have couple of other flowers too. Make sure to check them out.
First,
I cut a 4.25"x5.5" paper in half. Blend Wild Honey and Worn Lipstick
Distress Inks on one part. Then use the other one for a guide rectangle to
arrange the hibiscus. Stamp the flowers in two colors, pink and orange with
some dye inks. Then use the coordinating dies to cut every pieces. Arrange them
on the piece of paper I mentioned above, use a washi tapes to keep them in
their places and trim the excess on three sides. Make sure to leave them
hanging on one side. After the trimmings, use strong adhesive glue on
overlapping pieces. You'll have a see through panel ready.
Adhere the hanging part on the blended panel. It's simple and
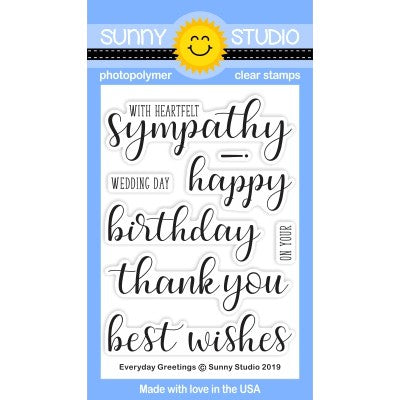
easy, but turns out so beautiful. I use Everyday Greetings Stamps and
copper embossed it on pink paper piece. Adhere it with foam tapes so it
will pop out. Last touch is add pretty yellow jewels here and there. I love the
bright colors and how pretty the hibiscus are.
Thank you so much for stopping by today, don't forget to leave me some love on the comments below. I hope you like today's card as much as I do. Have a wonderful day!
Thank you so much for stopping by today, don't forget to leave me some love on the comments below. I hope you like today's card as much as I do. Have a wonderful day!
Sunny Studio Supplies Used:
 Sunny Borders Dies Shop at: Sunny Studio |
 Tropical Paradise Dies Shop at: Sunny Studio |
 Tropical Paradise Stamps Shop at: Sunny Studio |
 Fancy Frames-Circle Dies Shop at: Sunny Studio |
 Everyday Greetings Stamps Shop at: Sunny Studio |
 Hawaiian Hibiscus Stamps Shop at: Sunny Studio |
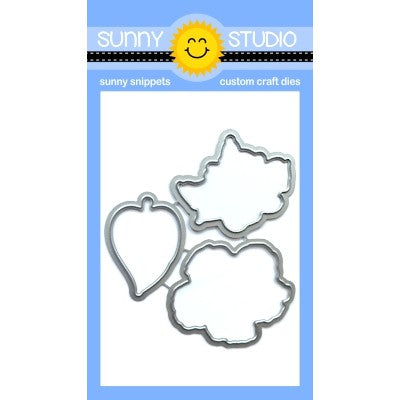
 Hawaiian Hibiscus Dies Shop at: Sunny Studio |


The soft colors you used on the Hibiscus flowers looks wonderful!
ReplyDelete