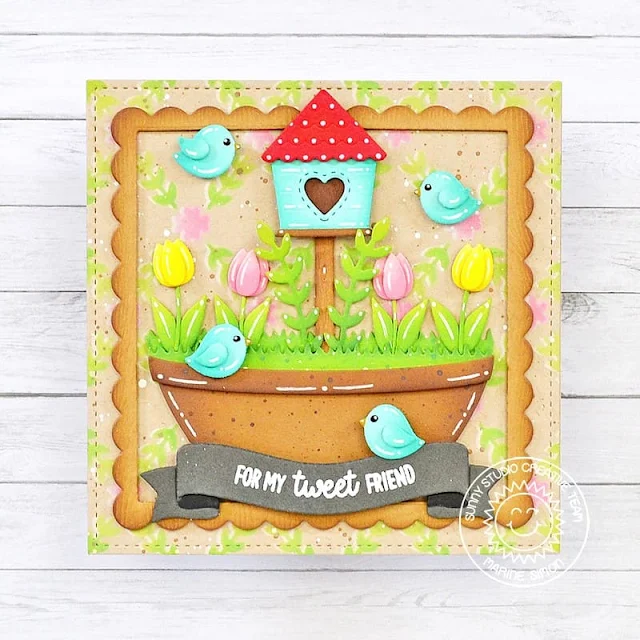
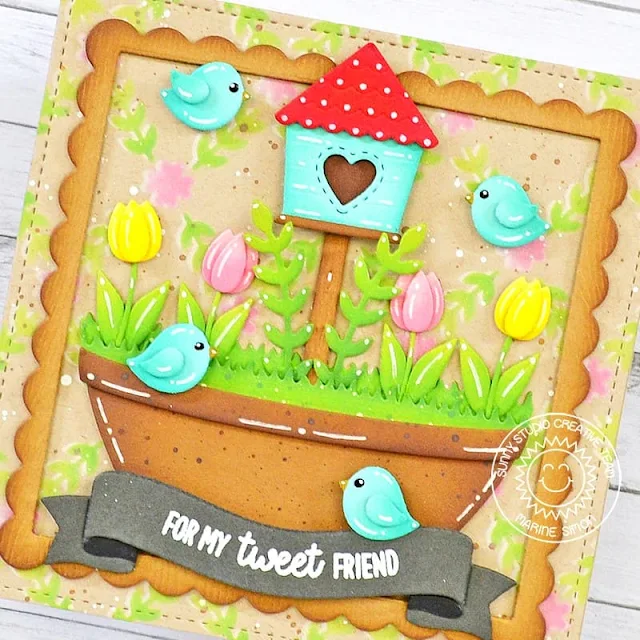
Hello crafty friends, Marine here, I'm thrilled to be back on the blog with this lovely card featuring Build A Bowl. As very often I mixed and matched items from different sets, and instead of using the bowl with fruits (which I'll certainly do in the coming weeks), I turned it into a planter to create a sweet garden scene.
The first thing I did was create a stenciled background that would match my garden theme nicely. I cut a kraft panel using the largest Stitched Square die, and used a stencil from my stash along with white pigment ink, and shabby shutters, mowed lawn, spun sugar and worn lipstick oxide inks to make a pretty lattice. I mixed some vintage photo oxide ink with water and used a small brush to add splatters to my panel, and then did the same with copic opaque white ink.
Next I cut a scalloped square out of light brown woodgrain cardstock using the second largest Scalloped Square 1 Large die, and turned it into a frame by cutting an opening out of it using the third largest Stitched Square die. I applied a little bit of vintage photo oxide inks on the edges, and attached my scalloped frame on the stenciled panel using 1mm foam squares.
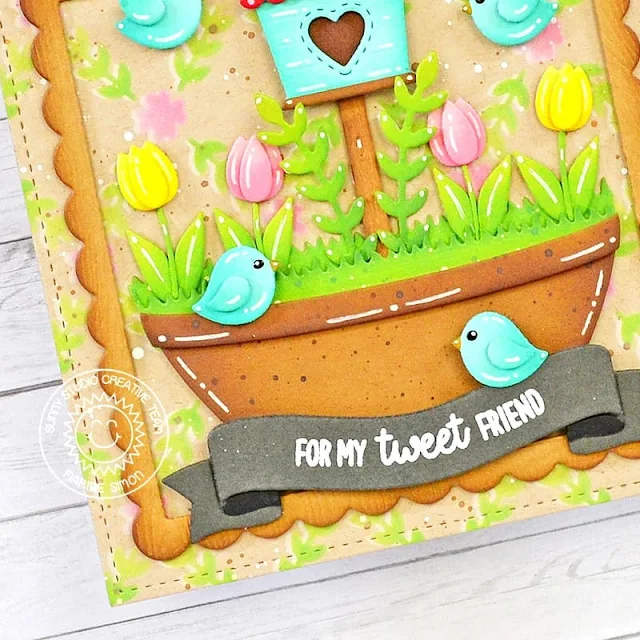
I picked all the bits and pieces from different die sets, cut them out of colored cardstock, and used oxide inks to add shadows and more interest to each element. Here is a detailed list of the products I used: • Build A Bowl for the planter • Mini Grass Border for the grass • Build A Birdhouse for the birdhouse, birds, pole • Spring Garden for the tulips • Winter Greenery for the tall leaves. I attached everything on my panel, starting with the bowl and grass, and then added all the remaining pieces using 1mm and 2mm foam squares, as well as liquid glue.
For my greeting, I started off by cutting the different Brilliant Banner 1 components out of dark gray cardstock and black cardstock. I white embossed "For my tweet friend" from Little Birdie on the front piece, assembled the whole banner using 1mm foam squares and liquid glue, and attached it below the planter using 1mm foam squares again.
Finally I added a black dot to each bird's eye, and highlights and details to most of the elements using a white gel pen. And that's it!
It took me quite a few brainstorming sessions to figure out what I wanted to do with the Build A Bowl dies, my mojo had left me on this one, but I'm so happy of how it turned out, it's such a darling little scene, and I hope you like it. Thanks so much for stopping by, and see you next week!
Sunny Studio Supplies Used:
 Winter Greenery DIes Shop at: Sunny Studio |
 Little Birdie Stamps Shop at: Sunny Studio |
 Build-A-Birdhouse Dies Shop at: Sunny Studio |
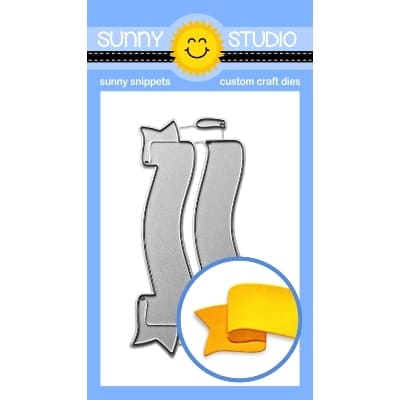 Brilliant Banner 1 Dies Shop at: Sunny Studio |
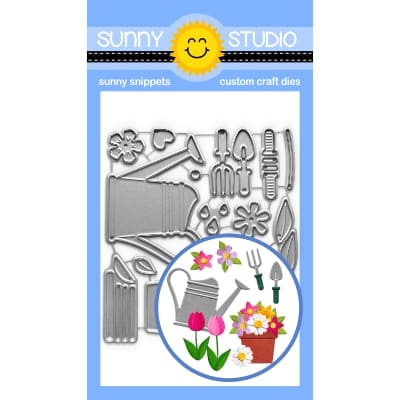 Spring Garden Dies Shop at: Sunny Studio |
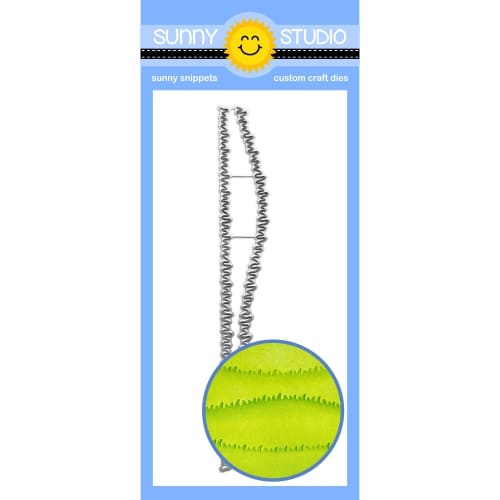 Mini Grass Border Dies Shop at: Sunny Studio |
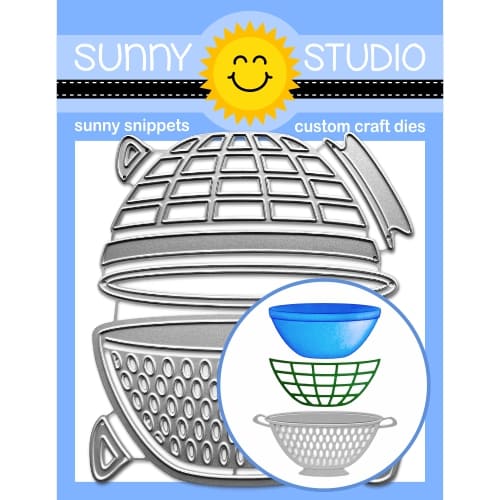 Build-A-Bowl Dies Shop at: Sunny Studio |
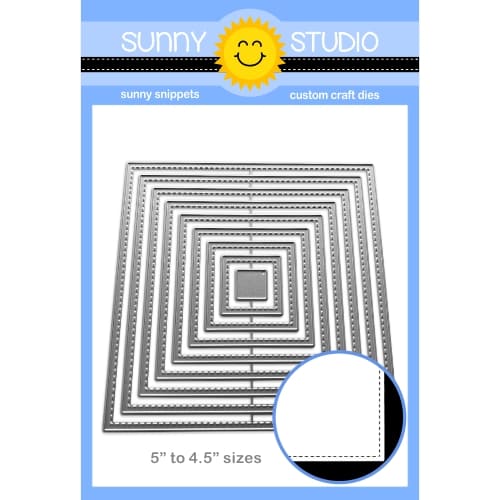 Stitched Square Dies Shop at: Sunny Studio |
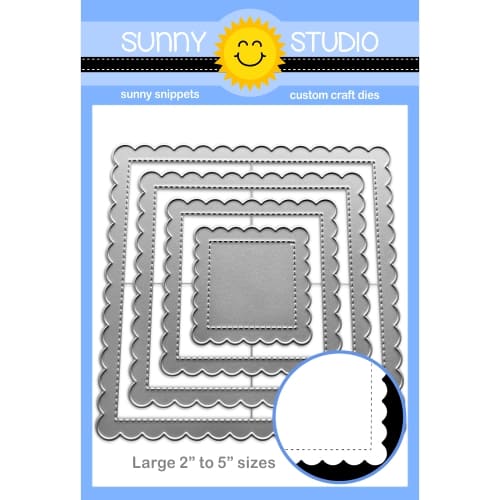 Scalloped Square 1 Large Die Shop at: Sunny Studio | |



No comments:
Post a Comment