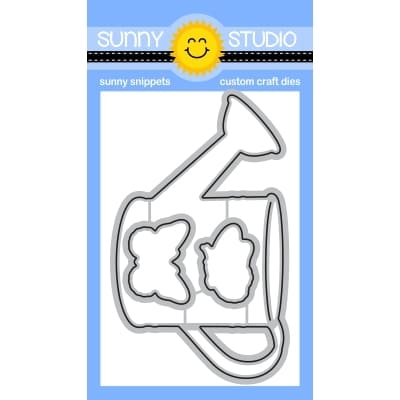
Hello everyone! Isha here today with a fun shaker card featuring the new Watering Can stamps and coordinating dies. I love making flat shaker cards as they are easy to mail.
To start, I sponged a white card using peacock feathers distress ink to create the sky. I then added a few splatters in the same colour. Next, I die-cut the watering can from this piece. Stamp the watering can on a piece of white card, die-cut using the coordinating dies. Adhere the can to the cardbase using the front panel as guide for the position.
Adhere acetate
behind the opening on the front panel. adhere score tape all around the opening
so the shaker hearts won't come out.
Die-cut hearts
using the Bursting Hearts die.
Color the hearts using pink and gold watercolor. Put some hearts onto the can
on the card base, remove the scor tape from the top layer and adhere to the
cardbase. The flat shaker element is ready.
Stamp the
images, color and die-cut using the following sets:
Lilacs - Lovely Lilacs and
the coordinating dies
Snail, Fairy
- Garden Fairy and
the coordinating dies
Butterflies
- Watering Can and
the coordinating dies
Row of houses - Charming City
Congrats
- Country Carnival
Die-cut the grass using the Picket Fence Border die. I used the pattern paper from the Flirty Flowers paper pack. Assemble everything together. To finish, add some glitter to the fairy wings. Thanks for dropping by. Have a nice day!
-------------------------------------------------
Hi folks, Kavya here. I
am back on the blog with another fun project. I love the new Watering Can
layering stamp from this release! It’s just the perfect size for any of the
previous floral releases too. I paired it with one of my favorite floral cards
to create a card perfect for any occasion!
I first started off by ink blending the background using Victorian Velvet and Tea Dye distress oxide inks. Whenever I am out of color combo ideas, this happens to be my go to color for a background! It’s pairs well with any color :) then, I added a strip of patterned paper from Dots and Stripes Pastels to create a background that looks like a table.
Then, I created my Watering Can by using two shades of teal inks and added some florals from Pink Peonies to finish off my card :)
That’s it! I hope this project inspires you :) Happy Crafting!
Sunny Studio Supplies Used:
 Picket Fence Border Dies Shop at: Sunny Studio |
 Flirty Flowers 6x6 Paper Shop at: Sunny Studio |
 Dots & Stripes Pastels 6x6 Paper Shop at: Sunny Studio |
 Pink Peonies Stamps Shop at: Sunny Studio |
 Pink Peonies Dies Shop at: Sunny Studio |
 Garden Fairy Stamps Shop at: Sunny Studio |
 Garden Fairy Dies Shop at: Sunny Studio |
 Bursting Heart Die Shop at: Sunny Studio |
 Charming City Stamps Shop at: Sunny Studio | |
 Charming City Dies Shop at: Sunny Studio |
 Country Carnival Stamps Shop at: Sunny Studio |
 Lovely Lilacs Stamps Shop at: Sunny Studio |
 Lovely Lilacs Dies Shop at: Sunny Studio | |
 Watering Can Stamps Shop at: Sunny Studio |
 Watering Can Dies Shop at: Sunny Studio |


No comments:
Post a Comment