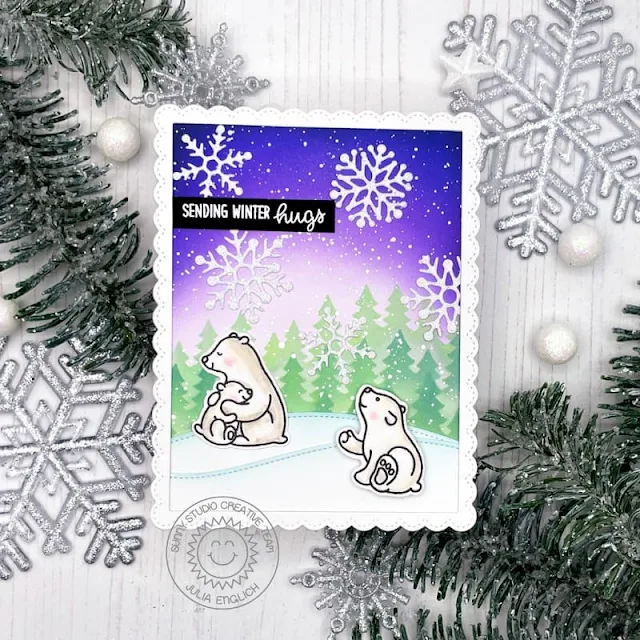
Hello friends! It’s Julia here and today I want to share this wintery scene card with you!
First, I stamped my cute polar bears from Bear Hugs onto Bristol Smooth cardstock and I colored them in using Zig Clean Color Real Brush Markers.
I die-cut two hills using the Slimline Nature Borders as well as the largest of the Fancy Frames Rectangle out of white cardstock. I added a little bit of Salvaged Patina on the edge of the snowy hills for some definition. Then, it was time to create my background. I added a little bit of Milled Lavender to the center of my panel and after that, I used the Forest Tree Stencils to add three tree lines to the scene. For those, I used Cracked Pistachio and Evergreen Bough. I started with the lightest layer of color and stencil no. 3, then a little more intense color with stencil no. 2, and finally the darkest layer with stencil no. 1! Then, to finish the background, I ink blended the top of the panel with more Milled Lavender as well as Wilted Violet, Blueprint Sketch, Chipped Sapphire, and Black Soot. I also added lots of white splatters for a snowy look!
I adhered the background to a card base and the hills on top. I also die-cut lots of Lacy Snowflakes and added those as well. I only added a little bit of glue to the center of the snowflakes, so they still have a bit of dimension on the edges! I layered the scalloped frame over the entire panel.
Finally, I heat
embossed the sentiment onto a strip of black cardstock and I added my cute
polar bears to the scene.
I absolutely love wintery scene cards and I had so much fun making this one. I really hope you like it. Have a wonderful week!
----------------------------------------------
Hi there! It's Franci here with you today, showcasing the Forest Tree stencil. This new 3 layers stencil is amazing to create your forest backgrounds so quickly!
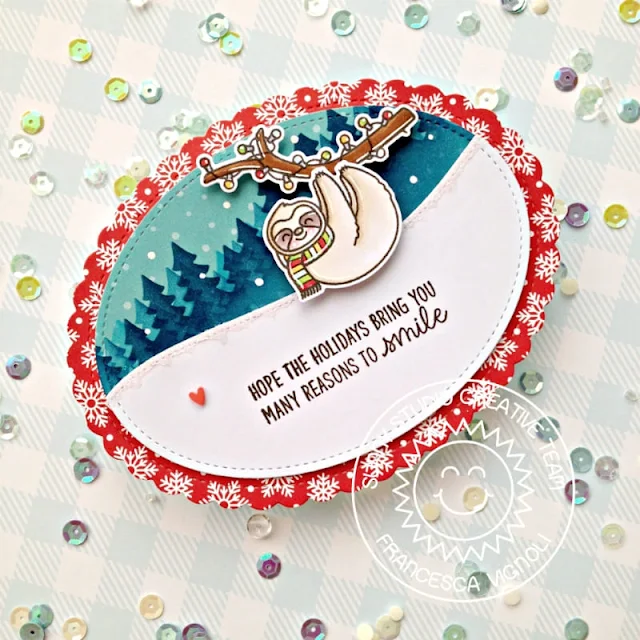
First of all I die cut all the panels out of white cardstock and patterned paper from the All Is Bright set using the Scalloped Oval Mat 1 Dies and the Stitched Oval Dies. Then I created a hill out of my white oval panel using the Slimline Nature Borders Dies.
Then I stamped my sentiment and my images from the Lazy Christmas set. I colored my sloth with Copics and die cut everything out with their coordinated dies.
I inked my forest onto the dotted light blue panel with different Distress inks, created a matching card base and assembled the card as shown. Finally I added some details with a white gel pen, a little heart confetti and some glitter.
Hope you like this festive card as much as I do and thanks a lot
for stopping by today!
Sunny Studio Supplies Used:
 Bear Hugs Stamps Shop at: Sunny Studio |
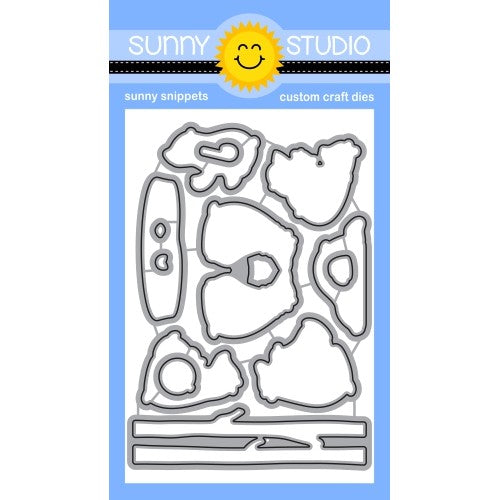
 Bear Hugs Dies Shop at: Sunny Studio |
 Lazy Christmas Stamps Shop at: Sunny Studio |
 Lazy Christmas Dies Shop at: Sunny Studio |
 Lacy Snowflakes Die Shop at: Sunny Studio |
 Fancy Frames- Rectangles Shop at: Sunny Studio |
 Stitched Oval Dies Shop at: Sunny Studio |
 Slimline Nature Borders Shop at: Sunny Studio |
 Scalloped Oval Mat 1 Dies Shop at: Sunny Studio | |
 Forest Trees Stencils Shop at: Sunny Studio |
 All Is Bright Paper Shop at: Sunny Studio |


No comments:
Post a Comment