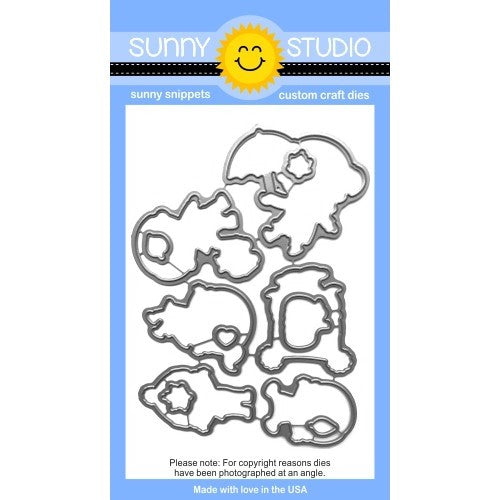
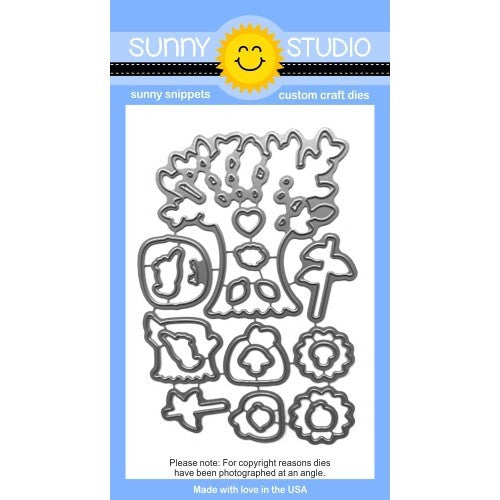
To begin my card today, I started off with stamping out the images from Happy Harvest and Fall Kiddos onto some watercolour cardstock. I clear heat embossed them and then coloured them in with Zig Clean Color Real Brush Markers. I then used the coordinating dies to cut them out. Next, I took the Sliding Window Die and laid it in the middle of a piece of dark green cardstock that was cut to 4" wide by 5 1/2" tall and ran that through my big shot machine. Next, I scored along all the lines of the die to make it easier for later.
Next I cut down a piece of white cardstock to the same size as my dark green panel, but as a card base and also an additional piece of white cardstock to 3 1/4" x 4 1/2" and adhered that to the back of my die cut piece, so when I pull from one side, it folds up. Next I cut a blue piece of cardstock and added it to the front of my sliding window panel. Only add adhesive to the bottom half as you don't want it to stick down the entire panel. I also cut a green hill and adhered it to the bottom of the blue piece. I'm also just going to take a moment to link Jennifer McGuire's video here as well, since I feel she explained the whole process better in her video.
Now it's time to adhere my images into place, I used foam tape and popped them all up and then adhered them onto the green and blue background. For my sentiment, I white heat embossed the 'Leaves Are Falling, Autumn Is Calling' sentiment from Happy Harvest onto a black strip of cardstock and adhered it onto the right hand side of my panel. Lastly, I adhered my panel onto a card base and my card was complete.
Thanks so much for stopping by today, I hope you enjoyed and I'll catch you all next time.
Sunny Studio Supplies Used:
 Fall Kiddos Stamps Shop at: Sunny Studio |
 Fall Kiddos Dies Shop at: Sunny Studio |
 Happy Harvest Stamps Shop at: Sunny Studio |
 Happy Harvest Dies Shop at: Sunny Studio |
 Sliding Window Dies Shop at: Sunny Studio |


Soooo Super Cute!!!
ReplyDeleteReally cute!
ReplyDeleteSuper lovely idea! TFS
ReplyDelete