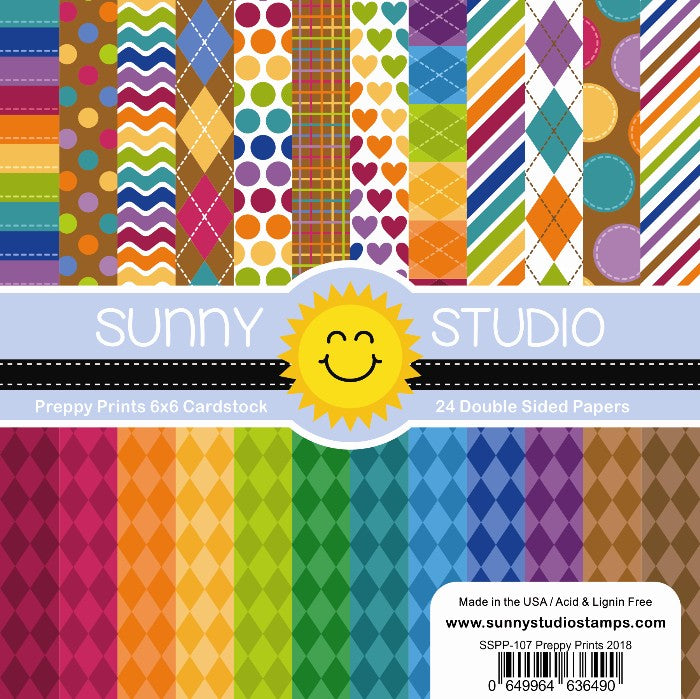
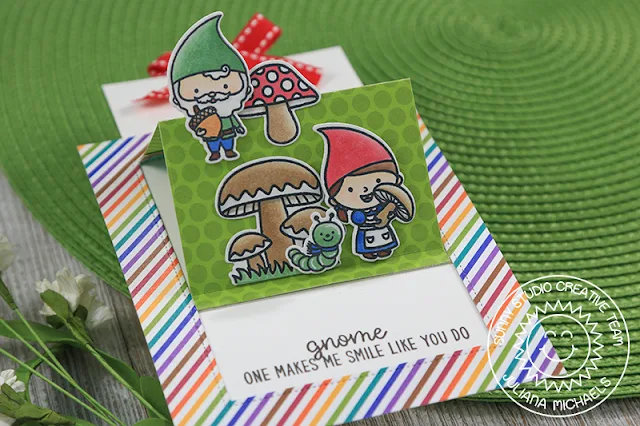
To get started, I cut a piece of patterned paper from the Preppy Prints 6x6 paper pad using the Sliding Window die. I used Therm O Web Purple Tape to help hold the dies in place as I ran it through my die cutting machine. I then trimmed off the flap leaving about a 1/4” at the top.
Next, I die cut a piece of green dot patterned
paper from the Dots & Stripes Jewel Tones 6x6 paper pad using the Sliding Window die,
but I did not bother with the half circle die. I then trimmed off the frame
part of the window and adhered it to the little bit of flap I left on the
striped paper.
This allows you to use two different patterns of paper for your design and adds a nice bit of contrast and color depending on the color combination you use. Because I had already used a lot of color on the front of the card, I decided to use white cardstock for the inside.
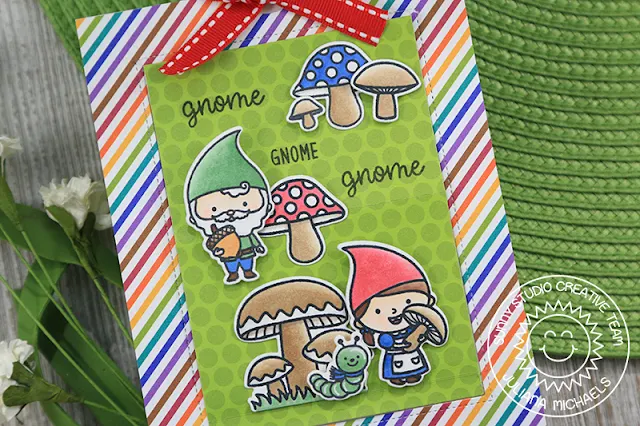
After the window part was complete, I stamped and colored several of the images from the Home Sweet Gnome stamp set using Chameleon Pens. I then die cut them using the coordinating dies. Next, I went about creating a little scene on the front of the window and adhered the images with double sided foam tap for a bit of dimension. I then stamped the sentiments on the front of the card and on the inside of the card using black ink. To complete the card, I added a red ribbon bow to give the recipient something to pull on as they open the card.
So have you made a card yet using the Sliding Window die? There's one thing I “gnome”...I'll be using it again real soon! Thanks so much for stopping by today and I hope you enjoyed this Sliding Window die card little card featuring the Home Sweet Gnome stamp set!
Sunny Studio Supplies Used:
 Dots & Stripes Jewel Tones 6x6 Paper Shop at: Sunny Studio |
 Preppy Prints 6x6 Paper Shop at: Sunny Studio |
 Home Sweet Gnome Stamps Shop at: Sunny Studio |
 Home Sweet Gnome Dies Shop at: Sunny Studio |
 Sliding Window Dies Shop at: Sunny Studio |


No comments:
Post a Comment