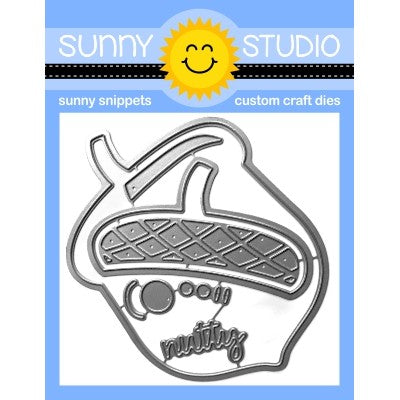
I began by creating a template to use for creating the shaker
box window. I took the outline die of the acorn and centered it in the middle
of a piece of 4.25 x 5.5 inch scrap cardstock. I used Therm O Web Purple Tape
to hold the die in place and ran it through my die cutting machine. I then
lined up this template on a piece of 4.25 x 5.5 inch teal wood grain patterned
paper from the Amazing Argyle 6x6 paper pad and die cut it. I used a stitched
rectangle die to trim this down a bit smaller, but you can also just trim off
an 1/8” on each side. I repeated the die cutting on a piece of 4.25 x 5.5 white
cardstock and adhered the teal woodgrain on top of it to create the card front.
Next, I took a piece of double sided foam adhesive and cut it to 4.25 x 5.5 inches. I placed the template on top of it and die cut it with the acorn shape to create the shaker box. To cover the front of the shaker box, I cut an acetate sheet to size and adhered it on top of the double sided foam sheet. On top of the acetate, I adhered the card front.
For the inside of the shaker, I die cut the rest of the Nutty For You pieces from various colors of cardstock. I layered them to create the acorn and adhered them together. I stamped the sentiment using a stamp from the Happy Harvest stamp set directly onto the acorn with black ink. Using the template as a guide, however this time without the die, I adhered the cardstock acorn to a piece of white cardstock to create the base of the shaker.
Now it's time to add fill the shaker with beads and sequins. I prefer to pour them on top of the inside design so I can kind of see how much “stuff” I have in the shaker. Just be careful to keep the fillers toward the center of the image so they don't get stuck to the shaker box. Once you have the sequins and beads added, adhere the top of the shaker to the base. To complete the card, add a burlap ribbon to the top of the acorn on the card front.
I'm just nutty for how this shaker card turned out! See what I did there?! I hope you enjoyed this bit of inspiration on how to use the Nutty For You die in a way you might not have thought of just yet! Happy card making!
Sunny Studio Supplies Used:
 Amazing Argyle 6x6 Paper Shop at: Sunny Studio |
 Happy Harvest Stamps Shop at: Sunny Studio |
 Nutty For You Dies Shop at: Sunny Studio |


A very pretty autumn card.
ReplyDeleteI'm "nuts" for this cute card!!! <3
ReplyDelete