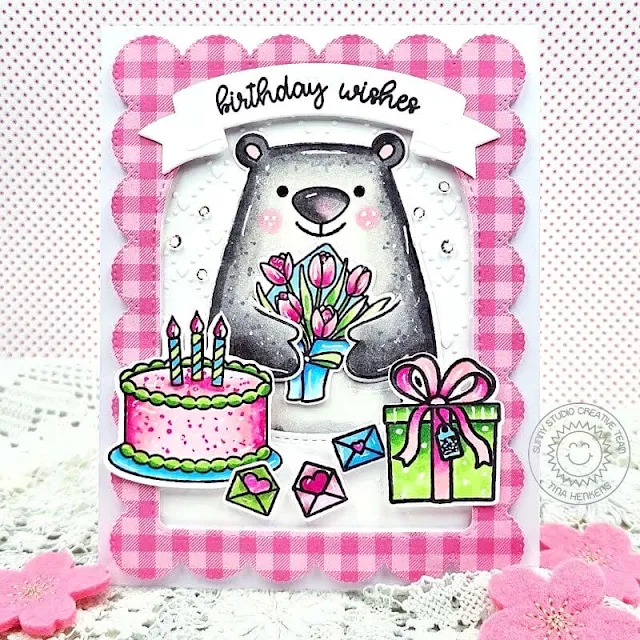
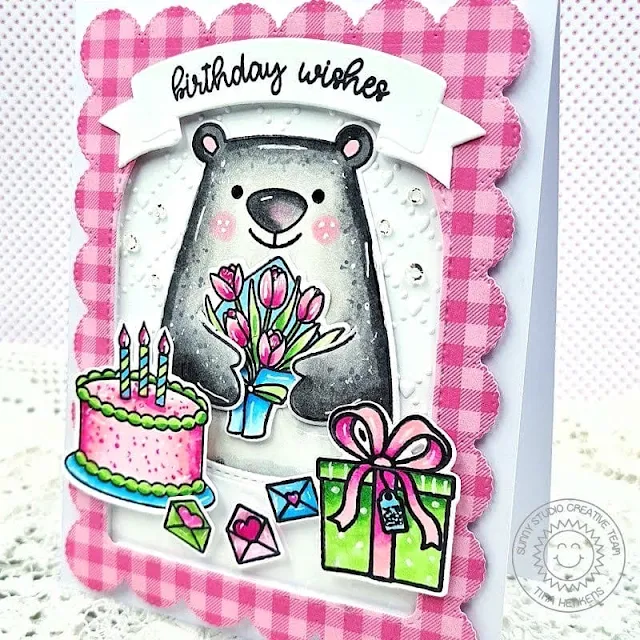
Hello crafters, it’s Tina and today I am mixing and matching several sets for this designer’s choice blog post. The darling bear from Holiday Hugs is perfect for all your winter cards but I wanted to see how I could make him the focal point of a Spring birthday card!
To achieve this look, I had to mask off his scarf with some Post-it tape while I was stamping. It went really well and next I used the matching dies to cut him out. I love the special die for the arms! To remove the scarf with more precision or make it easier to do for mass production, here are detailed steps to achieve this look:
- Stamp the bear onto masking material and cut out the scarf with scissors, leaving a thin shadow for a little wiggle room.
- Then, stamp a sheet of paper with the bear image using your Misti tool.
- Cut a sheet of cardstock the same size as the paper used in Step 2. Using a lightbox or a well-lit window, position the blank sheet of cardstock over that stamped image and position your hand-cut mask on the cardstock where that scarf will stamp.
- Put the blank cardstock with the scarf mask in place back into your Misti, ink up your image, and stamp it onto the cardstock with the mask in place.
- Remove the mask and use a black fine-tip marker (one that will work with your desired coloring medium) to sketch the missing sides of the bear. A Memento marker or Copic Multiliner pen are both excellent choices.
- Use scissors to trim down the die-cut bear to account for the missing scarf.
Whilst browsing through my stash I selected a few birthday
related stamps like the big cake (Make A
Wish),
the gift (Holiday
Hugs),
the bouquet (Big
Bunny) and the letters (Bighearted
Bears).All these items were colored with alcohol markers in fun
Spring colors.
My card base is an A2 size and made from white heavy weight
card stock. For the pink gingham frame I used a Joyful
Holiday paper, which was cut with the outer of the Frilly
Frames Eyelet Lace dies and the largest of the Stitched
Arched Dies.
Since the coloring was so bright, I opted for a white backdrop. The upper part is dry embossed with the Quilted Hearts folder, whilst the lower part was run through the Lots Of Dots folder (but that is difficult to see in the pictures). I added foam tape to the gingham frame and lower part of the background and adhered all the elements to my card base. Next, I added the cute bear and all his birthday accessories!
I love how the Brilliant
Banner 2 Die perfectly fits on top of the arched frame. The
combined sentiment was selected from the Happy
Thoughts set and stamped in Versafine
Onyx Black Ink. For some bling, I adhered a few Crystal
Clear Jewels which are one of my favorites.
I hope you got inspired to experiment with
stamp masking, it’s such a fun technique! Thank you for joining me and happy
crafting!
Sunny Studio Supplies Used:
 Happy Thoughts Stamps Shop at: Sunny Studio |
 Make A Wish Stamps Shop at: Sunny Studio |
 Make A Wish Dies Shop at: Sunny Studio |
 Lots of Dots Embossing Shop at: Sunny Studio |
 Frilly Frames-Eyelet Lace Shop at: Sunny Studio |
 Stitched Arch Dies Shop at: Sunny Studio |
 Quilted Hearts Portrait Shop at: Sunny Studio |
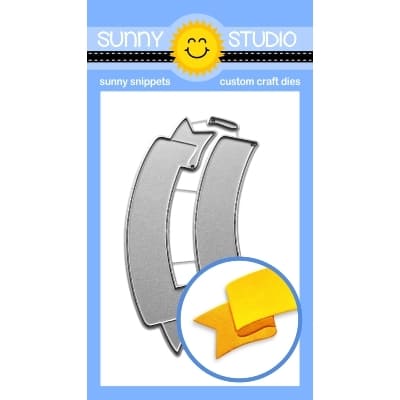 Brilliant Banner 2 Dies Shop at: Sunny Studio |
 Holiday Hugs Stamps Shop at: Sunny Studio | |
 Holiday Hugs Dies Shop at: Sunny Studio |
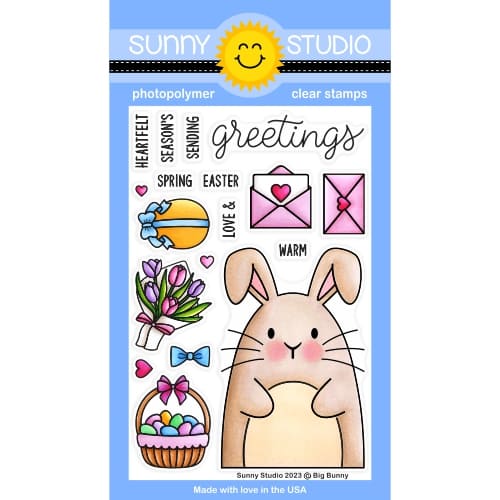 Big Bunny Stamps Shop at: Sunny Studio |
 Big Bunny Dies Shop at: Sunny Studio |



No comments:
Post a Comment