Hello crafty friends! It's Dana Kirby here today and I am so excited to be a guest on the Sunny Studio blog. I created a Christmas card and gift card holder to share with you all. So let's get started.
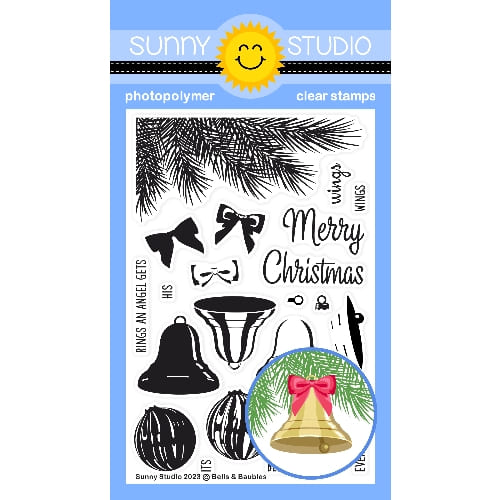
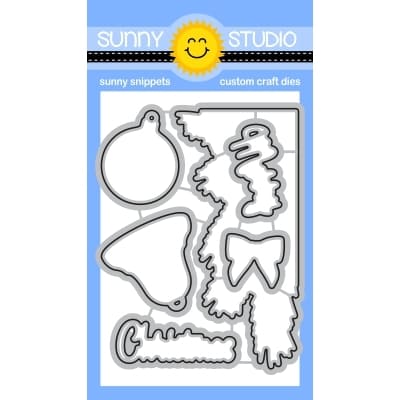
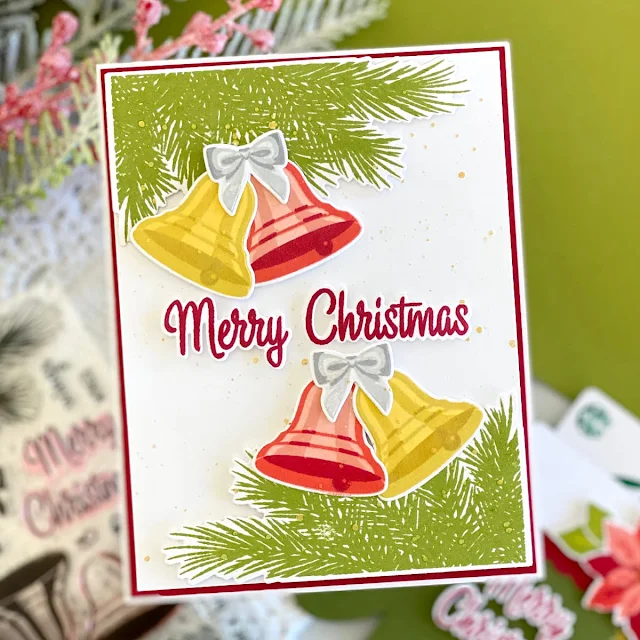
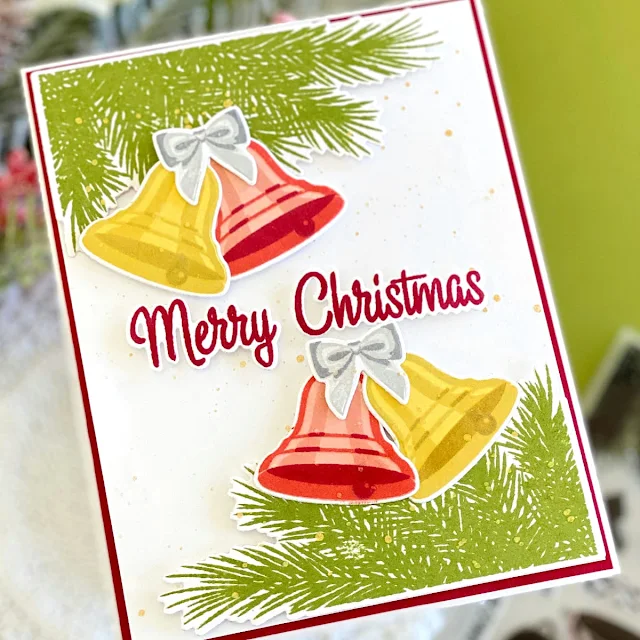
For my card, I used the Bells & Baubles stamp and coordinating dies. I started my card by die cutting my images first. I then used my Misti and did all of my stamping. I love the detail on these layered images, so pretty!
Next, I attached my stamped images to my card panel with foam adhesive to give my card some dimension. I then added a few gold splatters with watercolor paint for a little extra detail.
Lastly, I again used the Bells & Baubles stamp and coordinating dies for my sentiment. I just love the "classic" Christmas images included in this set!
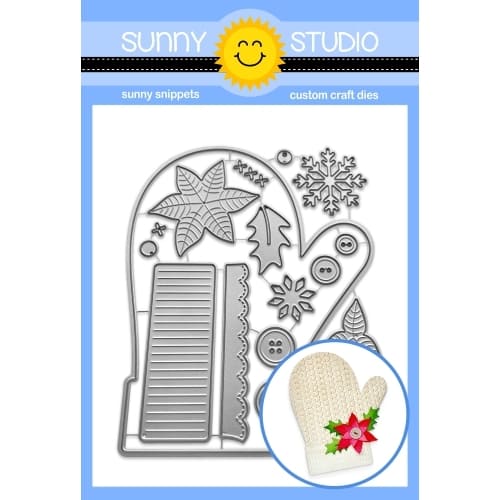
For my gift card holder, I used the Woolen Mittens die set. This is a fun set of dies that create the most adorable mitten!! I die cut the mitten two times and then applied a strong adhesive around the edges to create a pocket. A gift card slides in and out of the opening perfectly.
Now the fun part, decorating your mitten! The Woolen Mittens die set includes all sorts of fun details to decorate your mitten. So many possibilities! I decided to use the cuff and the scalloped edge to decorate the top of my mitten. I then used the Pretty Poinsettia stamp and coordinating dies to create my floral accent.
Lastly, I used the Bells & Baubles set for my sentiment. I love that you can use the mitten for a gift card holder, but I also think it will make the most adorable gift tags!
Thanks for joining
me today! I hope you enjoyed my card and gift card holder and that I inspired
you to create one of your own.
Sunny Studio Supplies Used:
 Petite Poinsettias Stamps Shop at: Sunny Studio |
 Petite Poinsettias Dies Shop at: Sunny Studio |
 Woolen Mitten Dies Shop at: Sunny Studio |
 Bells & Baubles Stamps Shop at: Sunny Studio |
 Bells & Baubles Dies Shop at: Sunny Studio |



No comments:
Post a Comment