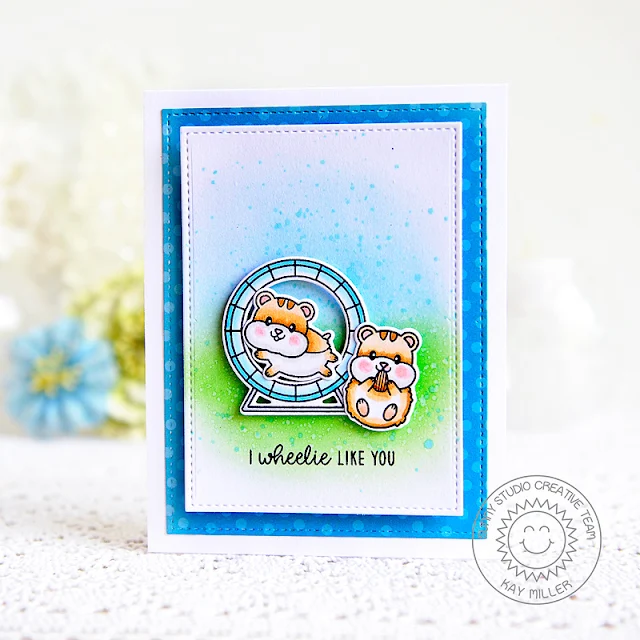
Hi there! Kay here and I have a fun card to share with you today using the super cute Happy Hamsters stamp set and the coordinating dies. I also used the Stitched Rectangle dies and some patterned paper from the Holiday Cheer 6x6 Cardstock pad.
First off, I created a background for the cute little hamsters by blending some distress ink onto white cardstock. I used Mowed Lawn for the grass and Tumbled Glass for the sky. I then speckled some darker blue Peacock Feathers ink mixed with water over all of it. I stamped the sentiment from the Happy Hamsters stamp set along the bottom and then cut this panel out with the medium Stitched Rectangle dies. I then cut out a panel of patterned paper from the Holiday Cheer paper pack just one size larger using the largest of the Stitched Rectangle dies. I then layered both of these onto my white card base.
Next I colored the cute little hamsters and wheel with Copic markers and cut them out with the Happy Hamsters coordinating dies. I added these to my card using foam tape.
I hope you have enjoyed my card today! Thanks so much for stopping by and happy weekend!
------------------------------------------------
Have you seen these absolutely adorable Happy Hamsters from
Sunny Studio stamps yet?! Candice with
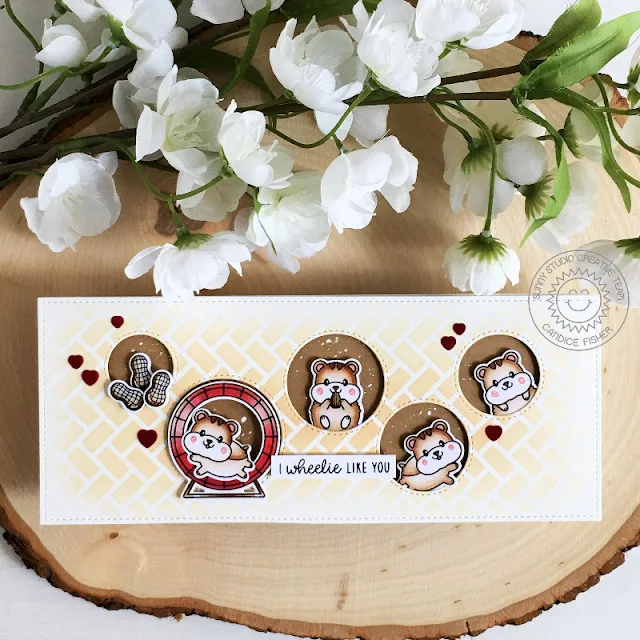
you today sharing a fun slimline card highlighting these sweeties!
I used these Sunny Studio products to create my slimline design:
- Happy Hamsters
stamps & coordinating dies
- Slimline Pennants
dies
- Staggered Circle
die
- Frilly Frames
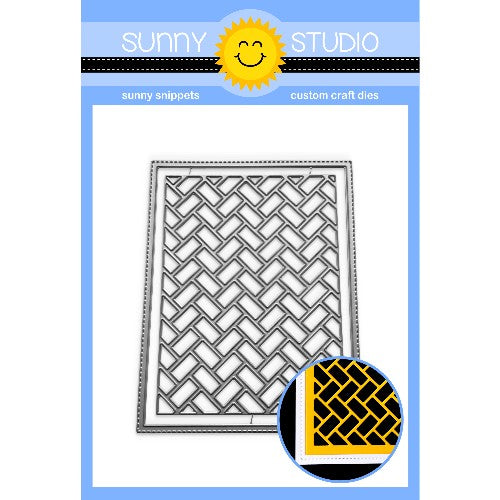
Herringbone dies
I began my
slimline with an 8 1/2 x 3 1/2 card base. For the background, I first created
the stitched panel using the Slimline Pennant
dies using the partial die cut method (run partway through your
machine, rotate and line up, and run partway through again!) I then die cut the Herringbone using
this same partial die cut method to create my stencil, inking my panel with tea
dye, and then die cutting the staggered stitched
circles. I finished the background by gluing a piece of Kraft
cardstock that was splattered with white paint and adhered the panel over it
with foam tape.
Next, I stamped the hamsters, wheel, and peanuts, colored them with Copic markers, and used the coordinating dies to cut them out. I added a few white accents with a pen and then put them in the circles with foam tape. I stamped my sentiment on a white banner adding it with foam tape and glued a few die cut hearts from red velvet cardstock!
Thank you so
much for stopping by today!
Sunny Studio Supplies Used:
 Happy Hamsters Stamps Shop at: Sunny Studio |
 Happy Hamsters Dies Shop at: Sunny Studio |
 Stitched Rectangle Dies Shop at: Sunny Studio |
 Staggered Circles Die Shop at: Sunny Studio |
 Frilly Frames Herringbone Shop at: Sunny Studio |
 Slimline Pennant Dies Shop at: Sunny Studio |


No comments:
Post a Comment