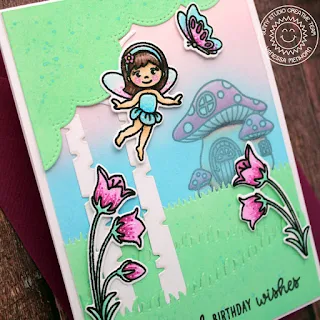
Hello to you! Vanessa here with my first card using the wonderful new release, starting with Garden Fairy today. I love this set so much! Here is my take:
I've been loving the look of layered vellum over backgrounds to create more depth. But I didn't like to fumble with vellum to adhere it without showing adhesive. So I thought about alternatives and came up with an easy solution creating my desired look! For this, I just stamped the mushroom house onto my white cardstock panel and colored it with Copic markers. Now I inked the background with Tumbled Glass and Spun Sugar Distress Oxide Inks, covering the image, too. This is all. I guess it won't work with all colors, but light ones will work well. Maybe creating a night landscape with a dark blue one will look good - I'll try various versions and we'll see how it turns out. Let me know if you use this technique!
Stamps and dies used today:
Garden Fairy stamps + dies (images, sentiment)
Slimline Nature Borders Dies (grassy edge, scalloped edge)
Rustic Winter Dies (tree trunks)
I inked a panel of white cardstock with Cracked Pistachio, added ink droplets and die-cut the grassy edges and the scalloped edge. Then I die-cut the tree trunks and adhered the die-cut pieces to the panel. After I had stamped the sentiment, I adhered the panel to the card. Finally, I stamped the images, colored them with Copic markers, die-cut everything with the matching dies and adhered the elements to the card with foam tape.
This wonderful stamp set will for sure be one of my new favorites. Thank you so much for stopping by, see you next week!
-----------------------------------------------
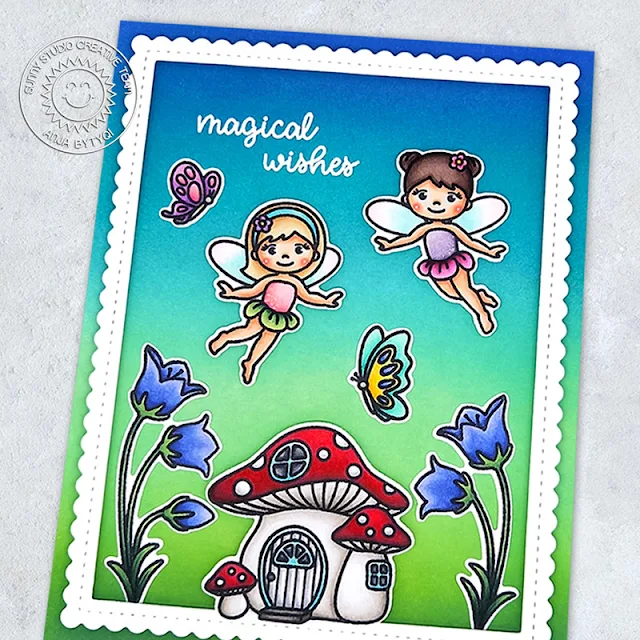
Hello everyone, Anja here and today I'm excited to share my first project using some beautiful stamps from the new Spring release. Today I'm kicking it off with the sweet Garden Fairy Stamps.
I started off with an ink blended background in vibrant blue, teal and green tones. Therefore I used the Distress Oxides Blueprint Sketch, Peacock Feathers, Broken China, Cracked Pistachio, Mowed Lawn and Rustic Wilderness. I stamped the sentiment in VersaMark Ink and white heat embossed it.
Next, I stamped the images in Memento Tuxedo Black Ink and colored them with Copic Markers. I used the coordinating dies to cut everything out.
To frame my little garden scene, I die cut the scalloped mat included in the Frilly Frames Stripes Dies set from white cardstock and also cut out a rectangle. I popped up the frame with foam tape strips and adhered the images.
Thank you so much for stopping by! Have a magical day!
Sunny Studio Supplies Used:
 Rustic Winter Dies Shop at: Sunny Studio |
 Frilly Frames Stripes Die Shop at: Sunny Studio |
 Slimline Nature Borders Shop at: Sunny Studio |
 Garden Fairy Stamps Shop at: Sunny Studio |
 Garden Fairy Dies Shop at: Sunny Studio |


No comments:
Post a Comment