I first
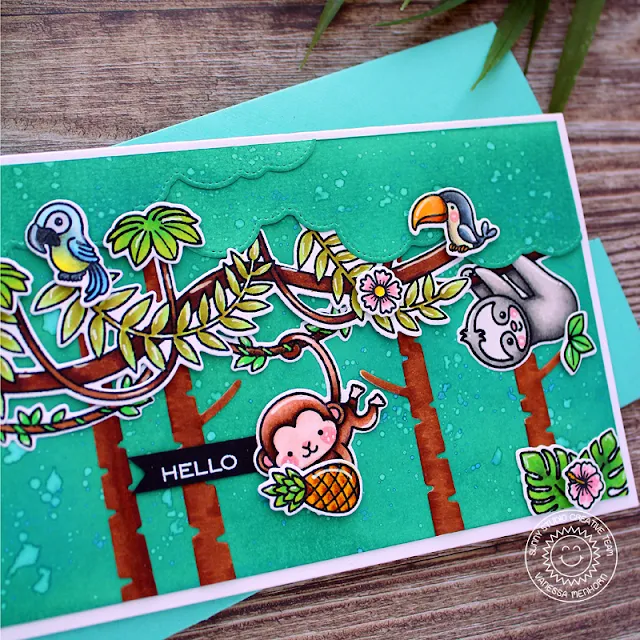
inked my white cardstock panel with green Distress Oxide Ink and added water
droplets. Then I die-cut the Fluffy Clouds Border Dies from
white cardstock, inked them, added water droplets and adhered them to the top
of the panel. I die-cut the tree trunks from Rustic Winter Dies, colored
them with Copics and adhered them. Now I stamped all the images, colored them
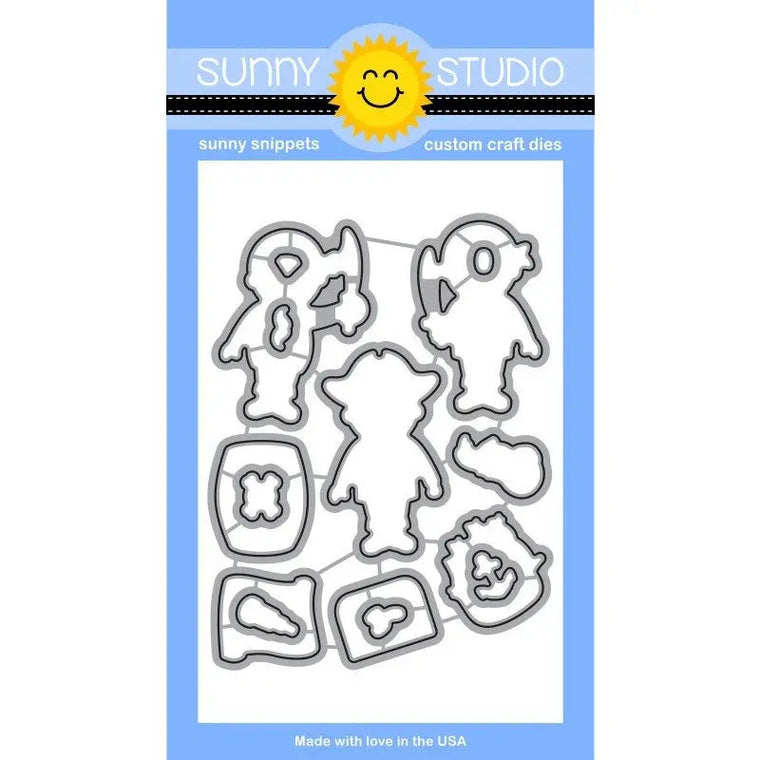
with Copics, die-cut the elements with the matching dies and adhered the pieces
to the card, raising some with foam tape.
These
are all the sets I used:
Radiant Plumeria (hello)
Finally, I stamped the "Hello" onto a strip of black cardstock, heat-embossed it with white embossing powder, notched the end and adhered the strip to the card.
Wishing you a wonderful day everybody! Thanks for visiting!
-------------------------------------------------
Finally, I stamped the "Hello" onto a strip of black cardstock, heat-embossed it with white embossing powder, notched the end and adhered the strip to the card.
Wishing you a wonderful day everybody! Thanks for visiting!
-------------------------------------------------
Hello everyone, Anja here and today I'm featuring the
fabulous Tropical Scenes Stamps.
I picked the leafy jungle border to create another Savanna Safari scene.
I also added two cuties and a vine image from the Love Monkey set.
For my background, I first masked off the bottom half of the Bristol cardstock panel. I blended together the Distress Oxide Inks Milled Lavender and Dusty Concord to create a gradient purple sky. When it was completely dry, I stamped the sentiment in VersaMark Ink and heat embossed it with Ranger Liquid Platinum embossing powder. The baobab tree was stamped in VersaFine Onyx Black Ink.
Next, I turned around the mask to work on the sandy ground. But before I started with the ink blending of Antique Linen and Frayed Burlap, I die cut the little island which I will turn into a small pond later. For a bit of interest, I added ink splatters with a paint brush. I chose Tumbled Glass and Broken China to ink up the pond and also die cut one of the waves. I inlaid the pond die-cut back into the negative space of the ground.
I stamped the images in Memento Tuxedo Black Ink and
colored them with Copic Markers. The solid grass and leaf image were stamped
with green dye ink. I used the coordinating dies to cut everything out.
Finally, I tucked the hippo inside the wave slit and arranged the other images
around the pond and up in the tree.
Thank you so much for stopping by! Have a great day!
Thank you so much for stopping by! Have a great day!
Sunny Studio Supplies Used:
 Pirate Pals Dies Shop at: Sunny Studio |
 Pirate Pals Stamps Shop at: Sunny Studio |
 Rustic Winter Dies Shop at: Sunny Studio |
 Love Monkey Stamps Shop at: Sunny Studio |
 Love Monkey Dies Shop at: Sunny Studio |
 Fabulous Flamingos Stamps Shop at: Sunny Studio |
 Fabulous Flamingos Dies Shop at: Sunny Studio |
 Silly Sloths Stamps Shop at: Sunny Studio |
 Silly Sloths Dies Shop at: Sunny Studio | |
 Fluffy Clouds Border Dies Shop at: Sunny Studio |
 Radiant Plumeria Stamps Shop at: Sunny Studio |
 Savanna Safari Stamps Shop at: Sunny Studio |
 Savanna Safari Dies Shop at: Sunny Studio | |
 Tropical Scenes Stamps Shop at: Sunny Studio |
 Tropical Scenes Dies Shop at: Sunny Studio |


No comments:
Post a Comment