I made a
three-scoop ice cream cone, using Two Scoops stamp set,
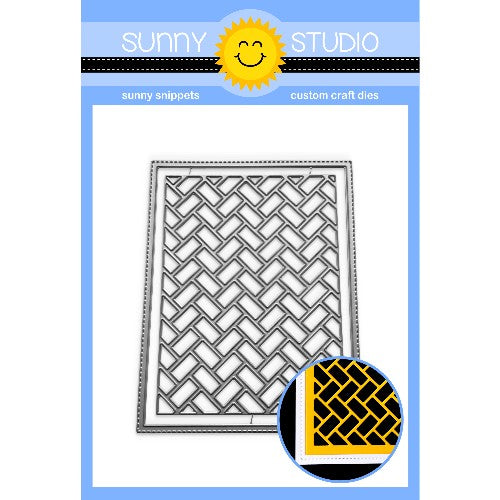
and Altenew inks. I die-cut white card stock with the Herringbone die. For the
stitched edge, I used the large rectangle from Frilly Frames Retro Petals.
I blended Candied Apple, Abandoned Coral, and Worn Lipstick Distress Oxide inks onto Bristol Smooth paper, trimmed the panel, and glued the Herringbone background to it. I attached the ice cream cone on top, and finished with a Hello.
Thanks so much for joining me today. I hope I have helped with summer card inspiration!
----------------------------------------------------------------
Hello Sunny Studio friends! It's Juliana and today I'm sharing a card featuring the Herringbone Frilly Frame Die Set. I don't know about you, but I absolutely love ALL the Frilly Frames! They are perfect for adding interest and texture to just about any card design.
For this card,
I began by stamping and die cutting images from the Potted
Rose and Everything's
Rosy Stamp Sets. I used Scrapbook.com's Premium Hybrid Inks which are just
perfect for using with layered stamps like these. Once the stamping was
complete, I die cut all of the images using the coordinating die sets.
Next, I die cut
a piece of white cardstock using the Herringbone
Frilly Frame Die Set. For the sentiment, I stamped “best wishes” from the Pink
Peonies Stamp Set with Black Soot Archival Ink onto a piece of vellum. Once
the ink was dry, I die cut it using one of the Stitched
Oval Dies. I then assembled the stamped images and sentiment on top of the
frame and layered the entire piece onto a piece custom ink blended paper. For
the final touch, I added some white
pearls using a bit of Distress Collage Medium to adhere them.
I hope you enjoyed this bit of inspiration using the Herringbone Frilly Frame Die Set. Thanks so much for stopping by today!
I hope you enjoyed this bit of inspiration using the Herringbone Frilly Frame Die Set. Thanks so much for stopping by today!
Sunny Studio Supplies Used:
 Two Scoop Dies Shop at: Sunny Studio |
 Two Scoop Stamps Shop at: Sunny Studio |
 Hello Word Die Shop at: Sunny Studio |
 Stitched Oval Dies Shop at: Sunny Studio |
 Everything's Rosy Stamps Shop at: Sunny Studio |
 Everything's Rosy Dies Shop at: Sunny Studio |
 Frilly Frames Retro Petals Dies Shop at: Sunny Studio |
 Pink Peonies Stamps Shop at: Sunny Studio |
 Potted Rose Stamps Shop at: Sunny Studio | |
 Potted Rose Dies Shop at: Sunny Studio |
 Frilly Frames Herringbone Shop at: Sunny Studio |


No comments:
Post a Comment