I
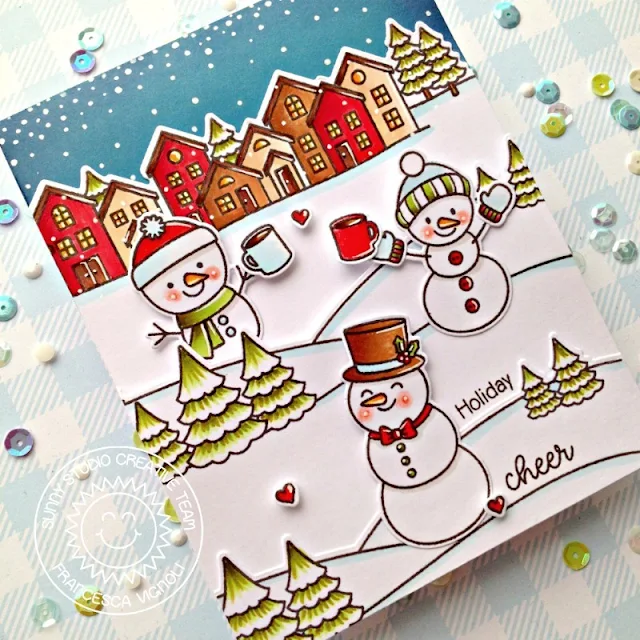
also stamped, colored and die cut lots of little
snowmen from the Feeling Frosty set and started building
my winter scene. For the little sky portion at the top, I colored the front top
of my card with Salty Ocean and Chipped Sapphire distress inks, let it dry
completely and added lots of dots with a white gel pen to create a snowy
effect.
I glued everything down with a combo of liquid glue and foam adhesive, then I added more details with the white gel pen and stamped my sentiment following the snowy hills. Aww it turned out super cute!!
Hope you like it as much as I do and thank you so much for stopping by today!
I glued everything down with a combo of liquid glue and foam adhesive, then I added more details with the white gel pen and stamped my sentiment following the snowy hills. Aww it turned out super cute!!
Hope you like it as much as I do and thank you so much for stopping by today!
--------------------------------------------------
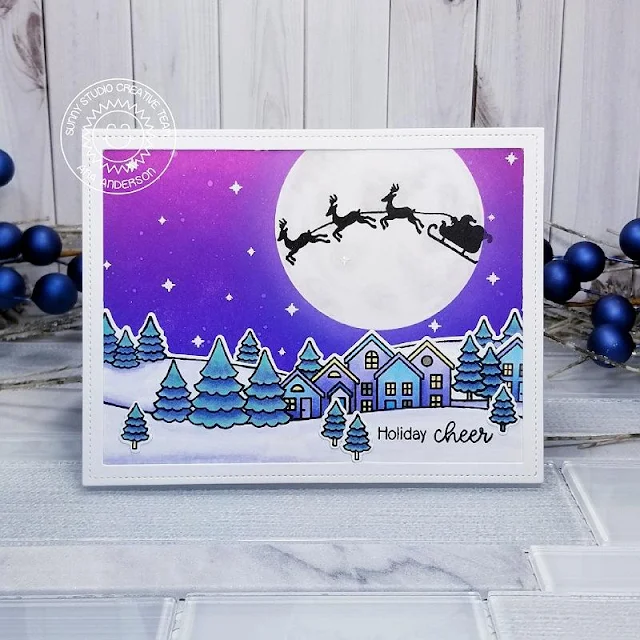
Hi friends! Ana here today with a winter night scene card featuring amazing Scenic Route stamp set and coordinating dies from the new holiday release!
Hi friends! Ana here today with a winter night scene card featuring amazing Scenic Route stamp set and coordinating dies from the new holiday release!
Scenic Route is such an amazing versatile stamp set – so many
awesome scenes and backgrounds can be created with this set and for today’s
project have used the row of houses and snowy hills images as well as the
sentiments and standalone tree for my scene.
I created the background by ink blending Chipped Sapphire,
Blueprint Sketch, Wilted Violet and Seedless Preserves distress inks on my
panel, leaving the circle white to create the moon. I used masking paper that I
die cut with circle die then shaded the moon with W1 Copic marker.
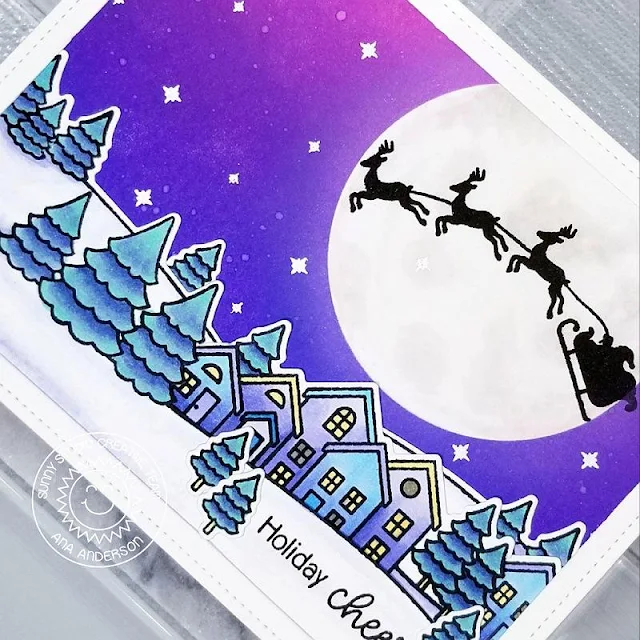
I colored the houses and snowy hills with Copic markers, die cut them with coordinating dies then using scissors cut on the line of the hill to insert the row of houses, adhering them together. I stamped Santa and sleigh, from Here Comes Santa stamps, on the moon and stamped the sentiment, from Scenic Route set on the snowy hill using VersaFine Onyx black ink.
I colored the houses and snowy hills with Copic markers, die cut them with coordinating dies then using scissors cut on the line of the hill to insert the row of houses, adhering them together. I stamped Santa and sleigh, from Here Comes Santa stamps, on the moon and stamped the sentiment, from Scenic Route set on the snowy hill using VersaFine Onyx black ink.
Stars, from Here Comes Santa set,
were white heat embossed to the background. To finish off the card I added
white frame which I created by altering Comic Strip Speech Bubbles Die (I
cut the inside window partitions to create the frame).
I really love the versatility of the Scenic Route set and I hope you liked today’s project and got inspired! Thank you for stopping by today and I’ll see you next week!
I really love the versatility of the Scenic Route set and I hope you liked today’s project and got inspired! Thank you for stopping by today and I’ll see you next week!
Sunny Studio Supplies Used:
 Here Comes Santa Stamps Shop at: Sunny Studio |
 Comic Strip Speech Bubble Dies Shop at: Sunny Studio |
 Feeling Frosty Stamps Shop at: Sunny Studio |
 Feeling Frosty Dies Shop at: Sunny Studio |
 Scenic Route Stamps Shop at: Sunny Studio |
 Scenic Route Dies Shop at: Sunny Studio |


No comments:
Post a Comment