I started off with running through the Staggered
Circles Dies on a piece of white cardstock. I made sure to leave the
fifth circle out while die cutting to make sure I had four circles to create
shakers. Once it was die-cut I also ran through the piece with the Moroccan
Circles Embossing Folder. I flipped over the panel and added adhesive and acetate on the
back. I then added foam tape around the circles. I sprinkled some Birthday
Cake Dot Sprinkles into each of the openings and then removed the backers and
adhered a green piece of cardstock over the top.
Next, I stamped some images from Make A Wish and Oceans
of Joy and coloured them in with Copic Markers. I used
the sprinkles set as inspiration for colours. Once they were
coloured, I cut them all out.
(Copic Markers Used: V01, V12, V15, V17 / R30, R32, R43, R35 / R00, R30, R20, R21 / B21, B23, B24, B26 / W00, W0, W1, 0 / YG00, YG01, YG23, YG25 / Y00, Y11, Y13, Y15)
(Copic Markers Used: V01, V12, V15, V17 / R30, R32, R43, R35 / R00, R30, R20, R21 / B21, B23, B24, B26 / W00, W0, W1, 0 / YG00, YG01, YG23, YG25 / Y00, Y11, Y13, Y15)
I added foam tape onto the backs of the images and adhered them
into place. For the sentiment I used one of the extra circles that I die cut
earlier and stamped the ‘Make A Wish’ sentiment on there from Make A Wish with black ink. I
added foam tape onto the back and adhered it into place.
That finished up my card for today, I hope you all enjoyed, and I’ll see you next week!
That finished up my card for today, I hope you all enjoyed, and I’ll see you next week!
----------------------------------------------------
Hello everyone, Leanne here! I'm sharing my first fall card of the season. I simply could not wait to use some of the new fall themed products. I also used the Moroccan Circles embossing folder to add interest to the card without taking away from the focal point.
I started with a yellow card
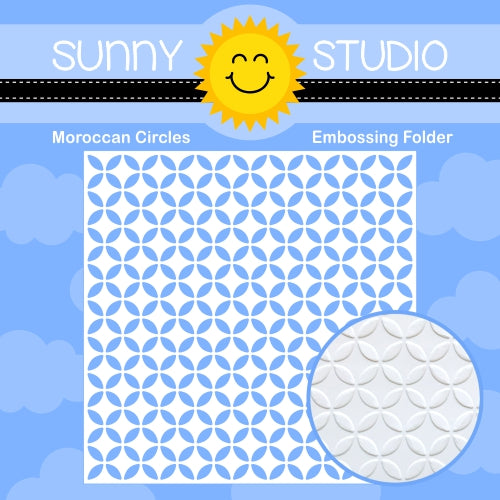
stock panel trimmed slightly smaller than A2 size. I embossed the panel
with the Moroccan Circles folder to add texture and pattern. This embossing folder is such a great basic pattern but one that's
perfect for a fall themed card. I added a 1.5" strip of pattern
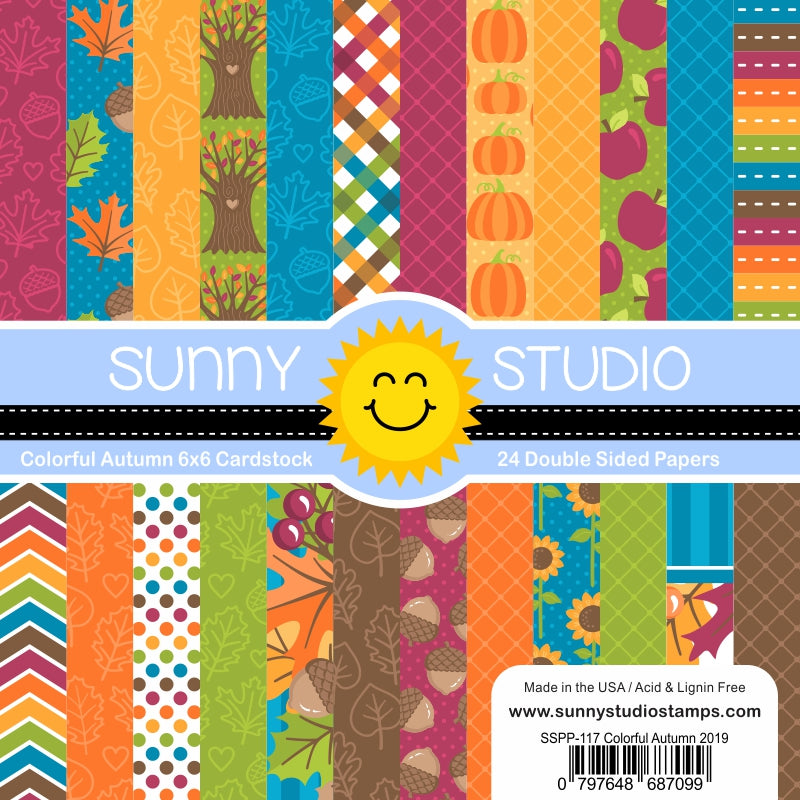
paper from the Colorful Autumn paper pad to the embossed panel. I tired a
piece of twine around the panel and adhered to my card base with foam
tape.
I wanted to create a small
fall scene as the focal point of the card using a few images from the Woodsy Autumn stamp set. I stamped the images in Copic friendly
brown ink and colored to coordinate with the pattern paper. I die cut the
images with the Woodsy Autumn dies. I then arranged them on a die cut Fancy Frames Square panel that has some light ink blending for
the sky and ground.
I adhered the
completed scene to the card with some foam tape so it's popped up from the
decorative background panel. I stamped a greeting from Woodsy Autumn and trimmed into a skinny strip to layer over the scene. I
added a few sequins to finish off the card.
Sunny Studio Supplies Used:
Sunny Studio Supplies Used:
 Oceans of Joy Dies Shop at: Sunny Studio |
 Oceans of Joy Stamps Shop at: Sunny Studio |
 Fancy Frames-Square Dies Shop at: Sunny Studio |
 Make A Wish Stamps Shop at: Sunny Studio |
 Make A Wish Dies Shop at: Sunny Studio |
 Staggered Circles Die Shop at: Sunny Studio |
 Colorful Autumn 6x6 Paper Shop at: Sunny Studio |
 Moroccan Circles Embossing Shop at: Sunny Studio |
 Woodsy Autumn Stamps Shop at: Sunny Studio | |
 Woodsy Autumn Dies Shop at: Sunny Studio |


Love the idea of the circles as shakers. So simple and cute!!!
ReplyDelete