
Hi friends, Jarle here. I am excited to be back on the Sunny Studio Stamps blog with my weekly card. Today, I am featuring the cute Hedgey Holidays stamp set.

I started by trimming a panel of white cardstock to 5 by 3,75. because I already knew I wanted a white border around my card. I die cut the Staggered Circles die set out of that card panel.

Then it was time for some stamping and coloring. I stamped the images from the Hedgey Holidays stamp set a few times on Transotype Perfect Coloring paper with black Copic-friendly ink. I colored everything with my Copics. Of course, I used the coordinating dies to cut out all the images. I put my images on the white panel for placement and stamped my sentiment from the same Hedgey Holidays set.
These are the color combinations I
used:
- E33 - E31 - E30
- E47 - E35 - E33 - E31
- R85 - R83 - R81
- G17 - G02 - G00
- N0 - C00 - 0

I trimmed a piece of (pink!) patterned paper out of the All is Bright 6x6 paper pad to the same size as the white card panel (so 5 by 3,75). I put some foam squares on the back of the white panel, because I really wanted to create some dimension. I placed it down onto the patterned paper. After that I adhered all my images on the card panel. I folded an A2 sized card base and put my whole card panel on top, leaving that little white border all around.
I love that you can create a CAS card with just a little mini stamp set. Have a beautiful day!
Sunny Studio Supplies Used:
 Staggered Circles Die Shop at: Sunny Studio |
 Hedgey Holidays Stamps Shop at: Sunny Studio |
 Hedgey Holidays Dies Shop at: Sunny Studio |
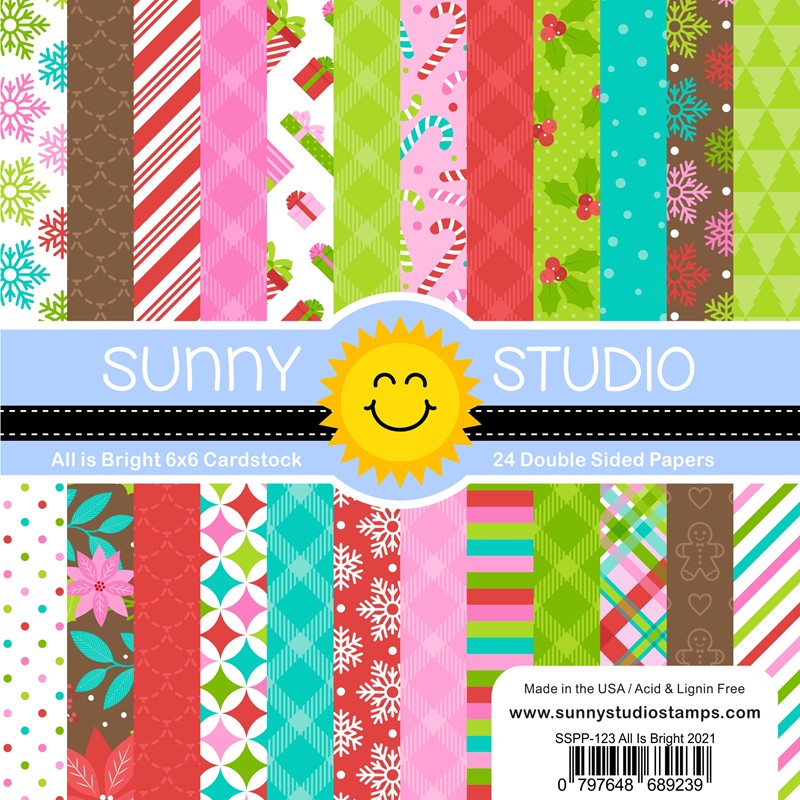 All Is Bright Paper Shop at: Sunny Studio |



No comments:
Post a Comment