I used 110 lb. pink card stock to die cut the main box pieces
from. I then cut out the striped decorative panels, using dies also from
the Wrap Around Box set. The striped pattern is from the Striped Silly paper pack. To create the little island for my tropical scene, I used
some kraft card stock and a Stitched Oval die. I then used the stitched panel die from Wrap Around
Box to square off the bottom of the island to perfectly match the shape of the
box. I stamped and Copic colored all the images. The flamingo,
tropical leaf, and tiny flowers are from Fabulous Flamingos. The larger palm tree is from Seasonal Trees and the
smaller palm tree if from Sending Sunshine.
To finish off the box I created a tiny tag. The tag die is
included in the Wrap Around Box set. I stamped a sentiment from Fabulous Flamingos and
decorated with a tropical leaf and flowers. I then attached the tag to
the box by punching a small hole in one of the top flaps and tied a bow with
baker’s twine.
This box was so easy to assemble and decorate. I think it’s a fun size to put little gifts inside such as nail polish, lip balm, jewelry, or even some small treats like candy. Happy crafting!
This box was so easy to assemble and decorate. I think it’s a fun size to put little gifts inside such as nail polish, lip balm, jewelry, or even some small treats like candy. Happy crafting!
-------------------------------------------------
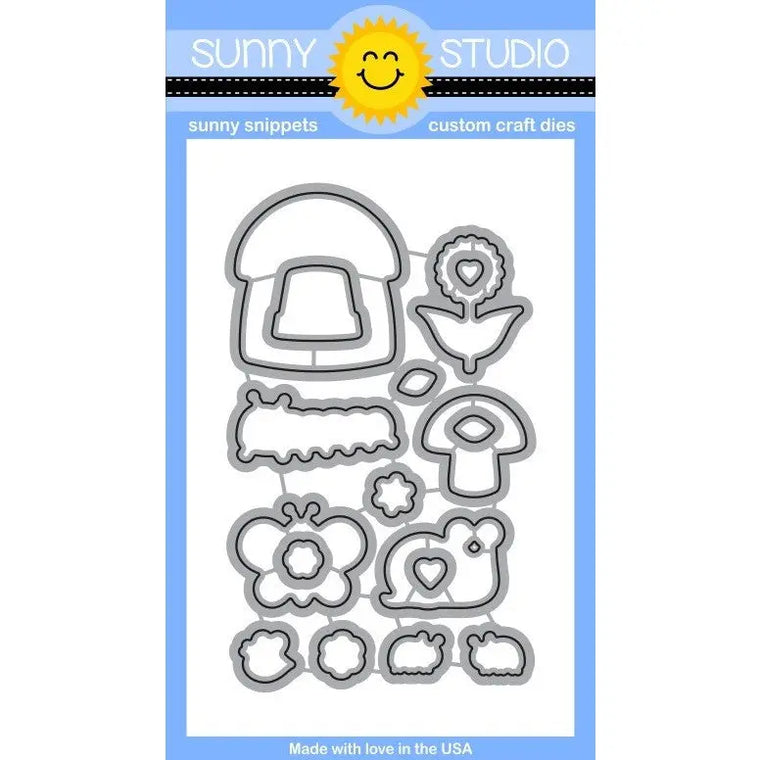
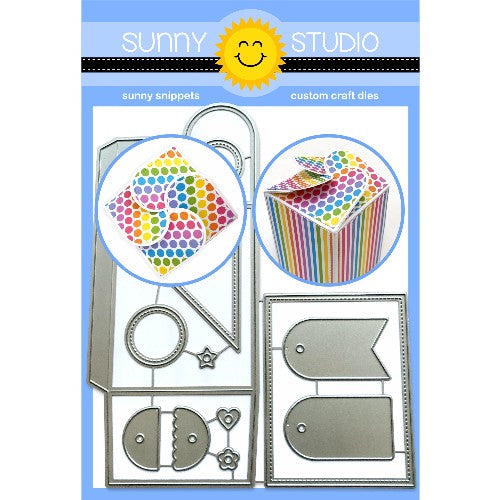
Hello friends, Eloise here and today we are sharing projects using the Wrap Around Box Die. This is such a cool box die, it’s perfect for all occasions and it’s a really good size, too. I also used the Backyard Bugs Stamp Set to decorate with since it gave me a chance to use the new patterned papers.
To
start off I stamped and coloured my images with Copic Markers and then die cut them
out. I then used the Wrap
Around Box Die and cut all the pieces I needed out, as well as using
the grassy border die from Sunny
Sentiments.
(Copic
Markers Used: RV10, RV13, RV25, RV19 / YG01, YG23, YG07, YG67 / YR00, YR02,
YR12, YR18 / BG10, BG11, BG13, BG49 / B21, B24, B26, B18 / W00, W0, W1, W3, W5,
W7 / 0 / Y23, Y32, Y35, Y38)
For
my box,
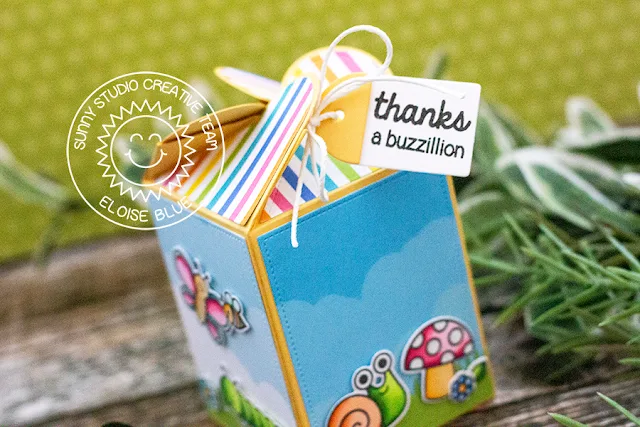
I cut four of the main pieces from yellow cardstock and then the extra
rectangle piece four times from the cloud patterned paper in the Summer
Splash Patterned Paper Pack. I also cut the topper piece four times
from the striped patterned paper in the same collection, which is where I got
my colour inspiration from. Once all my pieces were cut, I assembled them
together. I then adhered my green grassy borders at the bottom of each rectangle
as well.
Once
my box was assembled, I adhered all my images into place. For my sentiment I
used the ‘Thanks A Buzzillion’ and stamped it onto a white tag. I added a
yellow topper; both from the same Wrap
Around Box Die and threaded through some white twine. I
then threaded through the twine on the box as well and tied a bow.
So that finished up my card for today, I hope you enjoyed, and I’ll see you next week.
So that finished up my card for today, I hope you enjoyed, and I’ll see you next week.
Sunny Studio Supplies Used:
 Backyard Bugs Dies Shop at: Sunny Studio |
 Backyard Bugs Stamps Shop at: Sunny Studio |
 Sunny Sentiments Dies Shop at: Sunny Studio |
 Striped Silly 6x6 Paper Shop at: Sunny Studio |
 Stitched Oval Dies Shop at: Sunny Studio |
 Wrap Around Box Die Shop at: Sunny Studio |
 Fabulous Flamingos Stamps Shop at: Sunny Studio |
 Fabulous Flamingos Dies Shop at: Sunny Studio |
 Seasonal Trees Stamps Shop at: Sunny Studio | |
 Seaonal Trees Dies Shop at: Sunny Studio |
 Sending Sunshine Stamps Shop at: Sunny Studio |
 Sending Sunshine Dies Shop at: Sunny Studio |
 Summer Splash 6x6 Paper Shop at: Sunny Studio | |


These are just delightful!
ReplyDelete