Hello there! I'm so excited to be here wrapping up our week partnering with the Therm-o-web team. I hope you have enjoyed it as much as we have--It's been so much fun working with their wide array of versatile products!
Up first for you I have a card using their new Deco Foil Flock Transfer Sheets that are coming to a store near you soon. Of all the new products at Creativation, these truly made my heart leap with joy. Make sure to see them in action on their YouTube channel HERE.
For my card I adhered the flock using Deco Foil White Foam Adhesive and cut them out using our Birthday Smiles dies. They don't have the flock in brown yet, so I cut out a small square of the white flock and pounced on some Vintage Photo Distress ink (careful to not rub the flock off). I then stamped the cone print using the matching Birthday Smiles stamps.
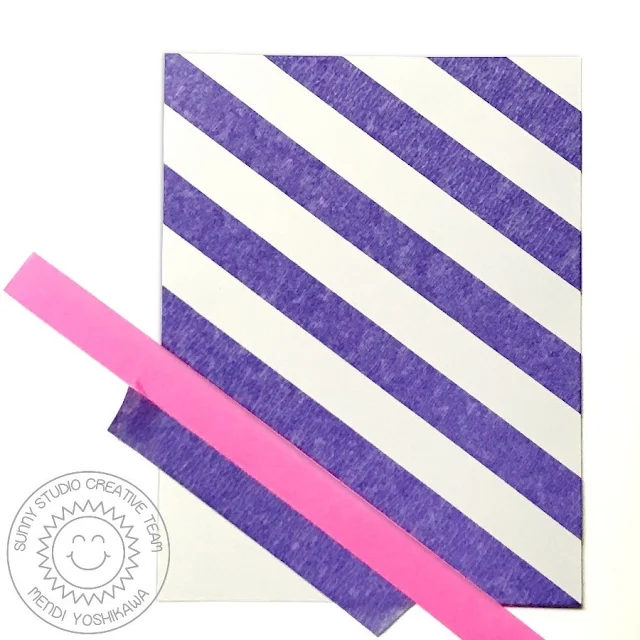
To create my fun coordinating background, I used their new 1/2" wide Purple Tape to mask off my diagonal stripe pattern. To keep my stripes straight I also cut a piece of 1/2" scratch cardstock to use as a guide between each row of tape. I then set to work blending on alternate colors of VersaFine Clair ink in Charming Pink, Cheerful and Paradise using my jumbo dauber (all linked below).
As a final touch on my card, I mounted my triple scoop cone on a Stitched Oval and heat embossed the sentiment "What's the Scoop?" with white powder using stamps from our Two Scoops Set.
While we're talking about flock, check out how cool it looks when it's embossed! For this background, I paired the white Deco Foil Flock Transfer (in it's original form) with our Dapper Diamonds Embossing folder for a really tactile background. I can't wait to put it to use on a fun, fuzzy card!
So I wanted to share so many more completed cards today, but I am in the process of getting ready for our Summer Sneak Peek Week next week (yay) so I thought rather than share more finished cards I would give you a peek at all the fun backgrounds I've been preparing using our line of mix and match Frilly Frame dies and Therm-o-web's awesome new gels!
I started by cutting out backgrounds for my stencils using our Frilly Frame Dies and some hot pink cardstock I wanted to use up. In hindsight the gels are pretty wet and the pink discolored the gels so I would actually advise you to cut these from white cardstock instead.
Please note: You will see some stripes and chevrons here that we currently don't have in our store yet--These will be part of our Summer release coming out next Friday. ;)
After I made my handmade stencils, I sprayed the back of each with Therm-o-web's new Pixie Spray which temporarily holds the stencil in place while you spread the gel medium--Oh my goodness! Where has this been all my life? I always have trouble with the gels seeping below the stencil and this helped so much with that!
So my other new best friend is Therm-o-web's awesome new Flexible spatula called the Stencil Pal. Generously sized at 3.75" x 5.2" and with two pals to a pack, you can get smooth application in one solid swipe! Yes!
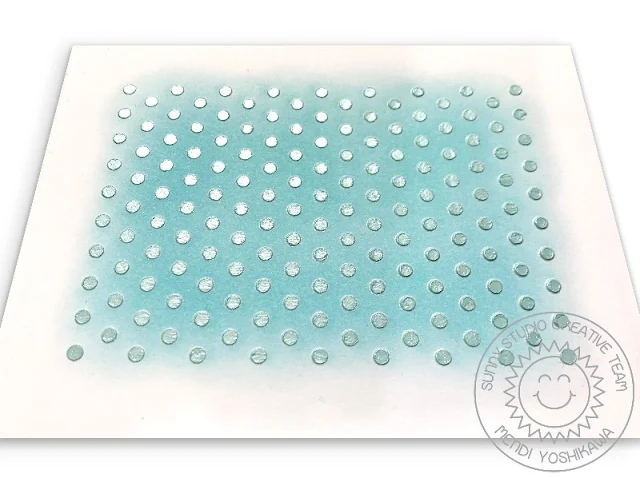
So for my first background I paired our Frilly Frames Polka-Dot dies together with their new Deco Foil Metallix Gel in White Pearl. To get extra life from a single jar of gel, I chose the white pearl so that I could mix in other colors with it.
For my background here, I scooped out some gel with a palette knife onto my non-stick craft mat and then dripped in several drops of Tumbled Glass Distress Ink using the coordinating Re-inkers and mixed them together until they were blended well. After waiting several hours for it to dry on my card panel, I then sponged on some Tumbled Glass distress ink to match. I love this soft background and fun texture. I can't wait to pair it with some of our new stamps for summer!
You can see more about their new line of Metallix gels at a short YouTube Video HERE.
For my next background I started by inking on Salty Ocean, Mermaid Lagoon, Blueprint Sketch and Chipped Sapphire Distress Inks to create a nice royal blue background using a jumbo dauber. You will want to make sure you either heat your card panel with a heat gun to get it nice and dry or set it aside for a couple hours to make sure the paper has no moisture in it. I was impatient and moved onto the next step way too quickly and the moisture in the paper wouldn't allow the pixie spray on the back of my stencil to stick which made seepage an issue (let's just say I now know where my embellishment are going now).
For my medium, I paired Therm-o-web's Glitz Glitter Gel by Gina K. with our Frilly Frames Lattice Dies. Once again I wanted to get the most bang for my buck from a single jar so I chose the white color and added drops of Mermaid Lagoon and Blueprint Sketch reinkers to have my Glitz Glitter Gel coordinate with my background for a subtle tone-on-tone look.
There is a quick video tutorial on these fabulous gels on their YouTube Channel HERE.

For my next background I paired their Deco Foil Metallix Gel in White Pearl with our new Frilly Frames Chevron Dies (coming out next Friday). Some of my gel from another background was turning pink from my pink cardstock stencil so I decided to embrace it and added in some drops of Picked Raspberry Re-inkers to tint my leftover gel on my palette. I love the results!
When it was completely dry several hours later, I inked over the top with my jumbo dauber and coordinating Picked Raspberry Distress ink. I then flicked the entire piece with water. The interesting discovery here is that the distress ink that I had mixed with the gels reacted to the water and not just my inked up background so I had water droplets visible on both!

For my next background I used the white Glitz Glitter Gel by Gina K. straight from the jar onto my background using a homemade stencil using our new Frilly Frames Stripes Die (also coming out next Friday).
This is another one where the pink stencil became a problem. The wetness of the gel left little tiny bits of the pink cardstock around the glittery stripes. However if I had created my stencils from white cardstock this wouldn't have been noticeable. Once again I decided rather than starting over I would embrace the pink and when it was dry I dabbed on some Spun Sugar distress ink in a resist method. Dabbing is important because the dried glitter can be rough on your foam dauber as I quickly learned. This is even prettier in person--Love the way the glitter catches the light!
For my last background with the frilly frames I once again used the new Frilly Frames Stripes Dies that are coming out next week and paired them with the Deco Foil Metallix Gel in White Pearl. After the medium was completely dry, I inked on alternating colors of Distress Ink for a happy rainbow background.
Before I sign off for the day, I thought I would share one more set of backgrounds I created using the Iridescent Foil Transfer Sheets. The iridescent foil is opaque so you can use it together with the black toner products and you won't see the toner through the foil--Love how it catches the light and changes from silvery to rainbow depending on your angle!
For the background on the right, I used the foil with Gina K. Designs Polka-Party Foil-Mates Backgrounds. The backgrounds come in 8.5" x 5" sheets (several to a pack) and have already been printed with the toner medium which makes backgrounds so easy and effortless. It's as easy as picking which color of foil you want to use and heating them up!
My background on the right uses that same foil together with the Deco Foil Clear Toner Sheets in Polka-dot. Won't this make a fun shaker card window?! Can't wait to start putting all these fun backgrounds to use so make sure to tune in next week to see many of them on completed cards. ;)
Thank you for joining us this week for our Therm-o-web collaboration and thanks to our friends at Therm-o-web for allowing us to play with your wonderful line up of products. We had a blast!
Sunny Studio Supplies Used:
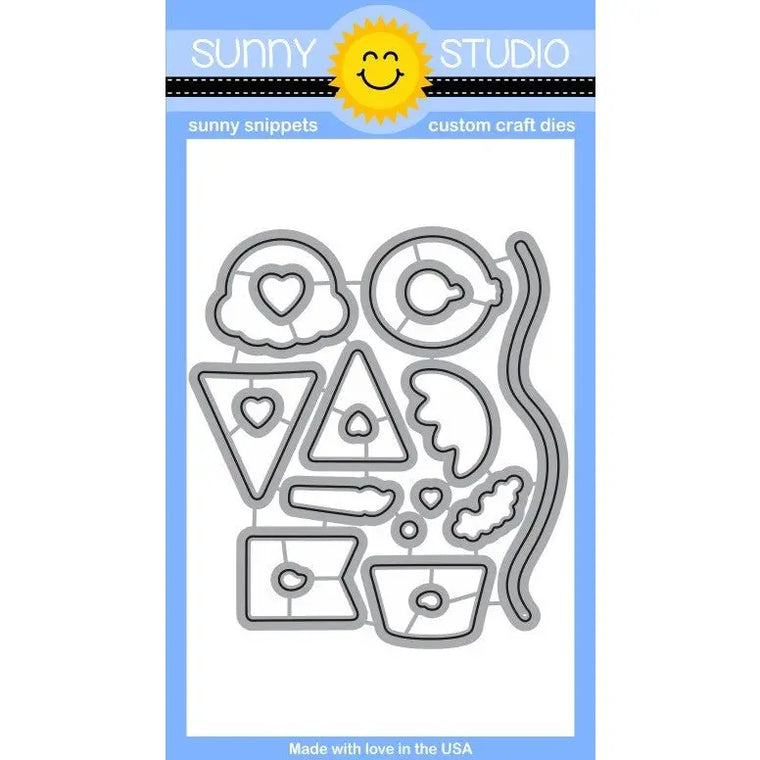 Birthday Smiles Dies Shop at: Sunny Studio |
 Birthday Smiles Stamps Shop at: Sunny Studio |
 Two Scoop Stamps Shop at: Sunny Studio |
 Tsukineko Jumbo Dauber Shop at: Sunny Studio |
 Dapper Diamonds Embossing Shop at: Sunny Studio |
 Stitched Oval Dies Shop at: Sunny Studio |
 Frilly Frames Lattice Dies Shop at: Sunny Studio |
 Frilly Frames Polka-Dot Shop at: Sunny Studio |
 VersaMark Watermark Ink Shop at: Sunny Studio | |
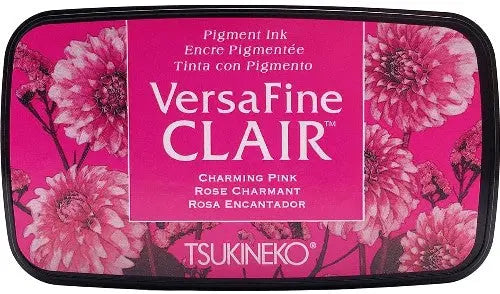 Versafine Clair Ink- Charming Pink Shop at: Sunny Studio |
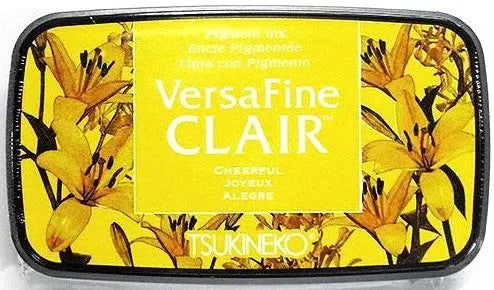 Versafine Clair Ink- Cheerful Shop at: Sunny Studio |
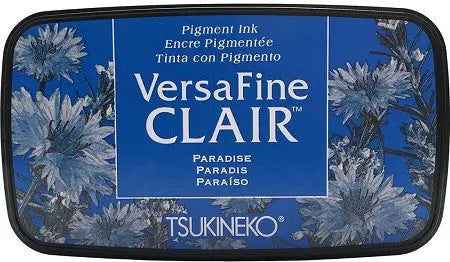 Versafine Clair Ink- Paradise Shop at: Sunny Studio |






Wow!!! What great ideas and I love all the detailed directions for me people like me! Can't wait to try each one!!!!
ReplyDeleteCute card! Thanks for sharing such great ideas...
ReplyDeleteThanks for an awesome week of inspiration (as always!). I love the vibrancy of the ice cream … looks good enough to eat!
ReplyDeleteThese are so cool!! Thank you for the inspiration!!
ReplyDeleteThanks for all the inspiration this week!
ReplyDeleteWonderful collection of cards.
ReplyDeletethis has been a fun and informative
week. thanks for sharing
txmlhl(at)yahoo(dot)com
So pretty and colorful!
ReplyDeleteThese are so bright, happy and fun!
ReplyDeleteSuch cool techniques! Those backgrounds turned out gorgeous!
ReplyDeleteLove the wonderful examples of using both the gels and stencils!
ReplyDeleteI love all these fun ideas! Great card with the cute ice cream cone and the sparkle from the foil! I'm anxious to try the gels too.
ReplyDeleteSuch great ideas. I have some purple tape, but have only used it to hold down my stencils. THANK YOU FOR THESE OTHER IDEAS!!!
ReplyDeleteSuch wonderful inspiration!
ReplyDelete