Hello friends, Eloise here and today I have a
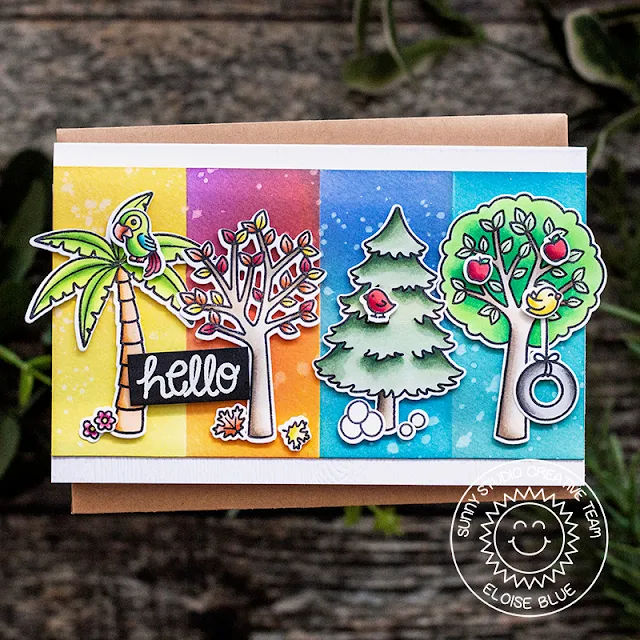
card using the Seasonal
Trees Stamp Set. This set is perfect for scene building and honestly
one of my favourites from the release, but instead of using in conjunction with
other sets, I used it on its own today.
I started off with stamping out the
trees, plus some additional images from Seasonal
Trees and the parrot from Sending
Sunshine onto some white cardstock and coloured them in with Copic
Markers. I then cut them out and set them off to the side.
(Copic Markers Used: YG06, G03, G05, G09 / YG11, G21, G24, G43 / YG61, YG63, YG67, G28 / YG01, YG23, YG07, YG17 / Y23, Y32, YR24, YR27 / YR00, YR02, YR12, YR18 / R14, R27, R29, R39 / Y11, Y13, Y15, Y19
(Copic Markers Used: YG06, G03, G05, G09 / YG11, G21, G24, G43 / YG61, YG63, YG67, G28 / YG01, YG23, YG07, YG17 / Y23, Y32, YR24, YR27 / YR00, YR02, YR12, YR18 / R14, R27, R29, R39 / Y11, Y13, Y15, Y19
For my background, I cut a piece of
watercolour cardstock to 3 1/2” x 6” and used washi tape to mark off each 1
1/2”. I then used Distress Oxide Inks to ink blend each section according to
the season. I used yellows for Summer, purples, reds and oranges for Autumn,
blues for Winter and light blues for Spring. Once they were all ink blended, I
sprinkled on some water and dried it off with a heat tool.
(Distress Oxides Used: Squeezed Lemonade, Fossilized Amber / Wilted Violet, Candied Apple, Carved Pumpkin / Blueprint Sketch, Faded Jeans, Mermaid Lagoon / Salty Ocean, Broken China)
(Distress Oxides Used: Squeezed Lemonade, Fossilized Amber / Wilted Violet, Candied Apple, Carved Pumpkin / Blueprint Sketch, Faded Jeans, Mermaid Lagoon / Salty Ocean, Broken China)
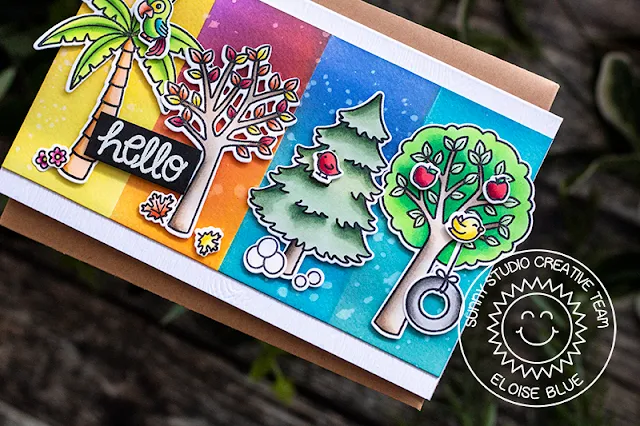
Next, I added foam tape onto the backs
of all my images and adhered them into place. I also adhered all the additional
images into their respective places as well. For my sentiment I decided to use
a simple ‘Hello’, so I white heat embossed the ‘Hello’ sentiment from Sunny
Sentiments onto a black strip, added foam tape on the back and
adhered it onto my scene. Lastly, I cut down a white woodgrain card base to 6”
wide by 8” tall, scored it at 4” and adhered my panel on top.
That finished up my card for today, I hope you enjoyed and feel inspired. See you next week.
That finished up my card for today, I hope you enjoyed and feel inspired. See you next week.
Hello everyone! Leanne here and I have a very cheerful card to share today. My card features a fun scene I’ve built with the help of some images from the new Seasonal Trees stamp set. I’ve also used some of the new pattern paper which perfectly sets the tone for my card.
I started with an A2 card base. I covered the front
with cloud pattern paper from the Summer Splash paper pack. I created two layers of grassy hills
with the Woodland Borders dies
and a green gingham pattern from the Classic Gingham paper pack. I stamped and Copic colored the tree, birds, birdhouse, and tiny flowers from
Seasonal Trees. I also used a sun image and greeting from the Sunny Sentiments stamp
set.
I added the images
to the scene and stamped the greeting directly onto the cloud paper. To
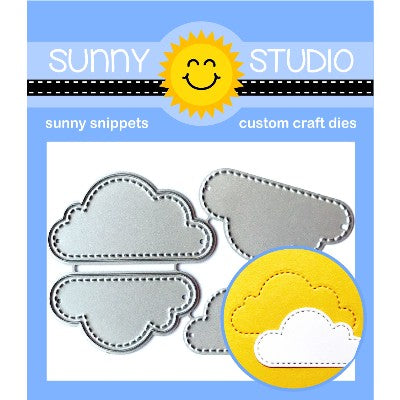
create a little extra depth to the sky, I added two die cut clouds that I
layered around the sun. These clouds were cut out using the new Fluffy Clouds dies.
Thanks for joining me today! I’ll have another April release project to share next Monday. Have a fantastic week!
Thanks for joining me today! I’ll have another April release project to share next Monday. Have a fantastic week!
Sunny Studio Supplies Used:
 Sunny Sentiments Dies Shop at: Sunny Studio |
 Sunny Sentiments Stamps Shop at: Sunny Studio |
 Classic Gingham 6x6 Paper Shop at: Sunny Studio |
 Woodland Borders Dies Shop at: Sunny Studio |
 Fluffy Clouds Dies Shop at: Sunny Studio |
 Seasonal Trees Stamps Shop at: Sunny Studio |
 Seaonal Trees Dies Shop at: Sunny Studio |
 Sending Sunshine Stamps Shop at: Sunny Studio |
 Sending Sunshine Dies Shop at: Sunny Studio | |
 Summer Splash 6x6 Paper Shop at: Sunny Studio |


No comments:
Post a Comment