Hey friends! Cathy here today sharing a card that has me dreaming of a tropical vacation featuring the gorgeous Hawaiian Hibiscus Stamps!
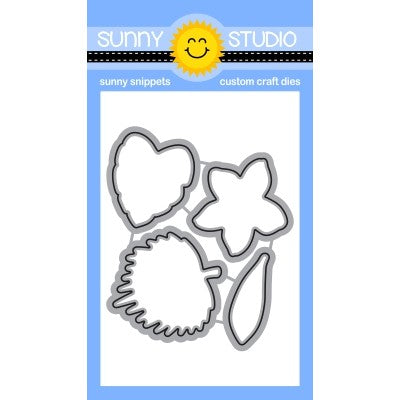
I started this A2 card by using a fun technique with die-cuts to create an embossed look for the background panel. While I have a bunch of embossing folders and use them all the time in crafting, I love to use this tone-on-tone technique with dies to create unique patterns. I first cut a piece of kraft cardstock 4 1/4" x 5 1/2" and die-cut 10 fronds from kraft cardstock using the Summer Greenery Dies. I adhered these along the outside edges of the cardstock and then die-cut the cardstock piece with a Stitched Rectangle Die. I love the subtle tropical embossed look this gave it! I matted it on black cardstock and adhered it to a peach card front.
For my tropical scene, I cut a piece of white cardstock 2 1/4" x 3 1/2" and cut masks from post-it notes for the sand and horizon. I also punched a circle from Eclipse masking tape for the sun. The Distress inks I used are Brushed Corduroy for the sand, Dried Marigold and Speckled Egg for the ocean/sky and Scattered Straw for the sun. I stamped small palm trees in dark green ink using stamps from the Beach Babies Stamps and the Surfing Santa Stamps. I heat embossed the sentiment from the Tiki Time Stamps with black embossing powder.
Next, I die-cut a piece of black cardstock using the smallest Stitched Rectangle Die as a mat for the tropical scene and adhered the combined piece to the card front. I also die-cut a photo corner from brown cardstock using the Notebook Photo Corners Dies to give it a photo or postcard look.
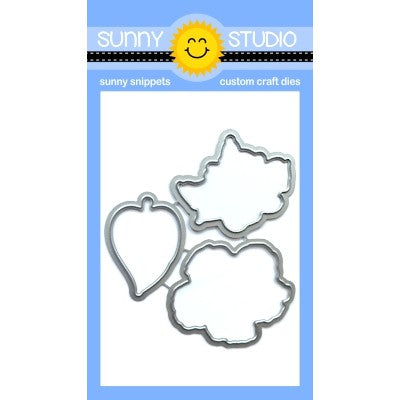
To finish, I stamped the hibiscus and leaves from the Hawaiian Hibiscus Stamps and die-cut them using the coordinating dies. I also heat embossed a flower from the Radiant Plumeria Stamps with white embossing powder, water colored a bit of the center with yellow ink and die-cut it using the coordinating dies.
I hope you enjoyed and thanks for stopping by! For more inspiration, please visit my blog www.inkredibleadventures.com and you can also find me on Instagram as @cathy.chapdelaine.
Sunny Studio Supplies Used:
 Tiki Time Stamps Shop at: Sunny Studio |
 Stitched Rectangle Dies Shop at: Sunny Studio |
 Beach Babies Stamps Shop at: Sunny Studio |
 Hawaiian Hibiscus Stamps Shop at: Sunny Studio |
 Hawaiian Hibiscus Dies Shop at: Sunny Studio |
 Radiant Plumeria Stamps Shop at: Sunny Studio |
 Radiant Plumeria Dies Shop at: Sunny Studio |
 Surfing Santa Stamps Shop at: Sunny Studio |
 Summer Greenery Die Shop at: Sunny Studio | |
 Notebook Photo Corners Dies Shop at: Sunny Studio |


Oh Cathy, this is absolutely gorgeous! I am so impressed by both your design and the execution. So much inspiration here…thank you!
ReplyDelete